
my +2 130 project
24 posts
• Page 2 of 2 • 1, 2
![]() Post by: JJ66 » Thu Oct 08, 2020 9:48 am
Post by: JJ66 » Thu Oct 08, 2020 9:48 am
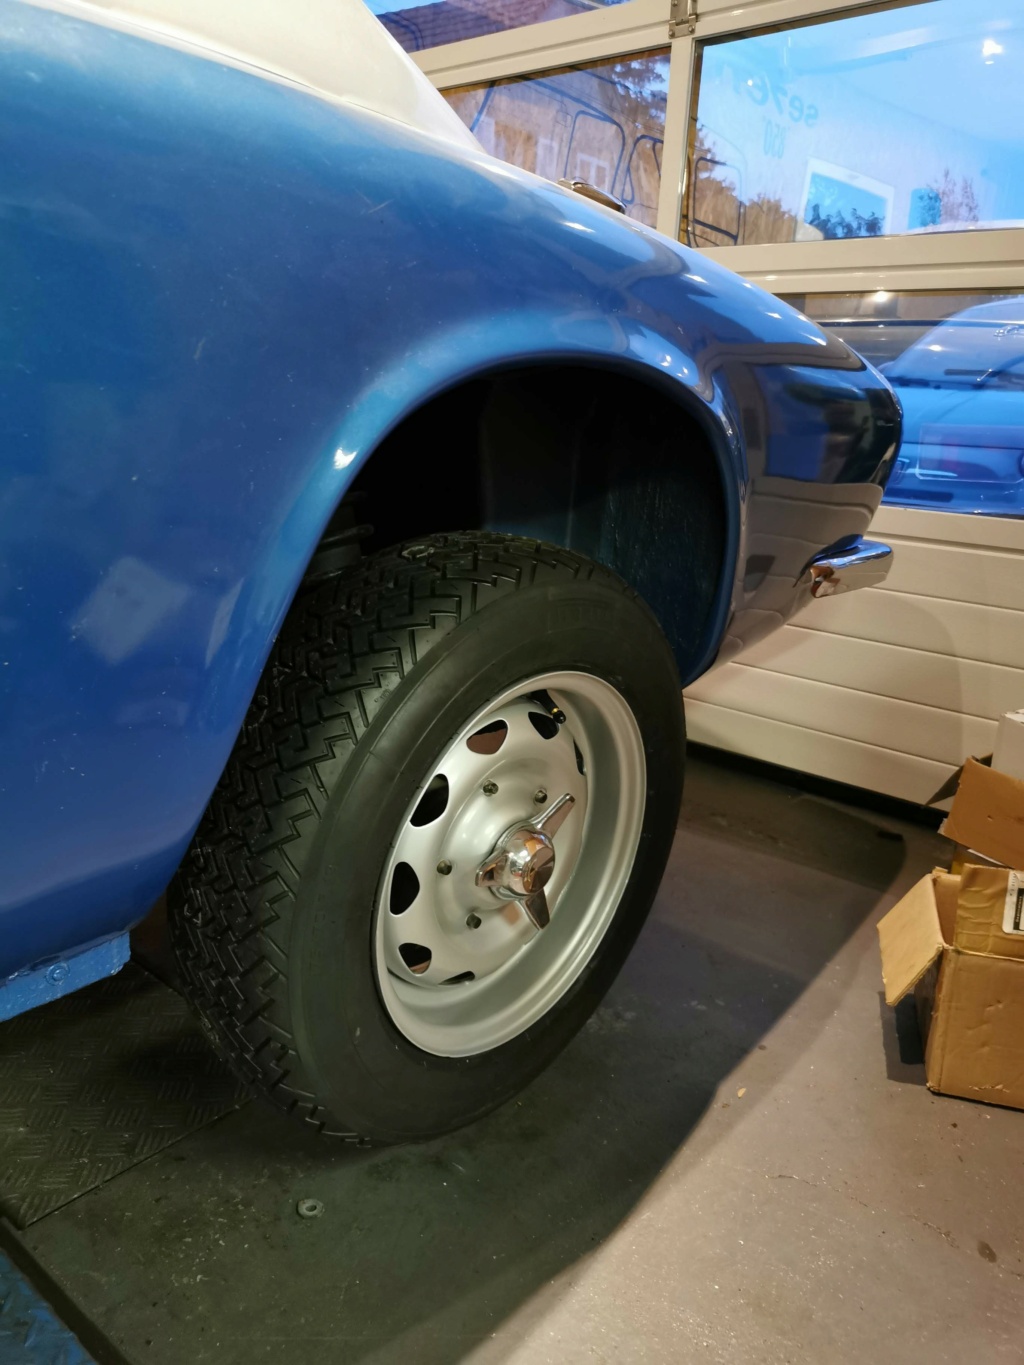
Excellent - The wheels look really good and the period tyres are cool. The early wheels are a clean design, but I do like the later alloys, I have fitted similar period Dunlop SP Sports to mine (Now called Dunlop Aquajet).
 Viewed 1568 times")
- JJ66
- Second Gear

- Posts: 116
- Joined: 25 Feb 2020
![]() Post by: mini90 » Mon Oct 12, 2020 8:23 am
Post by: mini90 » Mon Oct 12, 2020 8:23 am
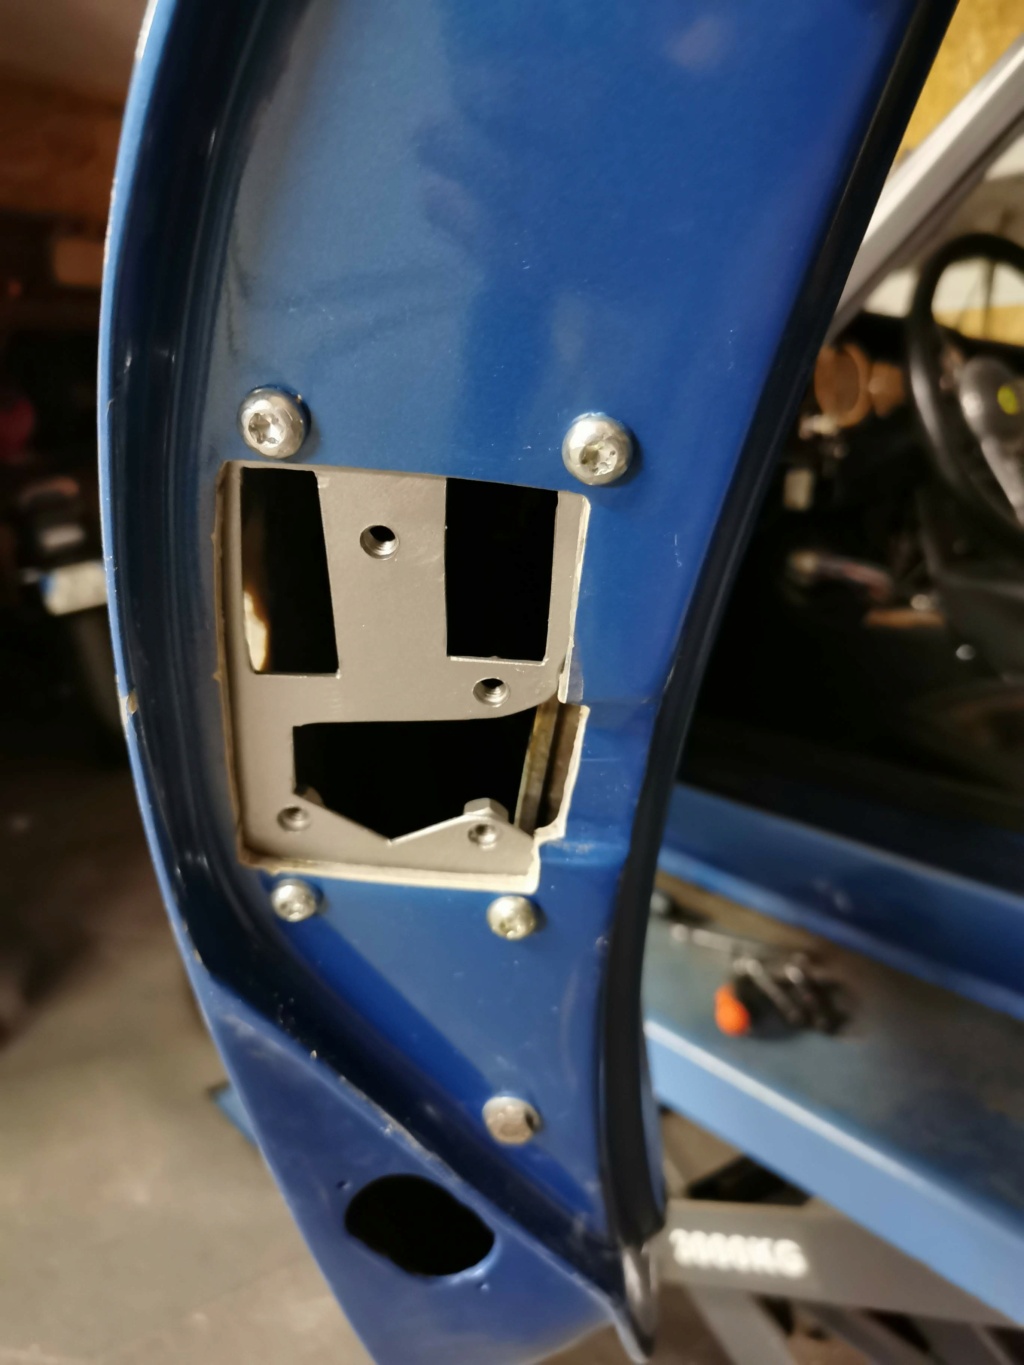
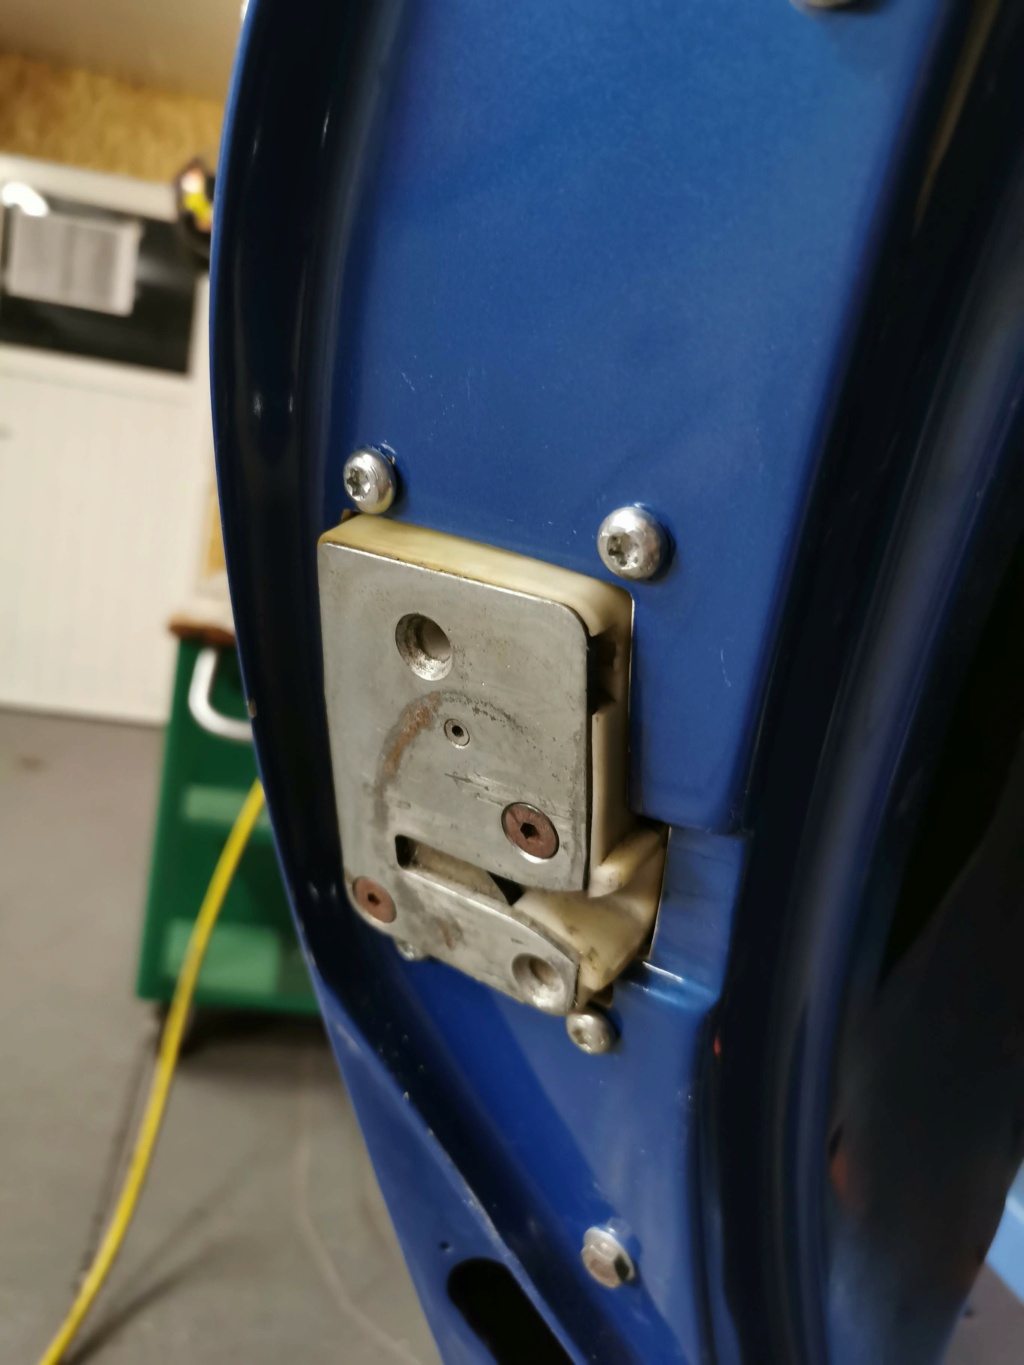
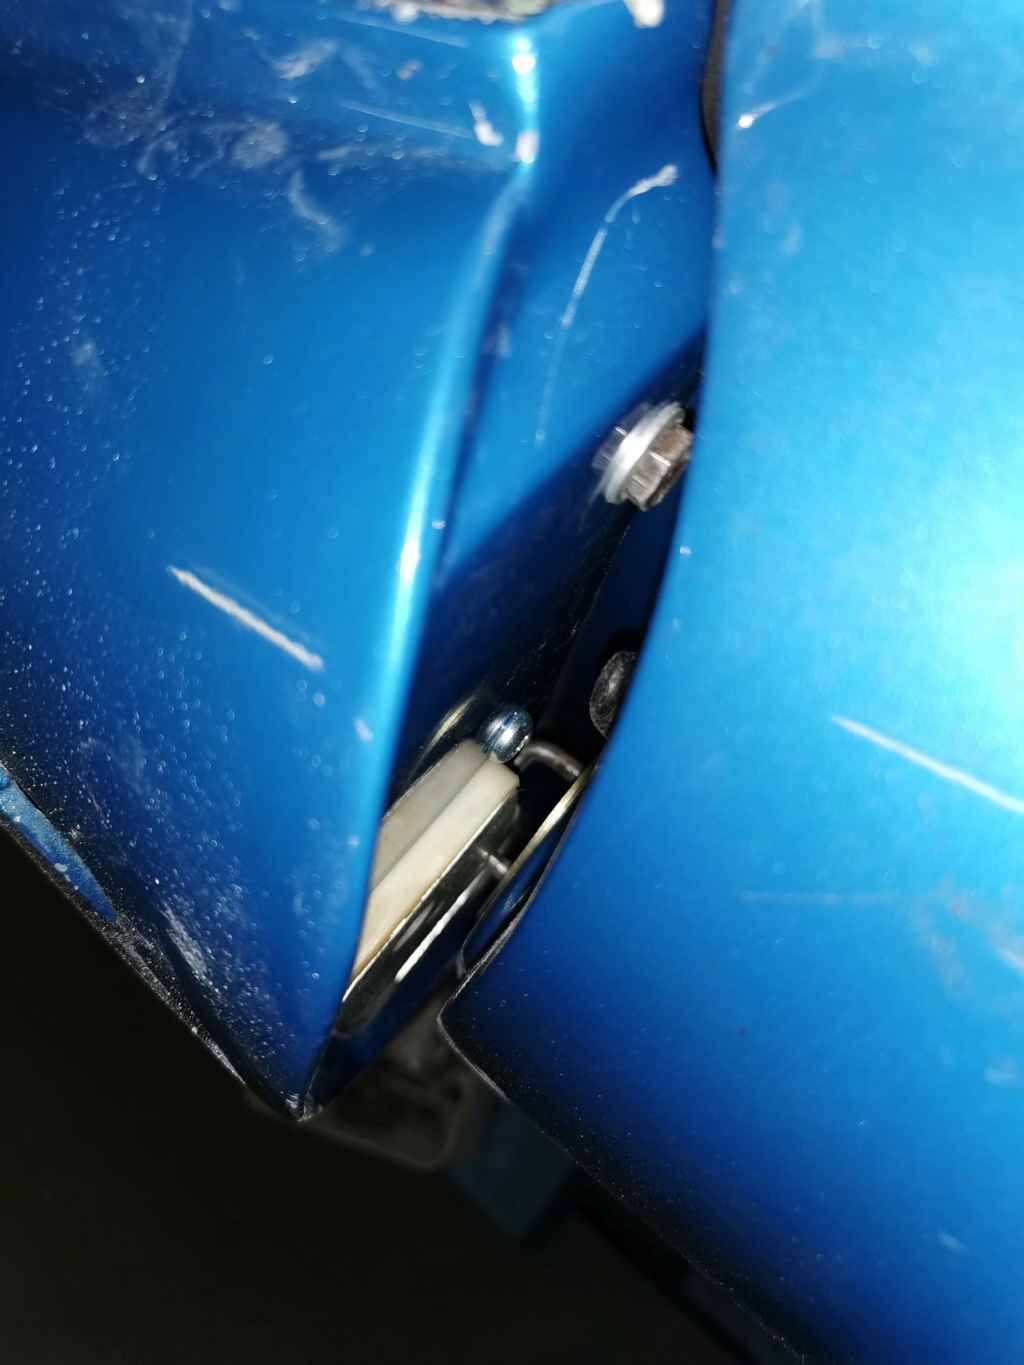
now we will talking about door adjustment!
the door locking system doesn't allow to adjust correctly the door position on my car
I choose a radical way...
I have cut the door and integrate the door lock , this solution give me the gap I needed :
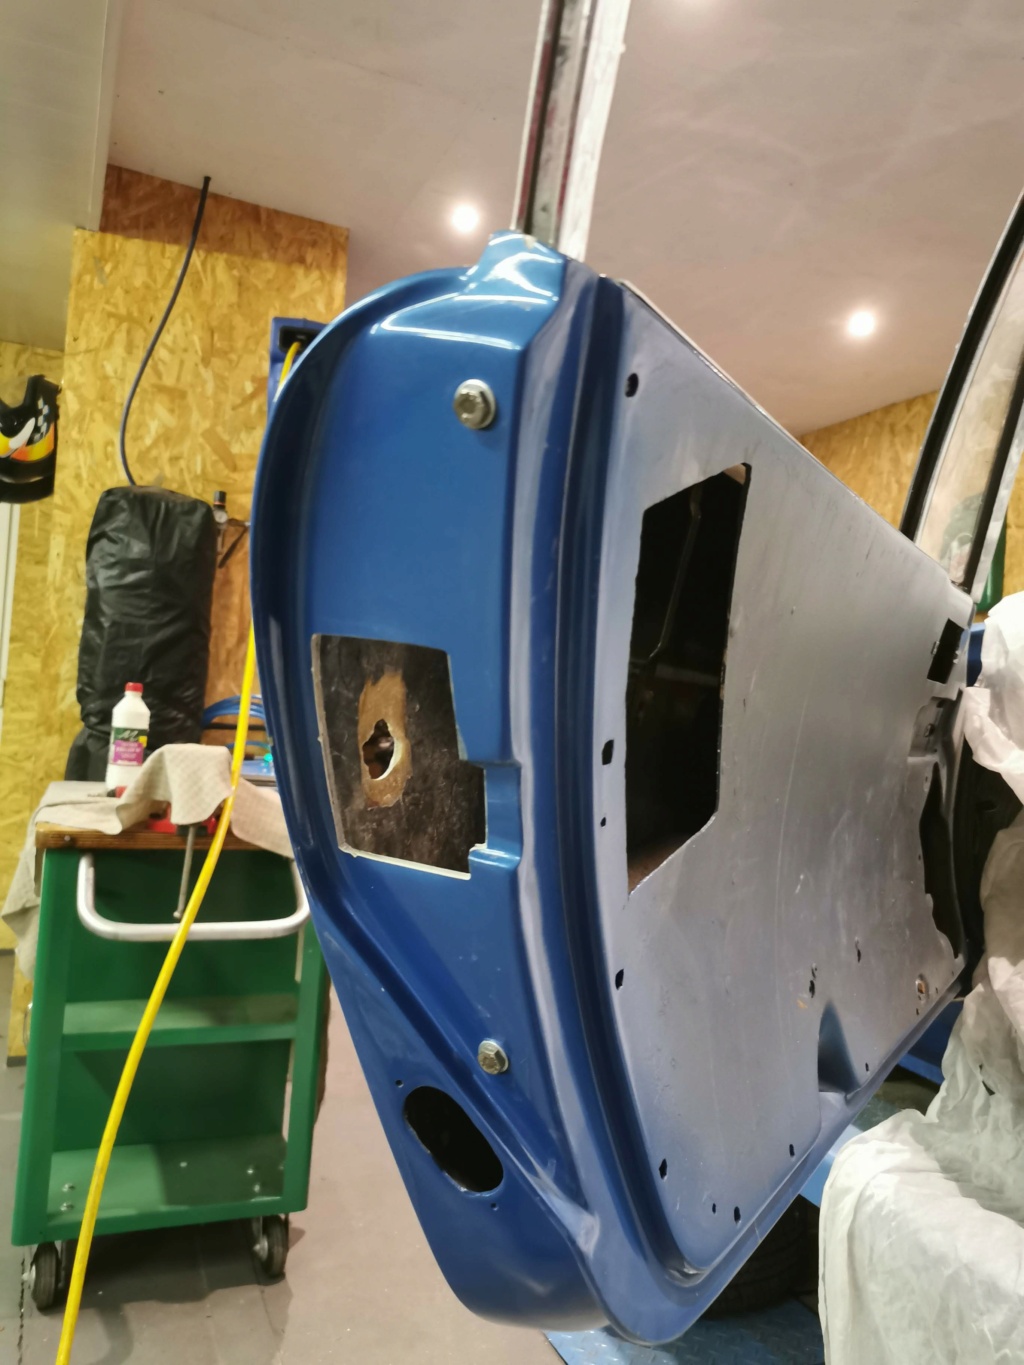
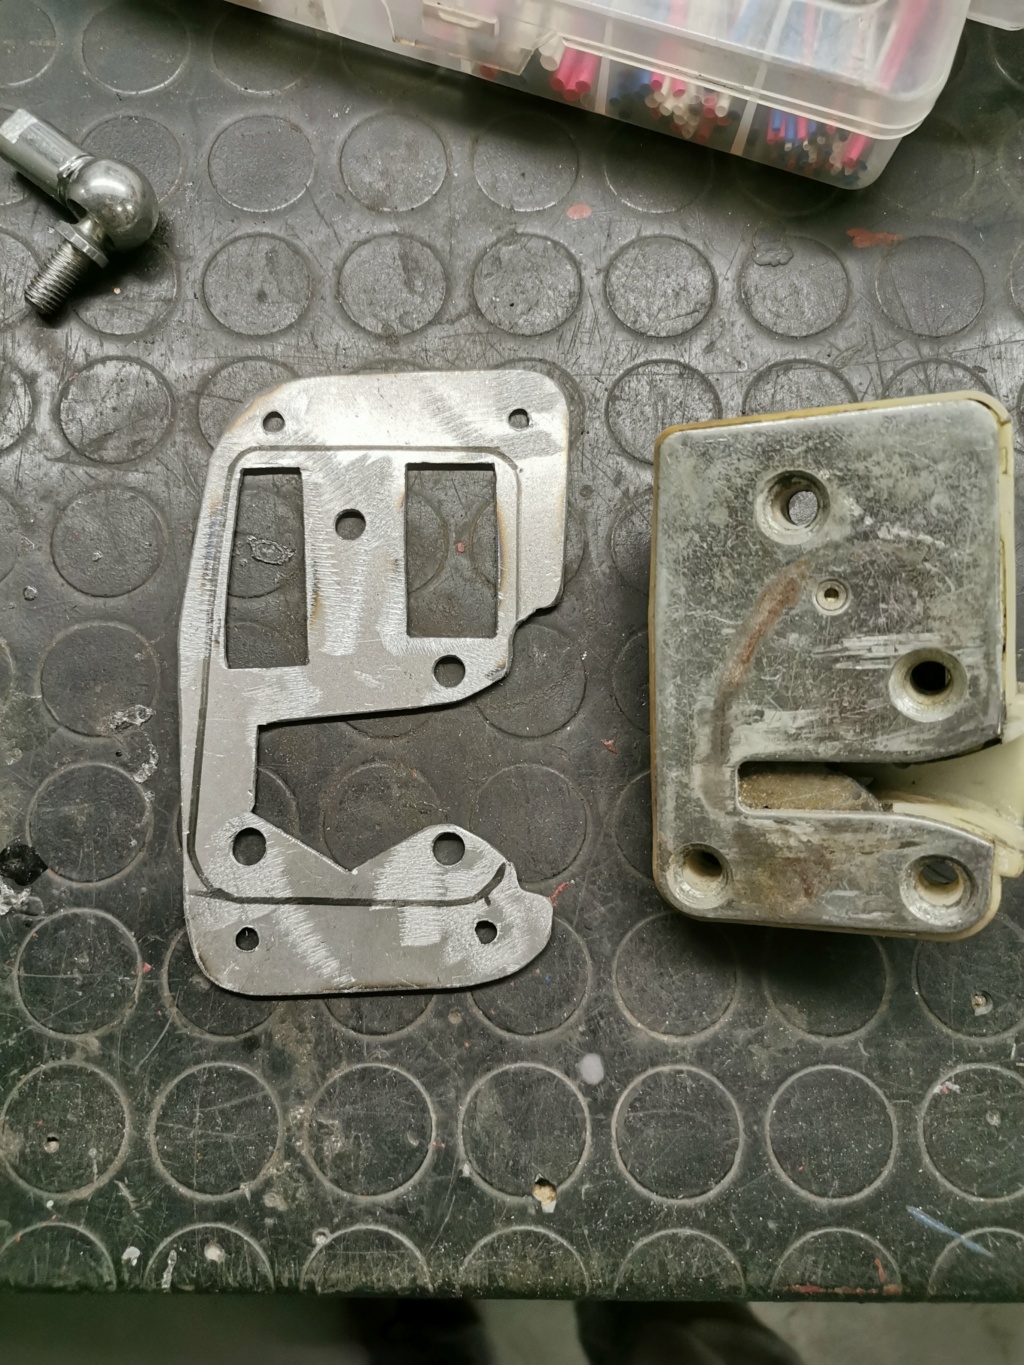
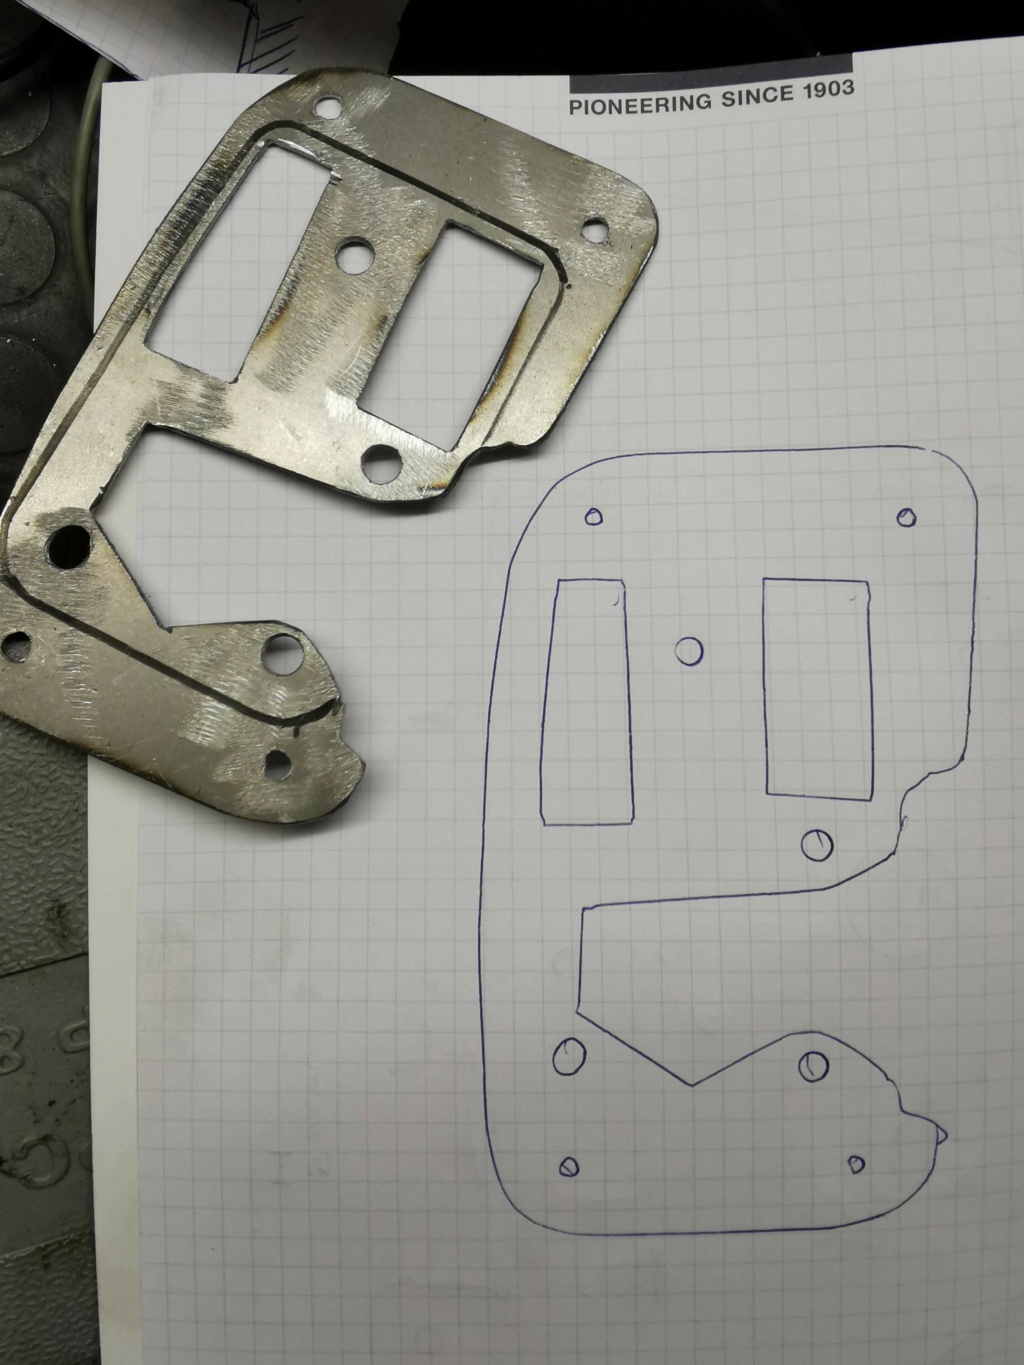
I report the 1.5mm sheet metal plate on 5mm checkered paper if someone need to do the same

the door locking system doesn't allow to adjust correctly the door position on my car
I choose a radical way...
I have cut the door and integrate the door lock , this solution give me the gap I needed :
I report the 1.5mm sheet metal plate on 5mm checkered paper if someone need to do the same
- mini90
- Second Gear
- Posts: 51
- Joined: 05 Aug 2020
![]() Post by: mini90 » Tue Nov 17, 2020 10:13 am
Post by: mini90 » Tue Nov 17, 2020 10:13 am
last update today :
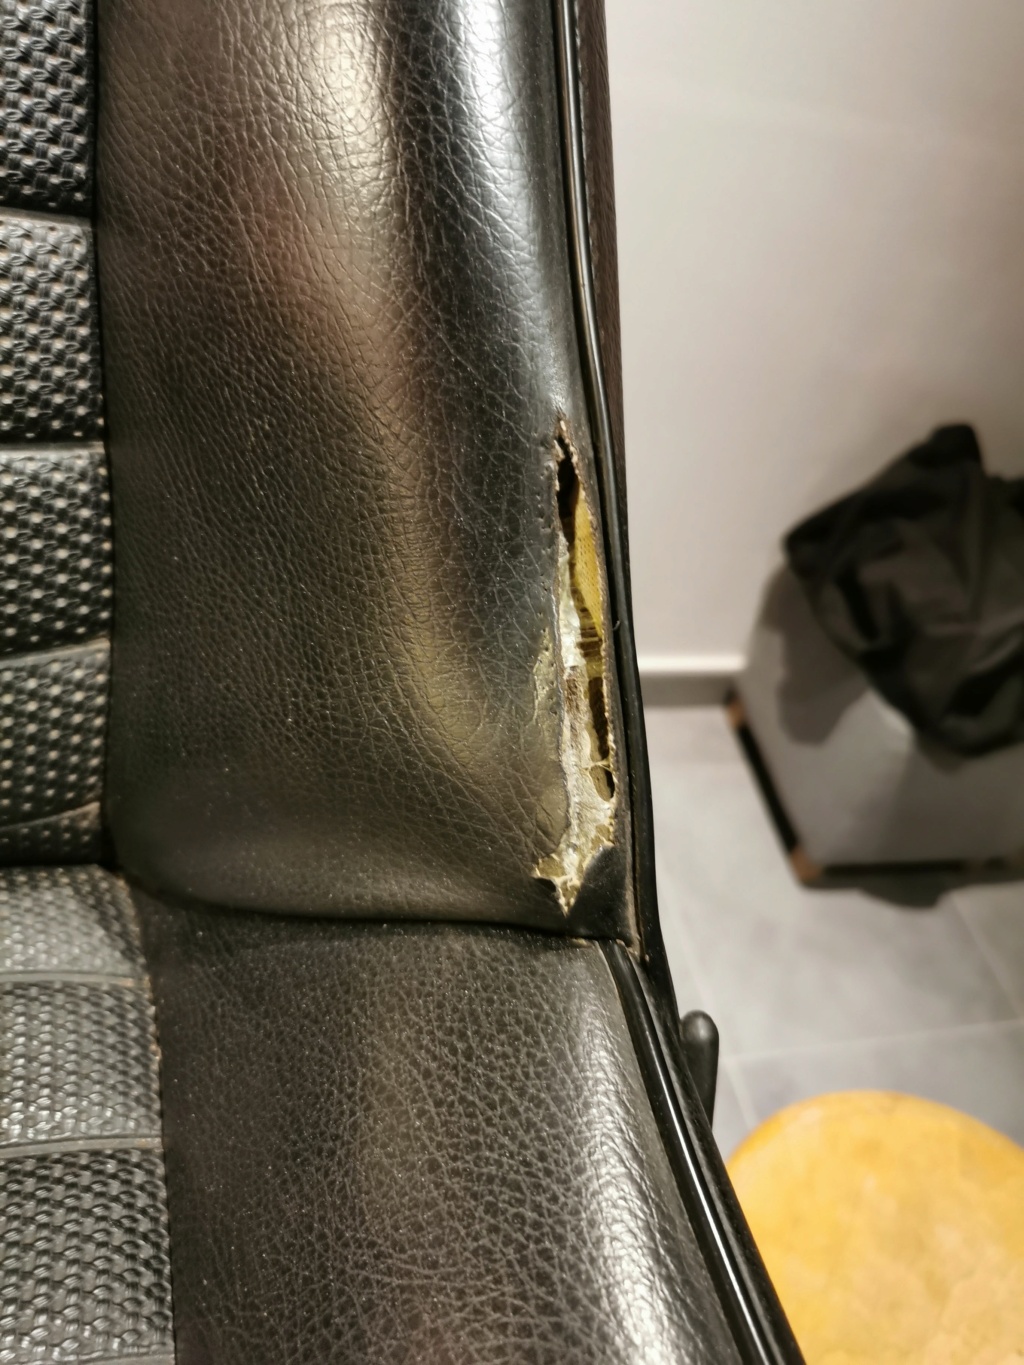
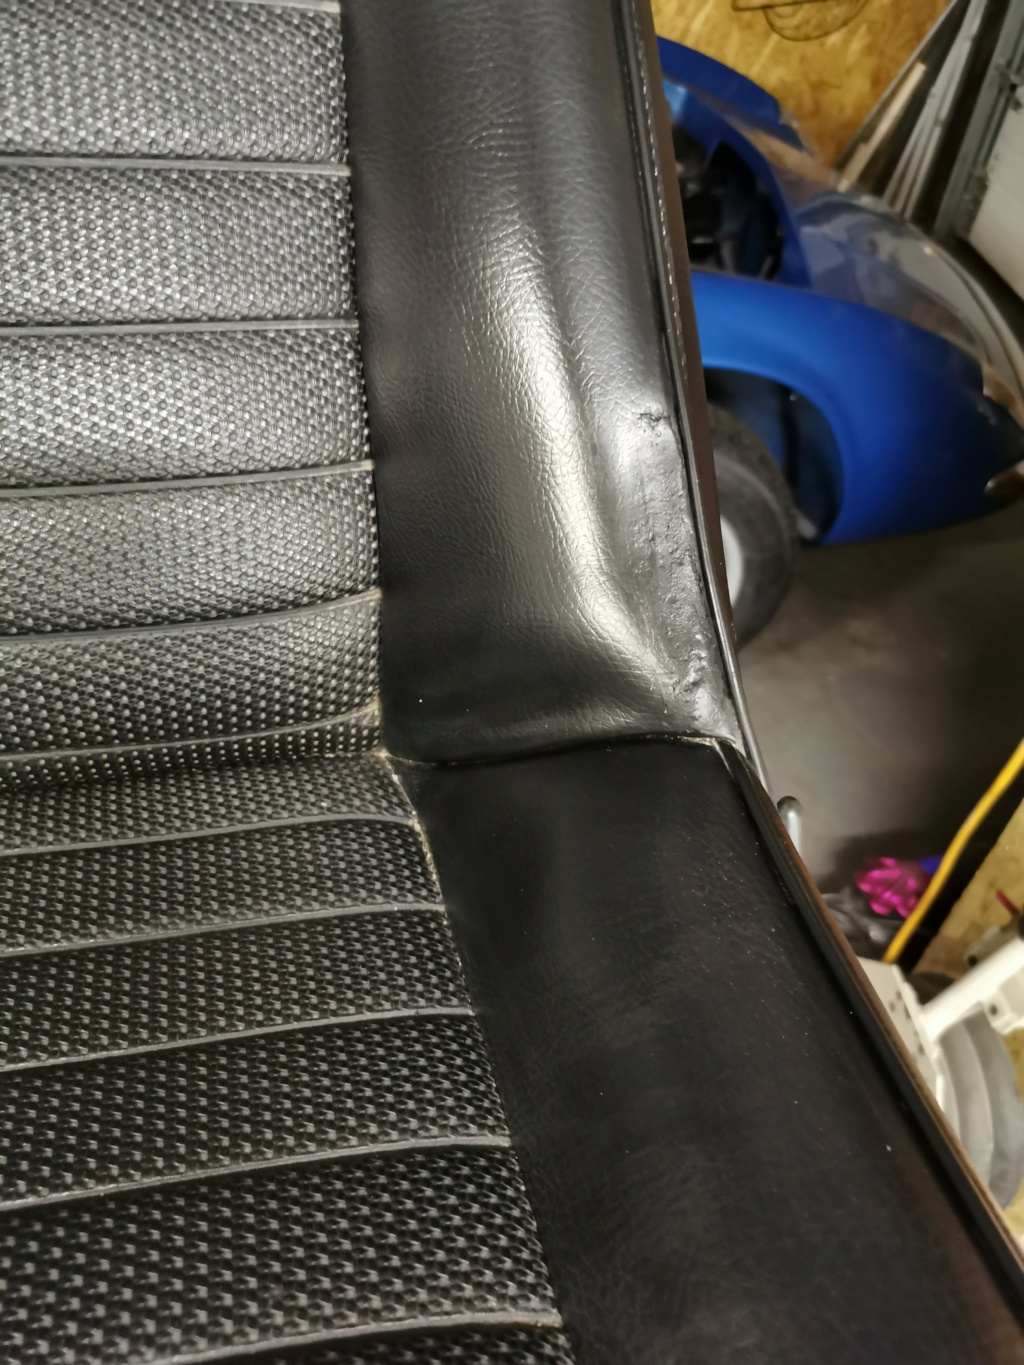
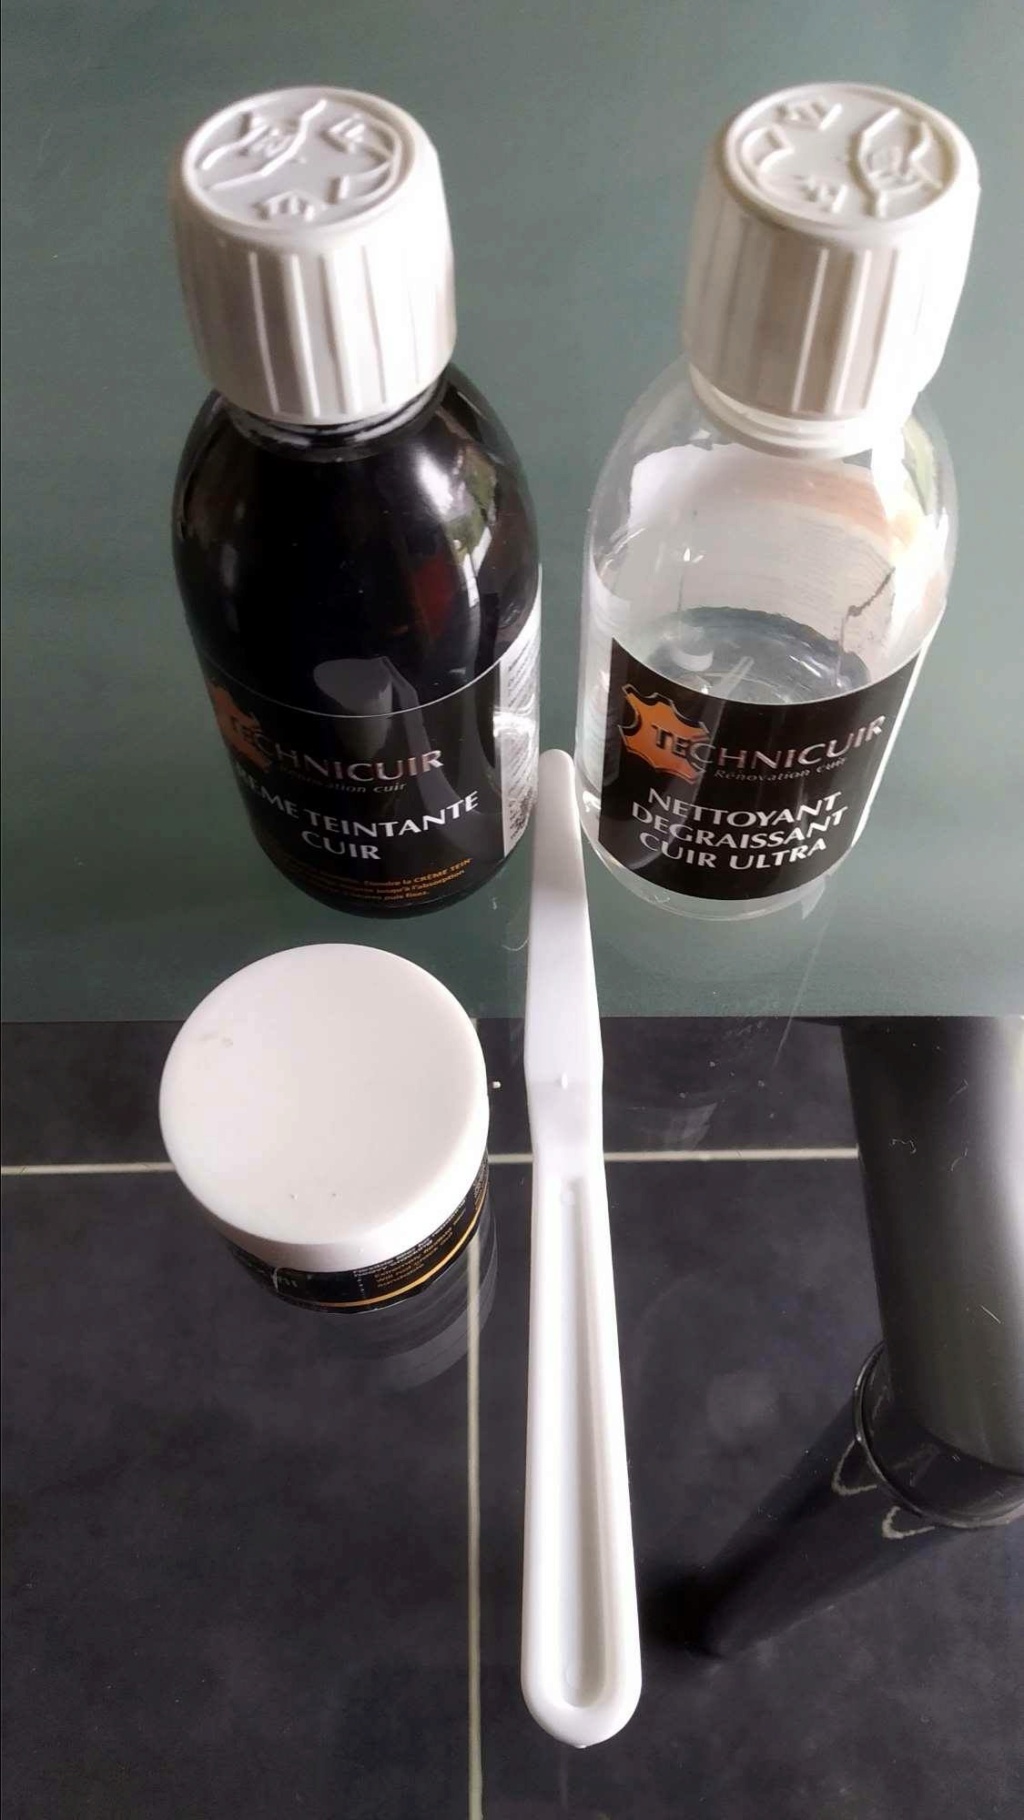
seat cover repaired with leather restoration products from Technicuir
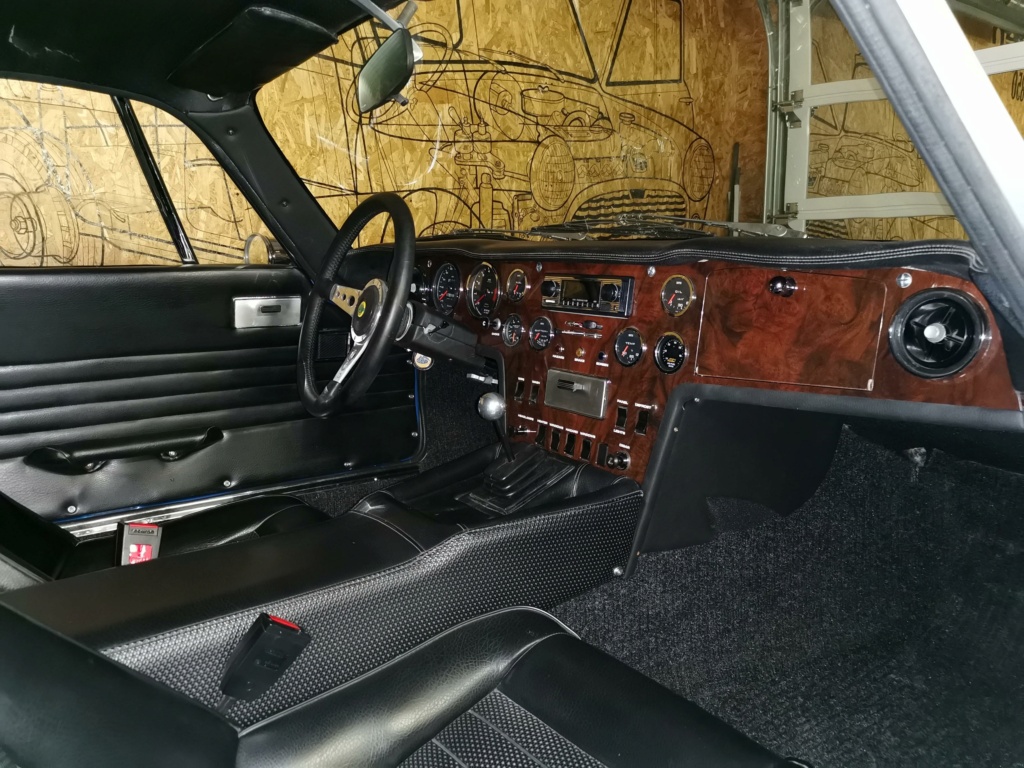
full interior in place!
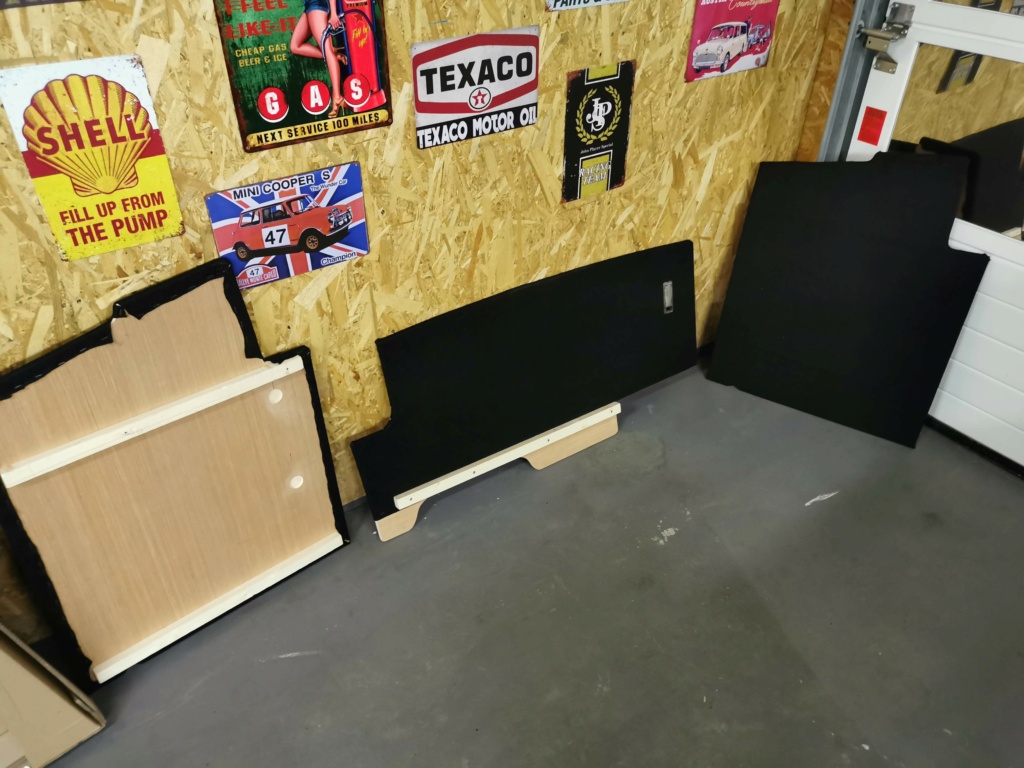
boot wearing : 10mm wood , acoustic carpet and classic mini interior light
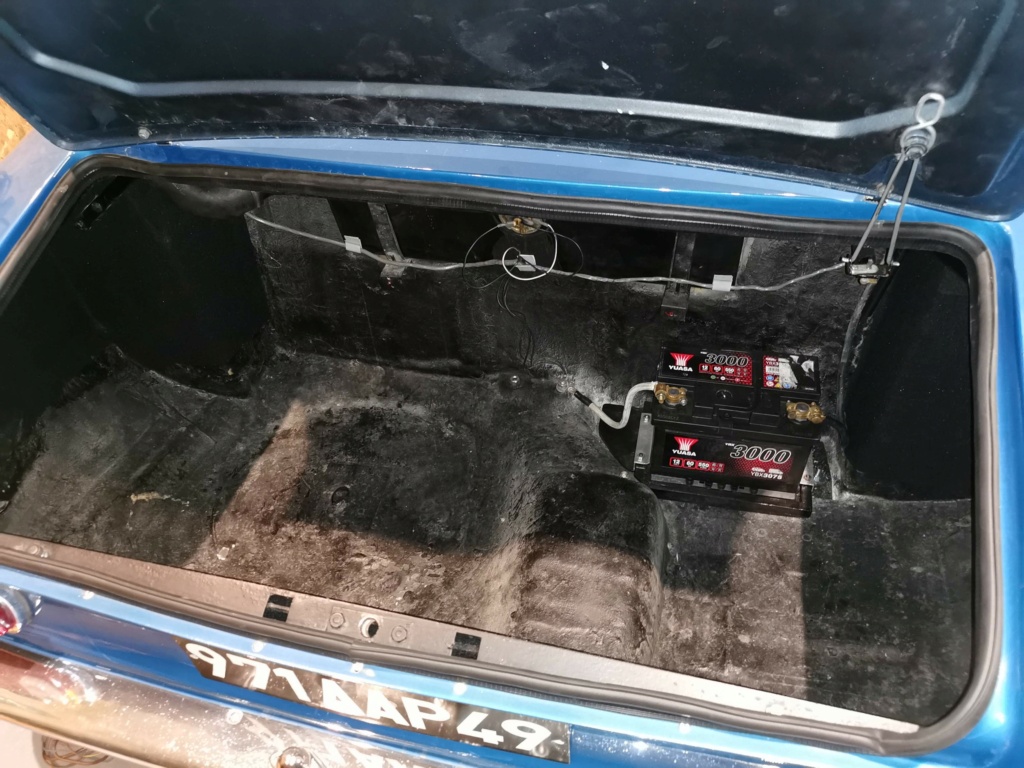
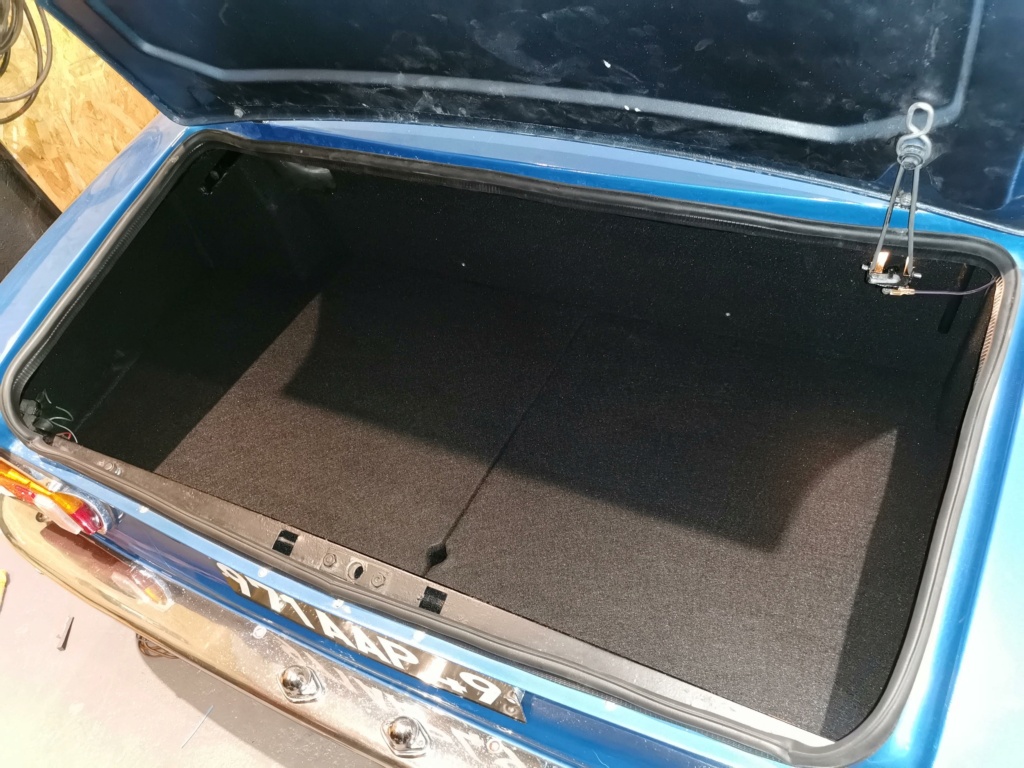
and I have find some drive shafts from an E34 BMW who will make spares for my next job ! do you know what i mean !!

seat cover repaired with leather restoration products from Technicuir
full interior in place!
boot wearing : 10mm wood , acoustic carpet and classic mini interior light
and I have find some drive shafts from an E34 BMW who will make spares for my next job ! do you know what i mean !!
- mini90
- Second Gear
- Posts: 51
- Joined: 05 Aug 2020
![]() Post by: JJ66 » Tue Nov 17, 2020 11:44 am
Post by: JJ66 » Tue Nov 17, 2020 11:44 am
Nice job, its looking very good. I will be very interested to see how you modify the E34 drive shafts, I would like to do the same conversion to my car but was worried about the length of the drive shafts. Let us know how it goes!!
Jonathan
Jonathan
- JJ66
- Second Gear
- Posts: 116
- Joined: 25 Feb 2020
![]() Post by: mini90 » Mon Nov 23, 2020 9:26 am
Post by: mini90 » Mon Nov 23, 2020 9:26 am
for the bmw shafts length, i plan to cut them and machining a tube welded on cutted shafts
this weekend was used to resolve fuel smells on my car :
I delete genuine fuel tank vent and made new air intake from fuel cap hose
the small green hose is comming out of the car for delating pressure in summer
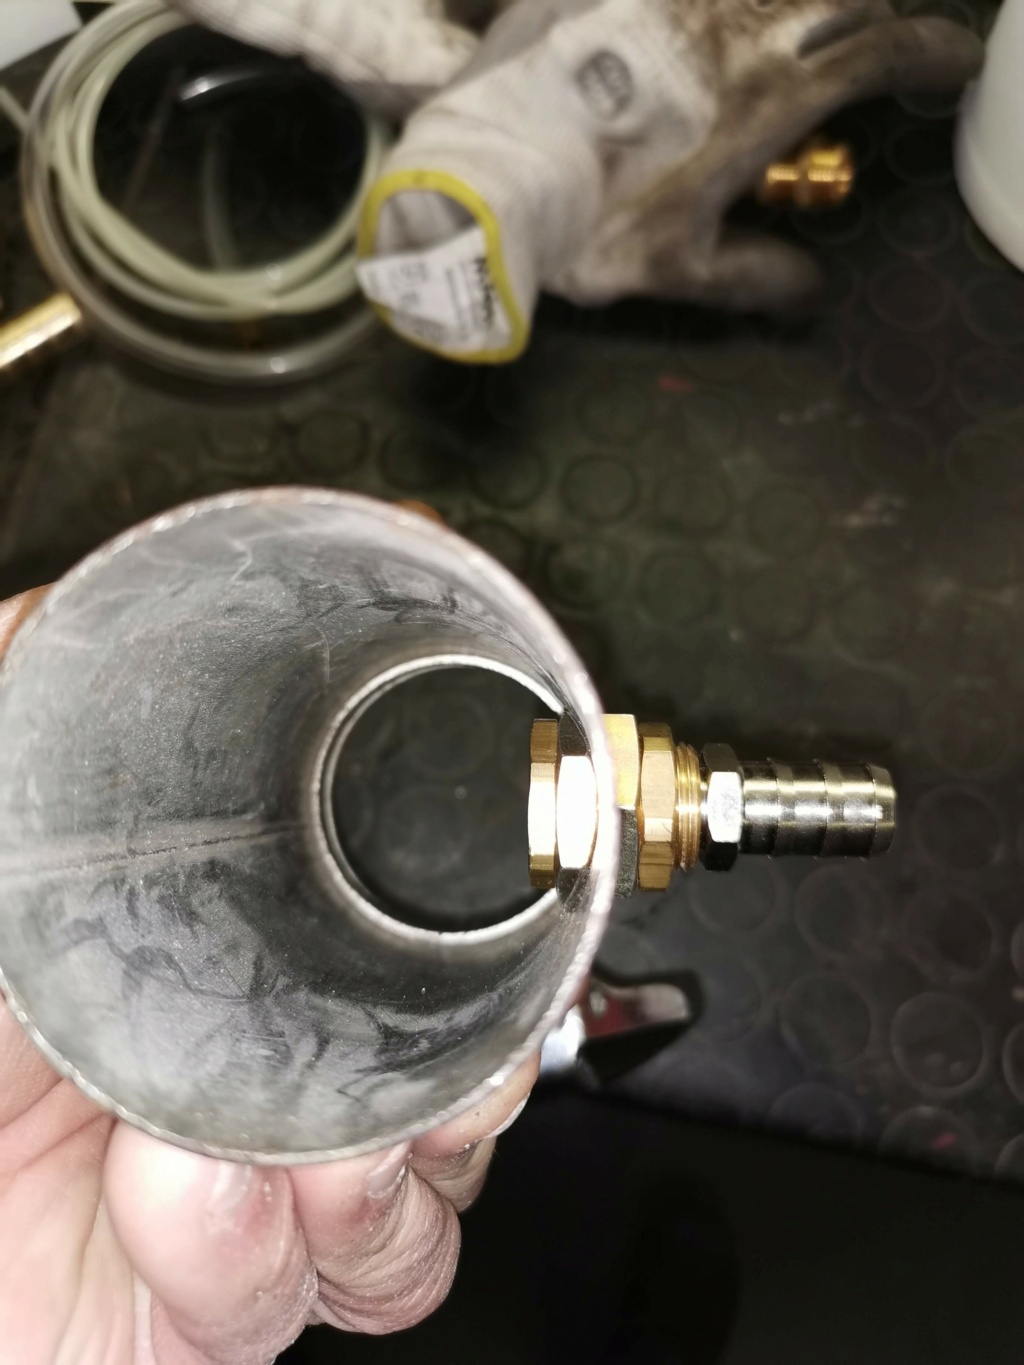
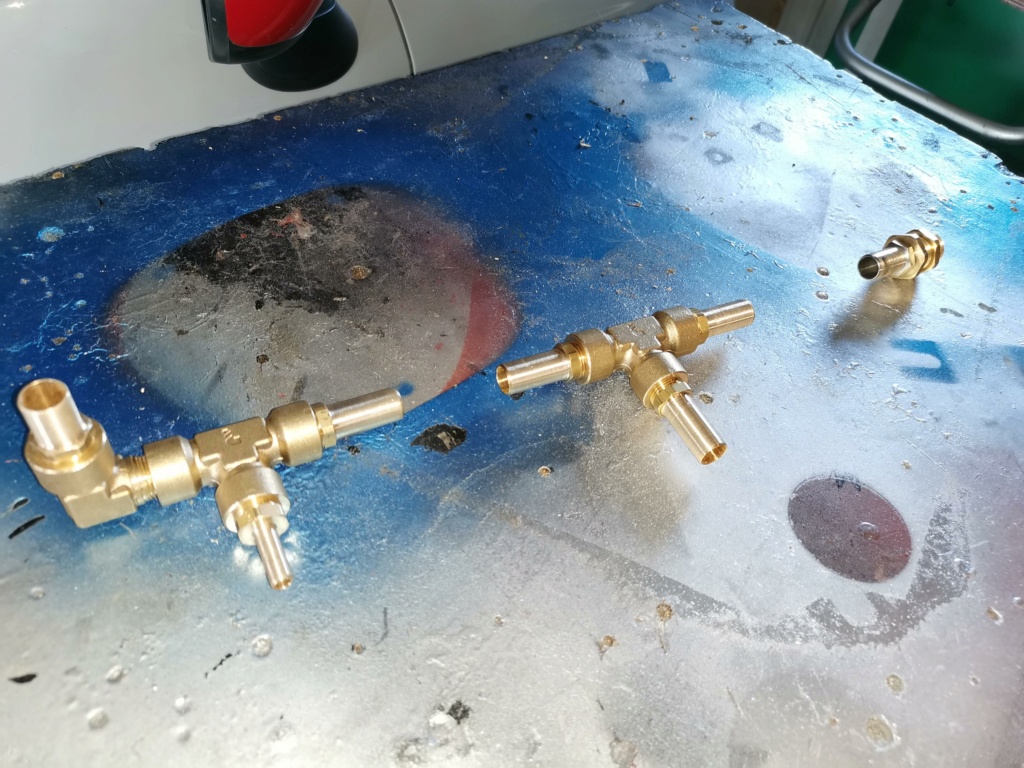

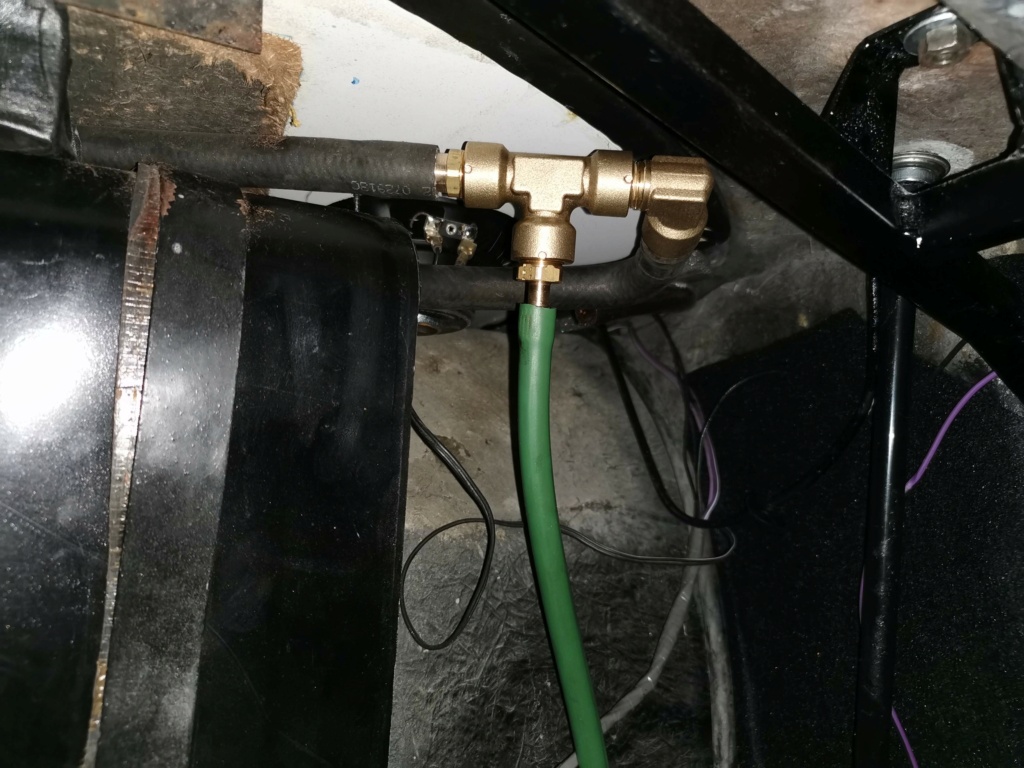
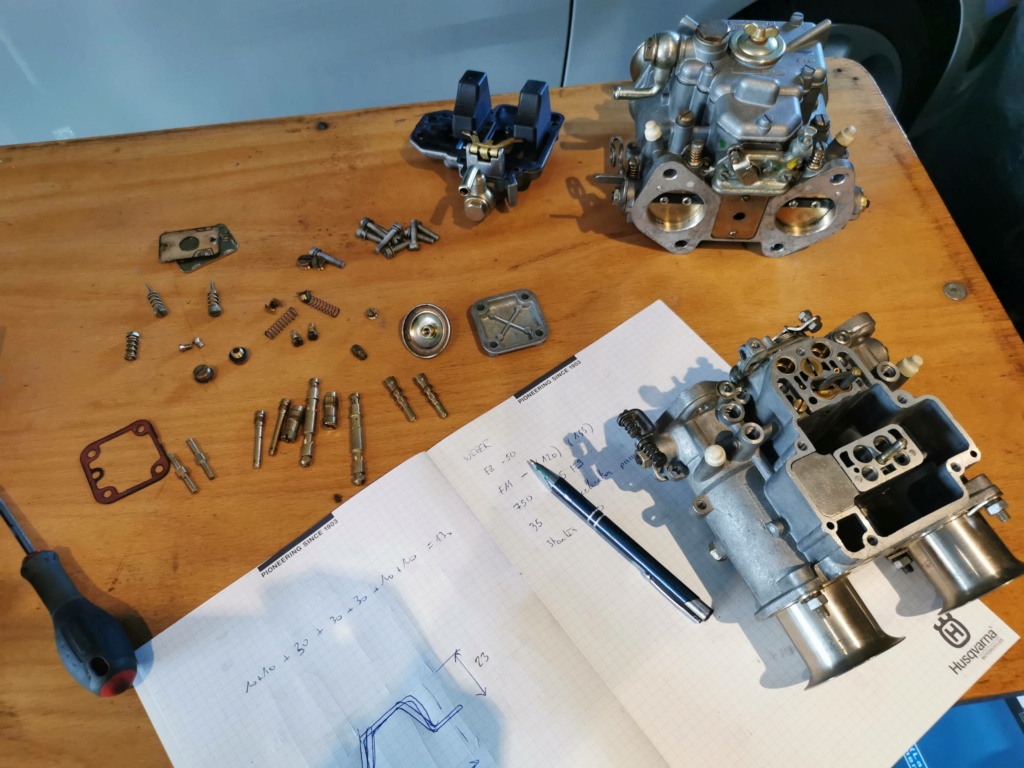
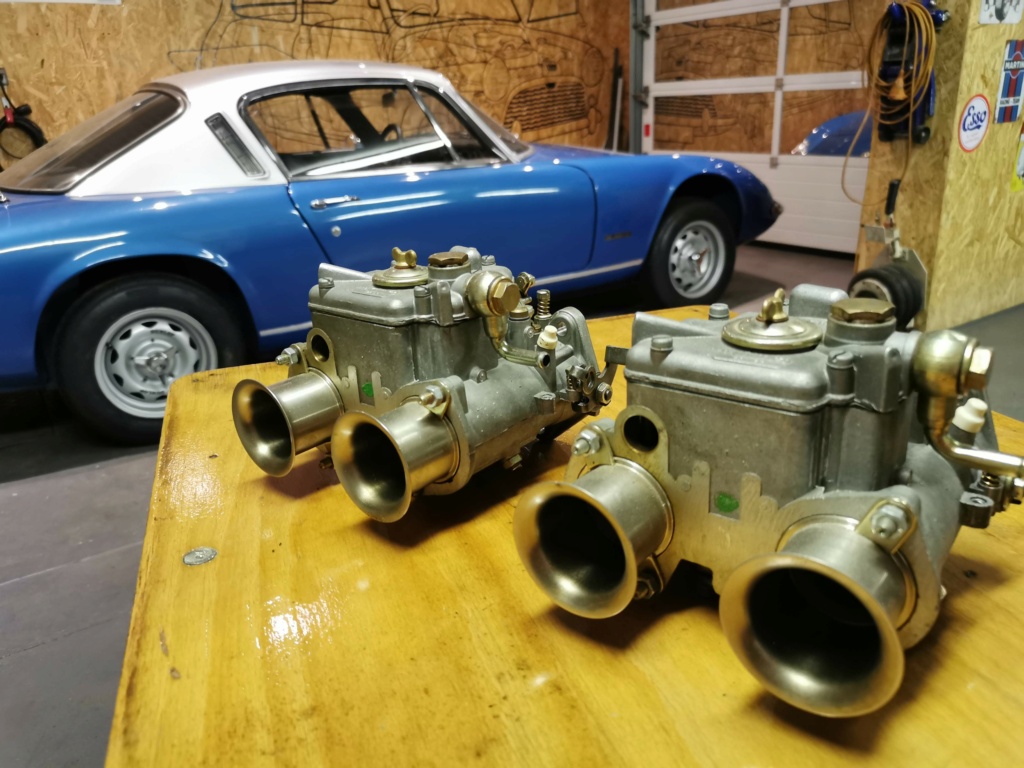
carbs are cleaned and wait new fuel pump to go back in the car...
this weekend was used to resolve fuel smells on my car :
I delete genuine fuel tank vent and made new air intake from fuel cap hose
the small green hose is comming out of the car for delating pressure in summer
carbs are cleaned and wait new fuel pump to go back in the car...
- mini90
- Second Gear
- Posts: 51
- Joined: 05 Aug 2020
![]() Post by: mini90 » Mon Dec 07, 2020 9:47 am
Post by: mini90 » Mon Dec 07, 2020 9:47 am
sad news :
after starting engine , this one doesn't run correctly (n°3 cylinder not efficient and I have some returns in n°1 carb (I can see sometimes gaz pressure going into the vacuum pipe or exhausting across the carb port at slow down rev speed)
I have tested the pressure and 1 cylinder is 2 bar less the others
after undo the cylinder head, this is what we can see:
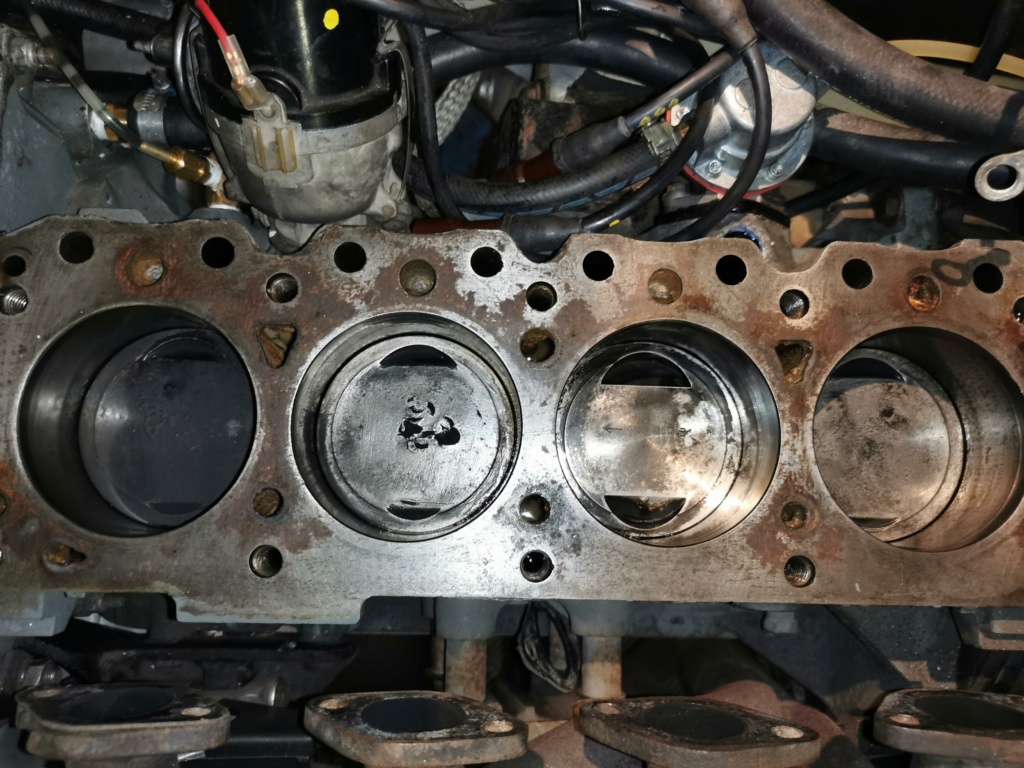
1 piston has visibly heat a valve... and another is different and looks new
I decied to rebuilt the engine... the bores are wear of 0.2mm
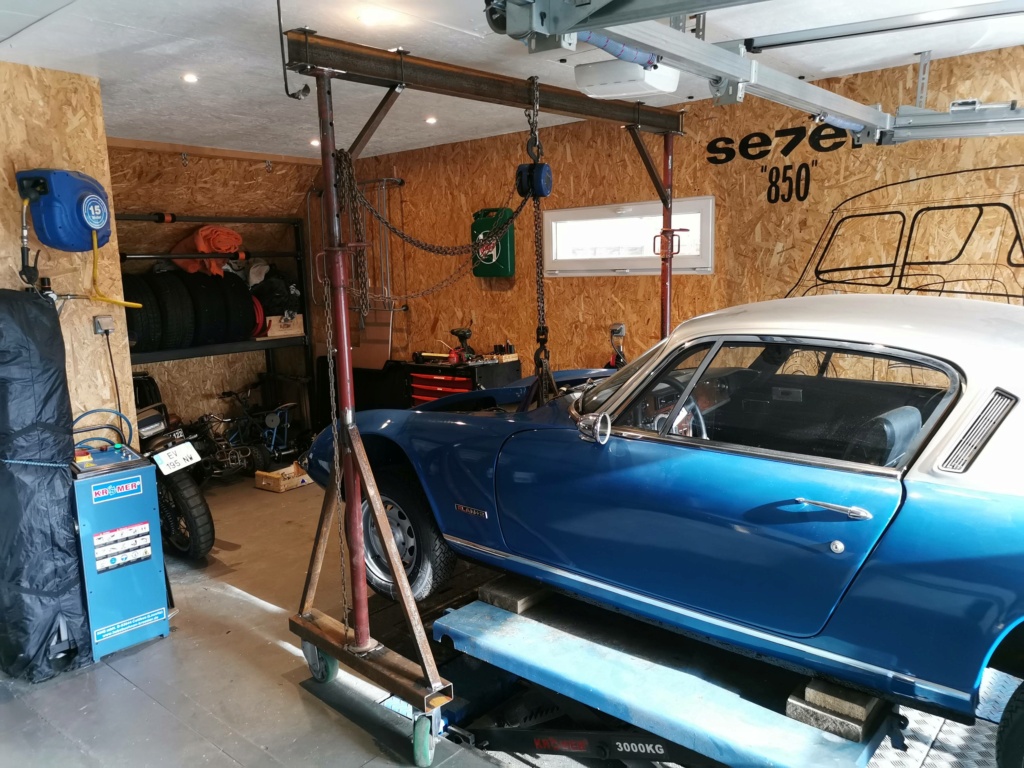
my engine lifter was too short to access to the engine !
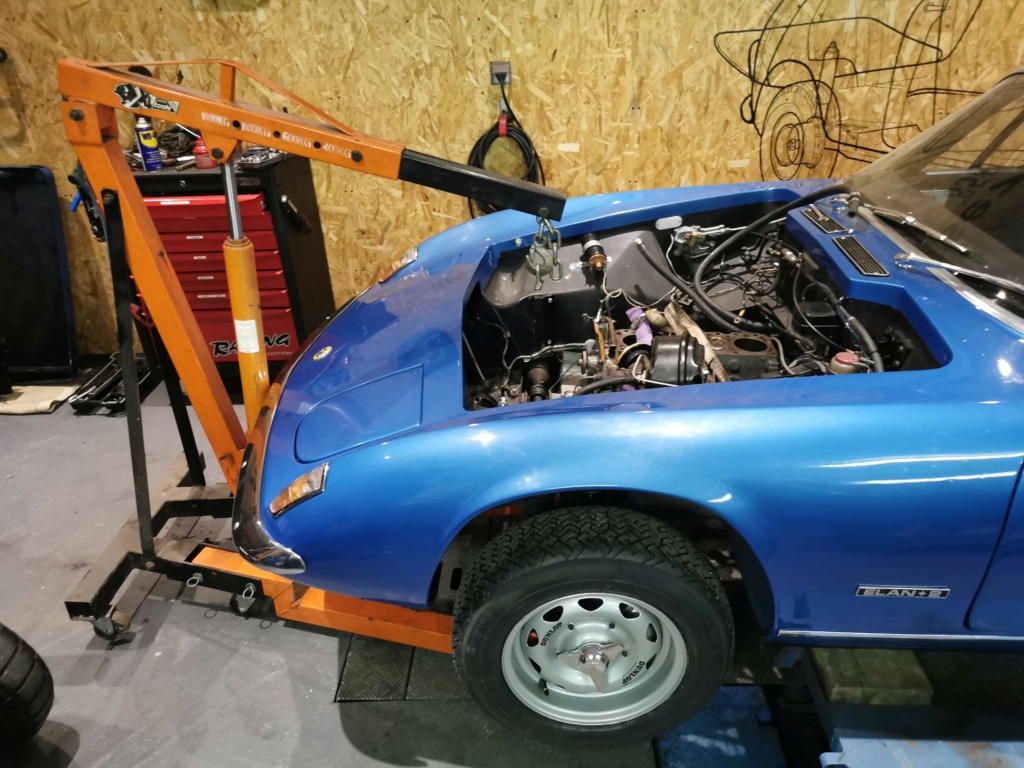
I made something else who made the job ! :
after starting engine , this one doesn't run correctly (n°3 cylinder not efficient and I have some returns in n°1 carb (I can see sometimes gaz pressure going into the vacuum pipe or exhausting across the carb port at slow down rev speed)
I have tested the pressure and 1 cylinder is 2 bar less the others
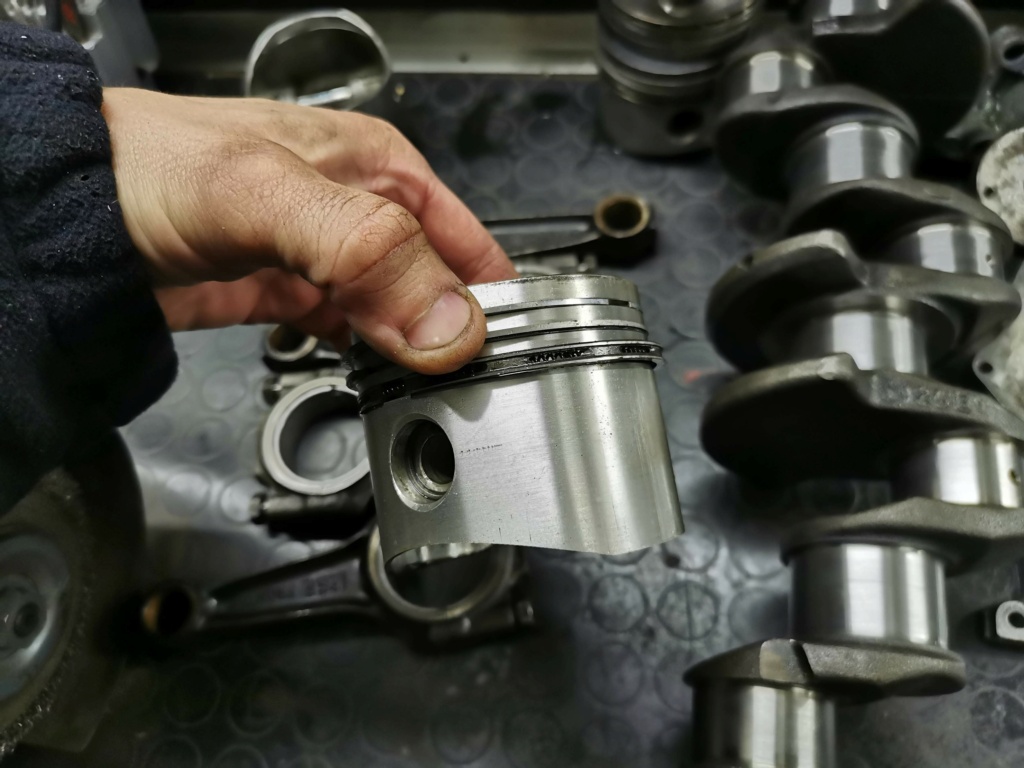
after undo the cylinder head, this is what we can see:
1 piston has visibly heat a valve... and another is different and looks new
I decied to rebuilt the engine... the bores are wear of 0.2mm
my engine lifter was too short to access to the engine !
I made something else who made the job ! :
Last edited by mini90 on Mon Dec 07, 2020 10:02 am, edited 1 time in total.
- mini90
- Second Gear
- Posts: 51
- Joined: 05 Aug 2020
![]() Post by: mini90 » Mon Dec 07, 2020 10:00 am
Post by: mini90 » Mon Dec 07, 2020 10:00 am
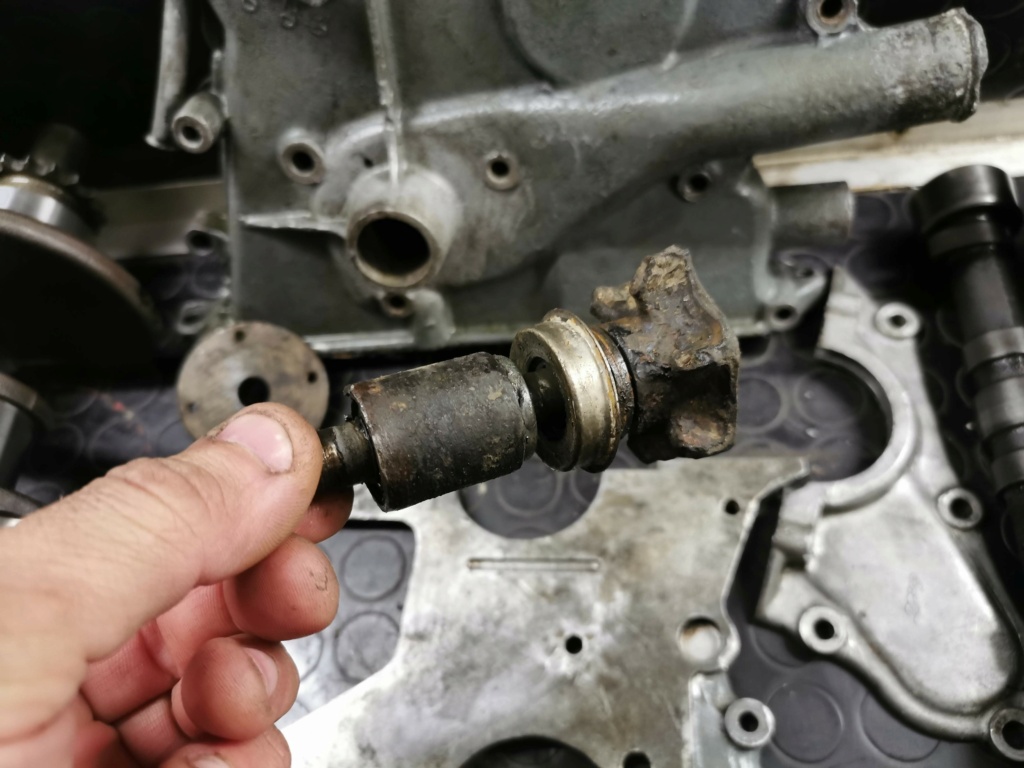
here we go :
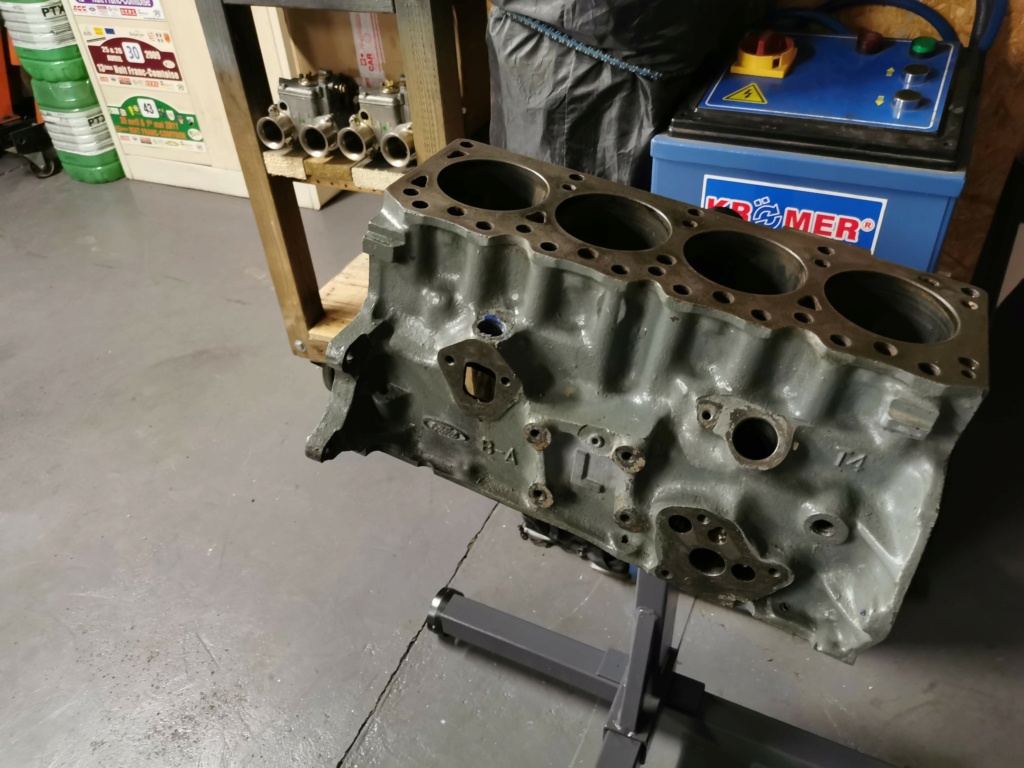
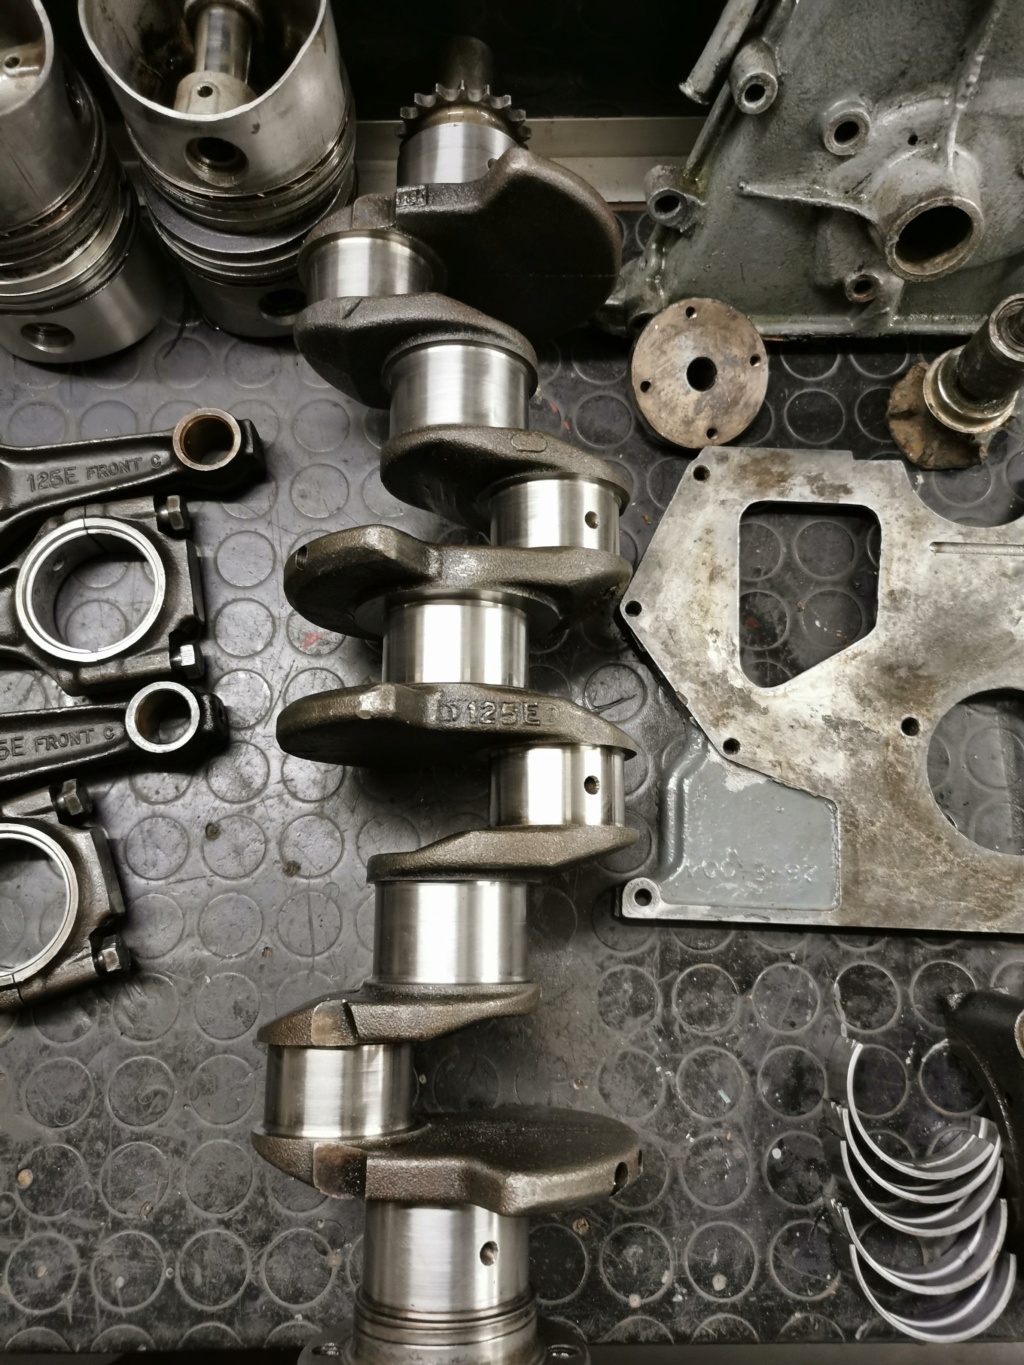
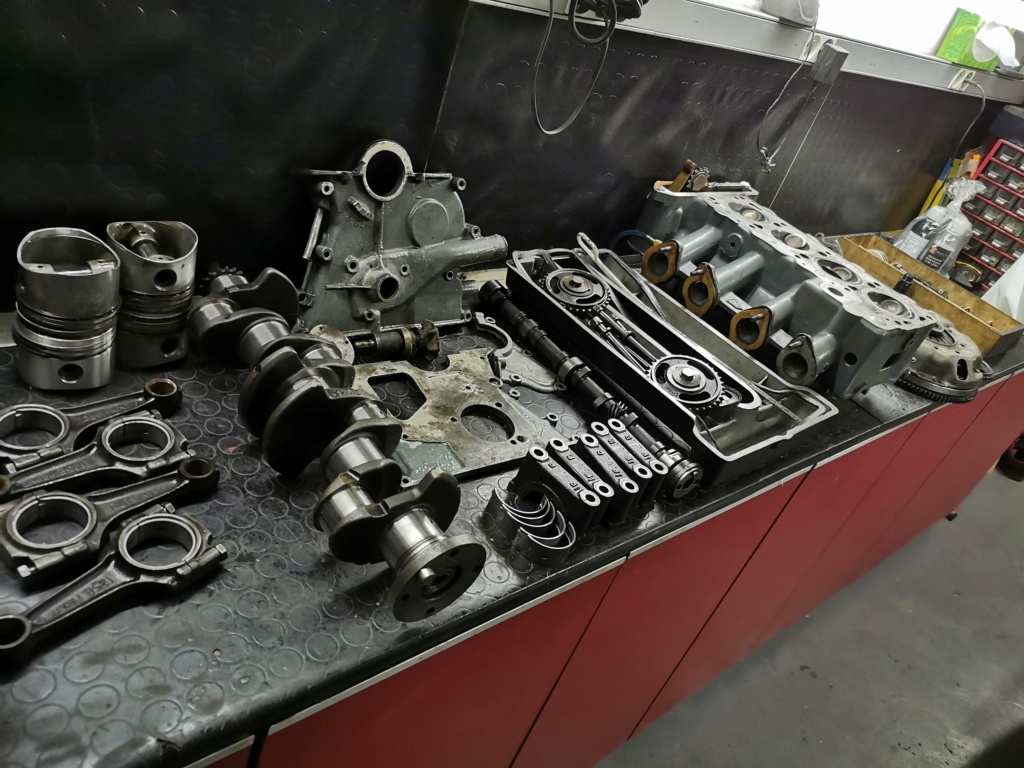
the water pump is in perfect condition as you can see...
the casing is in poor condition and has already been modified with aditionnal ring for bearing
I plan to make a removable water pump as we can find in several lotus parts shops
one new piston ;but only one !
oil sump looks bad too ; and I don't know if it's the correct one for my car
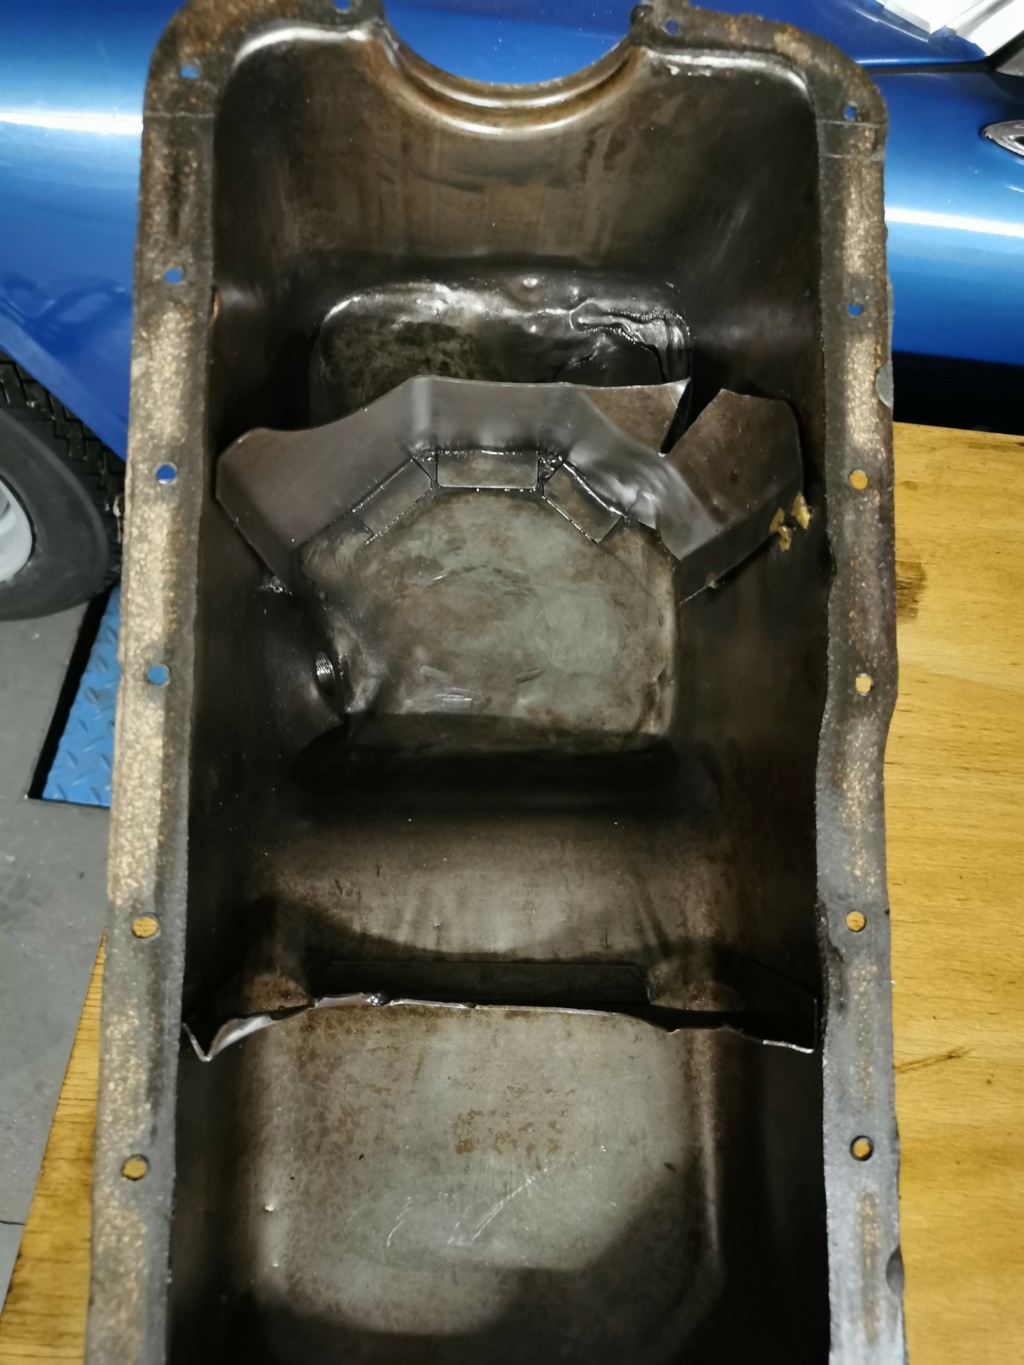
I think I haven't the correct engine for my car : the car is a +2S /130 big valve 1972 but crankshaft has only 4 holes and has the early oil seal retainer type
do you know when the crankshaft pass to 6 holes type ?
the water pump is in perfect condition as you can see...
the casing is in poor condition and has already been modified with aditionnal ring for bearing
I plan to make a removable water pump as we can find in several lotus parts shops
one new piston ;but only one !
oil sump looks bad too ; and I don't know if it's the correct one for my car
I think I haven't the correct engine for my car : the car is a +2S /130 big valve 1972 but crankshaft has only 4 holes and has the early oil seal retainer type
do you know when the crankshaft pass to 6 holes type ?
- mini90
- Second Gear
- Posts: 51
- Joined: 05 Aug 2020
![]() Post by: Darek Brewin » Wed May 03, 2023 3:53 am
Post by: Darek Brewin » Wed May 03, 2023 3:53 am
Hello, I sat down tonight to make myself a set of 3D printed spacers for the bonnet catch as shown in earlier posts. My wooden spacers are too warped to get a measurement out of. Could you post the thickness of the top and botoom of the wedgees?
I come back to this build string regulary to check for updates. I like your approach and hope you are pushing on with the rebuild.
Darek
I come back to this build string regulary to check for updates. I like your approach and hope you are pushing on with the rebuild.
Darek
- Darek Brewin
- New-tral
- Posts: 9
- Joined: 22 Oct 2018
24 posts
• Page 2 of 2 • 1, 2
Total Online:
Users browsing this forum: No registered users and 16 guests