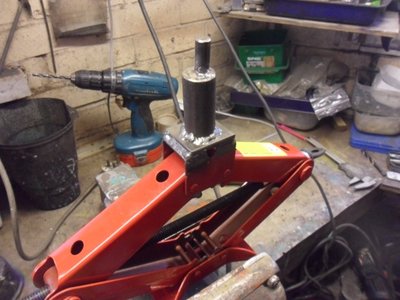
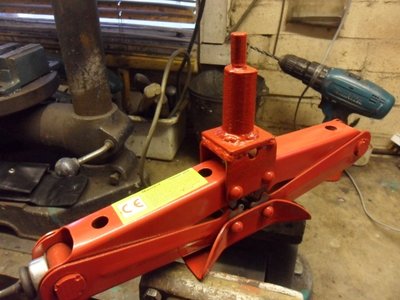
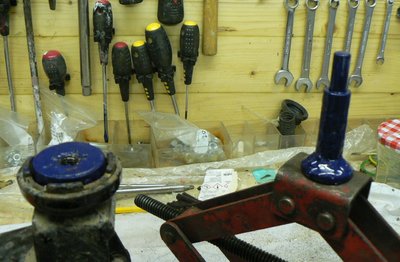
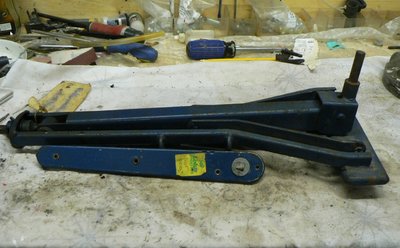
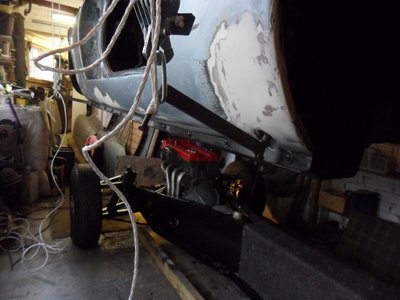
Home made Plus 2 jack
18 posts
• Page 1 of 2 • 1, 2
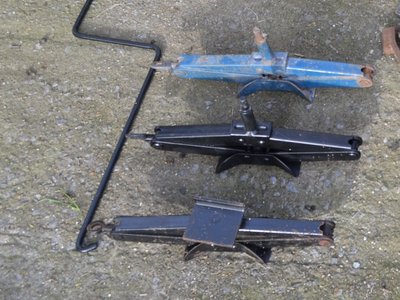
Very similar to the later jacks that came with the S 130 cars, Kev. The one at the bottom is the later one for a Sprint, and the others are for the Plus 2.
Mark
Mark
-

Elanintheforest - Coveted Fifth Gear

- Posts: 2489
- Joined: 04 Oct 2005
I'm thinking of making a couple of similar tools to fit trolley jacks.
Why is the central bar offset?
Why is the central bar offset?
- vincereynard
- Coveted Fifth Gear

- Posts: 1072
- Joined: 12 Jan 2015
Vince,
It's quite a tight fit to get the 'central bar' to locate and be supported from beneath without fouling the fibreglass. You'll also see that I had to grind off a section on the inside edge of the supporting bar.
While you want the bar to be central on the Jack, it's difficult to avoid the sill without making the bar too long and not being able to fit it underneath when you have a flat tyre.
I use a trolley jack to raise the rear by using a wooden U shaped block to straddle the exhaust.
Kev.
- KevJ+2
- Fourth Gear

- Posts: 641
- Joined: 23 Aug 2013
nono17120 wrote:not an early Elan?
because I thought to make me one, but it won't be like this
The Elan doesn't have the jacking hole of the +2 which has a piece of metal inside the fibreglass under the door.
Jack up the front of an Elan using the chassis crossmember (vacuum chamber) and the back with a flat plate under the bodywork just in front of the wheel or, to save stressing the Rotoflex couplings, under the 'A' frame next to the rear brake disk.
Meg
26/4088 1965 S1½ Old and scruffy but in perfect working order; the car too.
________________Put your money where your mouse is, click on "Support LotusElan.net" below.
26/4088 1965 S1½ Old and scruffy but in perfect working order; the car too.
________________Put your money where your mouse is, click on "Support LotusElan.net" below.
-

Quart Meg Miles - Coveted Fifth Gear

- Posts: 1170
- Joined: 03 Oct 2012
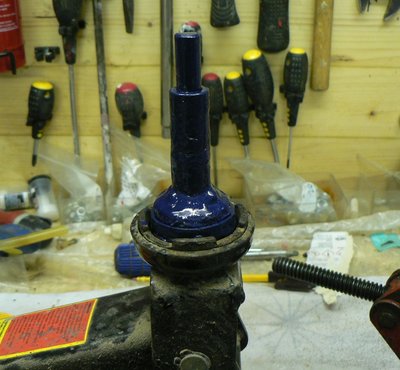
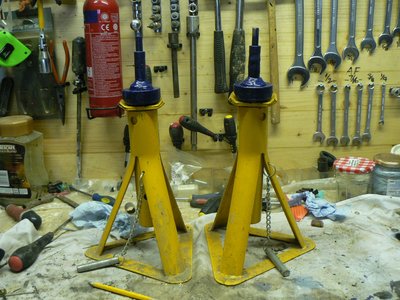
I've made a device that will screw into a scissor jack or, with an adapter, fit into the recess of a trolley jack.
My existing jack seems different to the images above.
My existing jack seems different to the images above.
- vincereynard
- Coveted Fifth Gear

- Posts: 1072
- Joined: 12 Jan 2015
And with a couple of other adapter rings can also fit on axle stands!
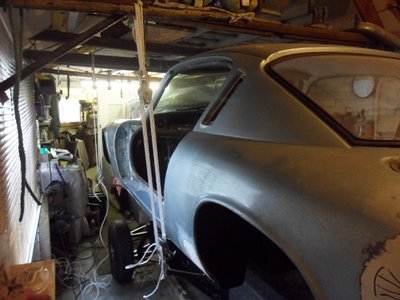
Time to get it up and actually start work!
Time to get it up and actually start work!
- vincereynard
- Coveted Fifth Gear

- Posts: 1072
- Joined: 12 Jan 2015
KevJ+2 wrote:Why do it from underneath ?
Would love to see a better picture of the brackets! Thought of doing something similar when I swap chassis...
Also measurements for jack "head" would be appreciated as I am missing a hack so need to make something.
Thanks
'73 +2 130/5 RHD, now on the road and very slowly rolling though a "restoration"
- mbell
- Coveted Fifth Gear

- Posts: 2640
- Joined: 07 Jun 2013
The brackets were simply a bit if sturdy bar with a small bolts welded to the ends to stop the lifting cord from sliding off.
On the other end, I welded cut down rotoflex bolts which are a good fit into the sill plate jacking point holes. But on one, the bolt sheared off, so would suggest using same size but a stronger material.
For the jack 'head' I again used a cut down rotoflex bolt as it's use is more a locator. The base beneath it (round bar) supports the weight is a diameter of maybe 1" (I would have to check). It's also maybe about 2.5" to 3" long to avoid contacting the sill and bottom flange when attached to the jack.
I'll check the measurements tomorrow and advise if wrong.
I took the body off on my own using the pulleys and if you take your time to raise and lower equally, I found it to be a good method.
Kev.
- KevJ+2
- Fourth Gear

- Posts: 641
- Joined: 23 Aug 2013
18 posts
• Page 1 of 2 • 1, 2
Total Online:
Users browsing this forum: No registered users and 8 guests

