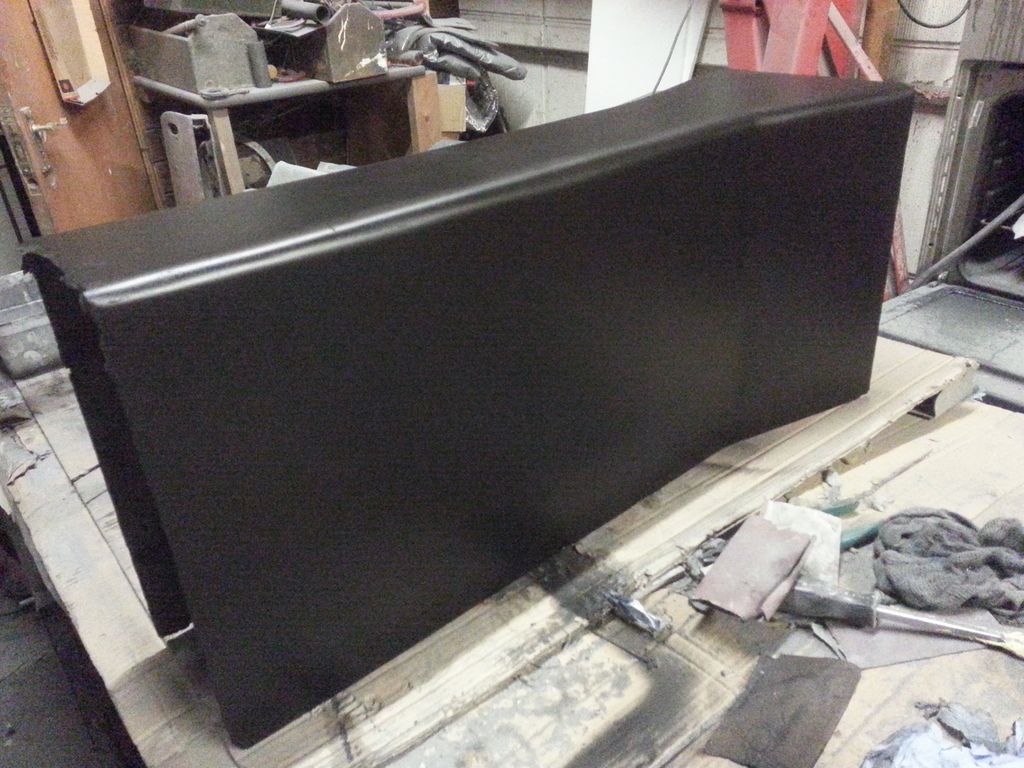
Cosworth YB Turbo Into Elan
stevebroad wrote:Been researching rear wings as I may need one. Can't find anything suitable that has a decent profile. Most of the eBay offerings, for example, must have been designed by someone who skipped aerodynamics in primary schoolThe decent wings are a lot of money - ?1000 plus
Anyway, found a NACA profile that I like so I imported it into AutoCad and scaled it to 250mm chord length.
My idea is to make a pattern out of foam board shaped using CNC mill cut profiles so the next task was to create a G-Code for the CNC machine - done.
I will use the pattern to make a fibreglass mould. From this I will make the carbon fibre wing. Still have to work out how to secure support brackets and end plates.
I am looking into making it movable so it can act as an air brake at the end of the 1/4 mile. As I already have compressed air on board I am thinking of using pneumatic actuators. They are both lighter and quicker than linear actuators and I need it to move quickly to be of any use.
The wing will be set up to aid stability at high speed with the option of the increasing the angle of attack so it acts as a brake. Brake light pressure switch will be used to activate it.
Adding a "Gurney Flap" on the trailing edge will significantly increase downforce - you can reduce the angle of attack and therefore drag as a result.
Evan J
Elan S4 FHC RHD 36/8569 AND White Evora S..
Elan S4 FHC RHD 36/8569 AND White Evora S..
-

RedS4 - Third Gear

- Posts: 232
- Joined: 20 Aug 2009
That's a given  I have yet to decide whether to build it into the wing during fabrication or add one later.
Update - including Gurney in wing fabrication would prove tricky, so tacked on afterwards it is.
Update - including Gurney in wing fabrication would prove tricky, so tacked on afterwards it is.
- stevebroad
- Fourth Gear

- Posts: 846
- Joined: 08 Mar 2004
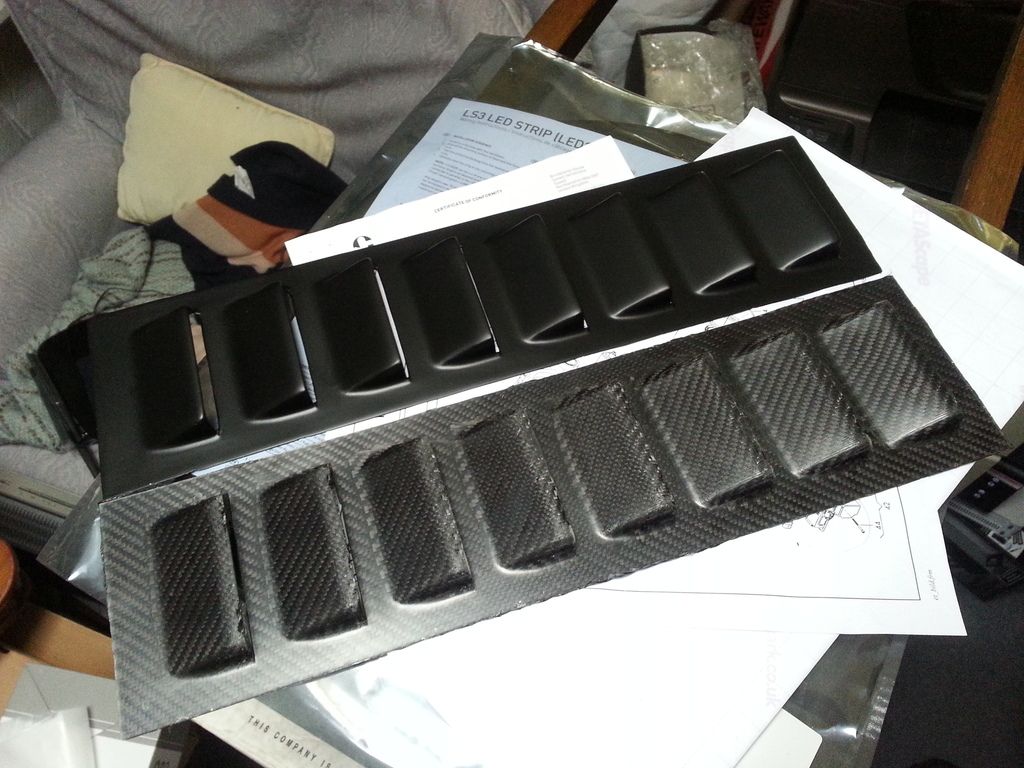
Been looking for wing vents. As usual I couldn't find what I wanted so had to make my own. No change there, then 
Designed a mould and had it made by my tame CNC workshop (too complicated for my machine).
After 3 failed attempts using pre-preg carbon, I have managed to get a couple out that are acceptable. Photo shows the final two, one as it came out of the mould and the other after fettling and painting.
Unpainted 51gms, painted 68gms. Whichever ends up heaviest will go on the passenger side to help even up the weight smile emoticon These will save over 1kg which equals around 1bhp/tonne

- stevebroad
- Fourth Gear

- Posts: 846
- Joined: 08 Mar 2004
Been doing some sums and I think that I will have trouble keeping the Elan below 700kg, as opposed to below 650Kg that I was hoping 
I suppose that I should take some consolation in the fact that it would have weighed over 850kg if I hadn't put it on a serious diet.
I suppose that I should take some consolation in the fact that it would have weighed over 850kg if I hadn't put it on a serious diet.
- stevebroad
- Fourth Gear

- Posts: 846
- Joined: 08 Mar 2004
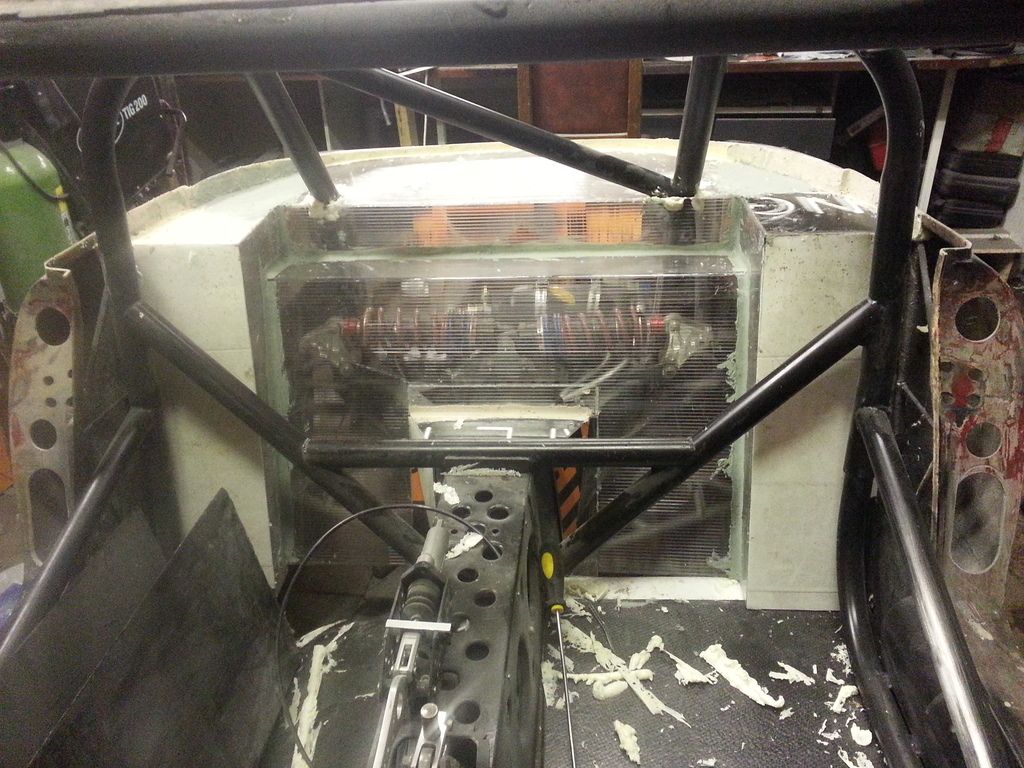
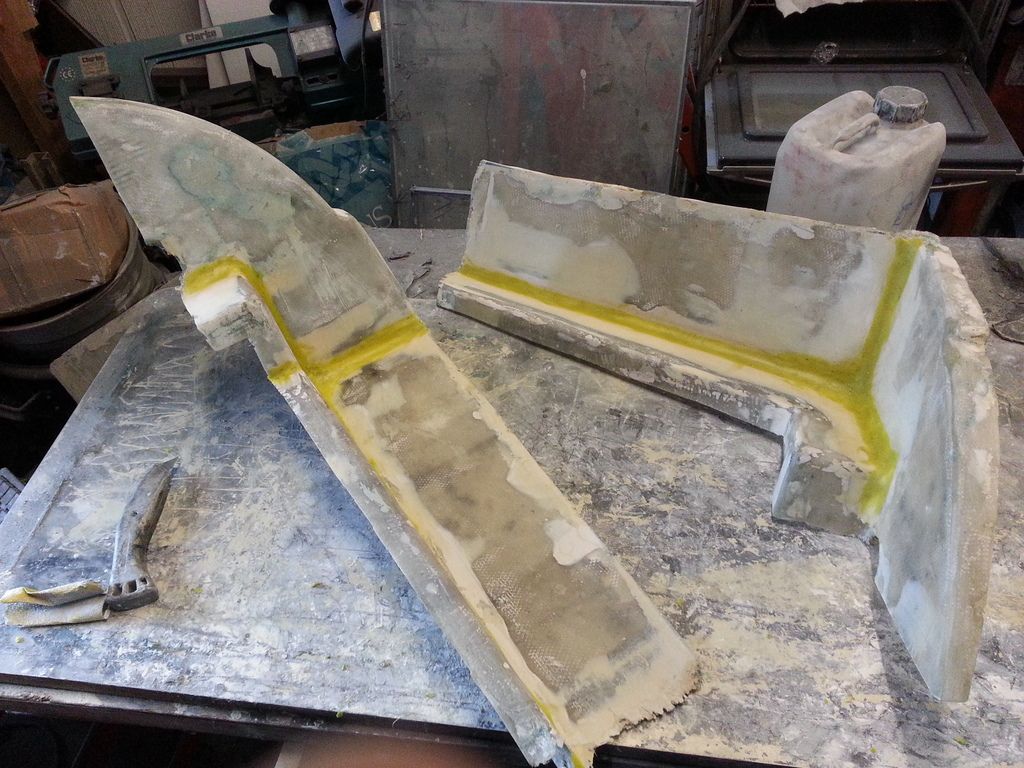
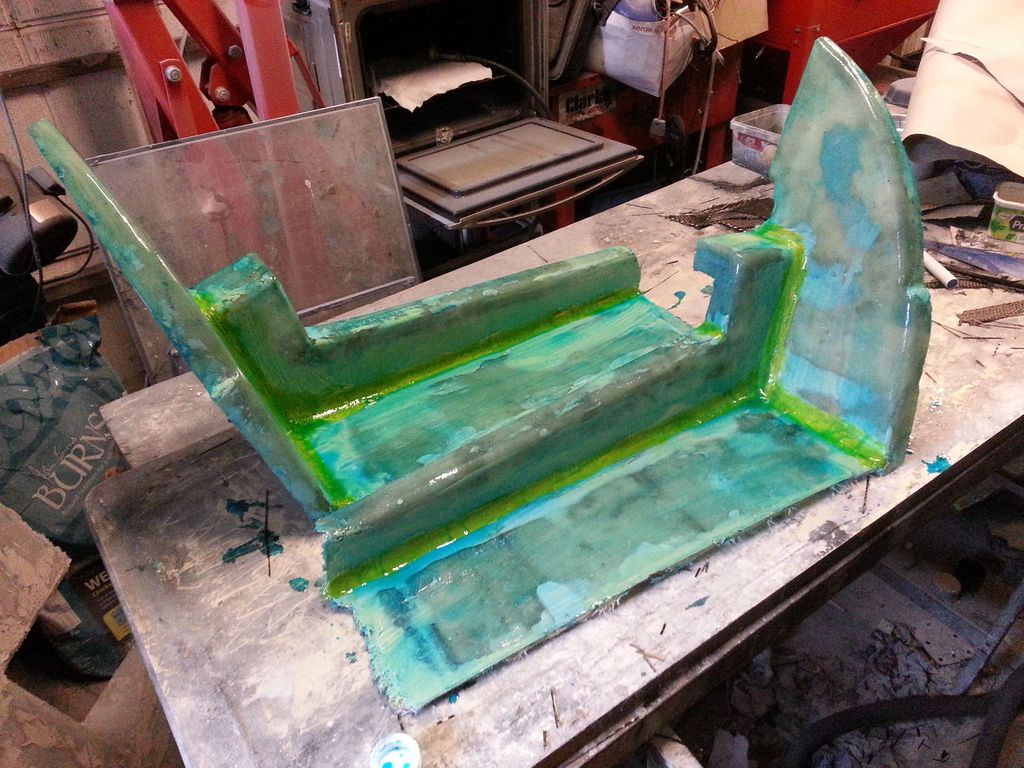
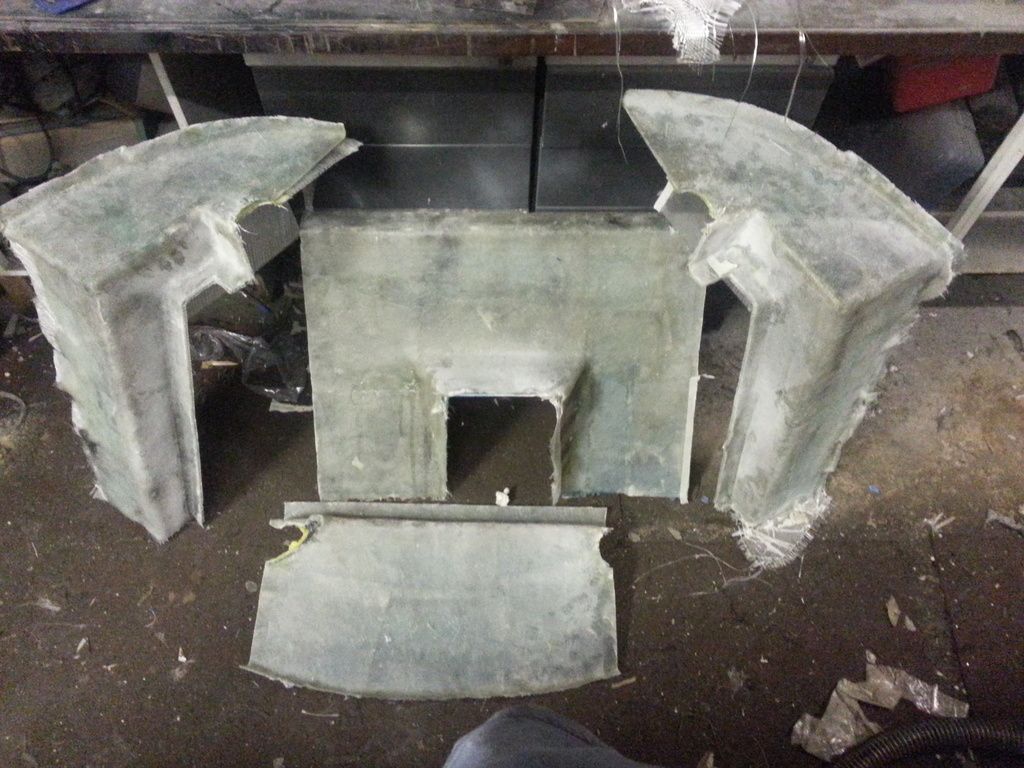
Rear panel mould fibreglassed and, after a fair bit of cussing, I managed to extricate the mould sections. Next task is to trim and smooth them.
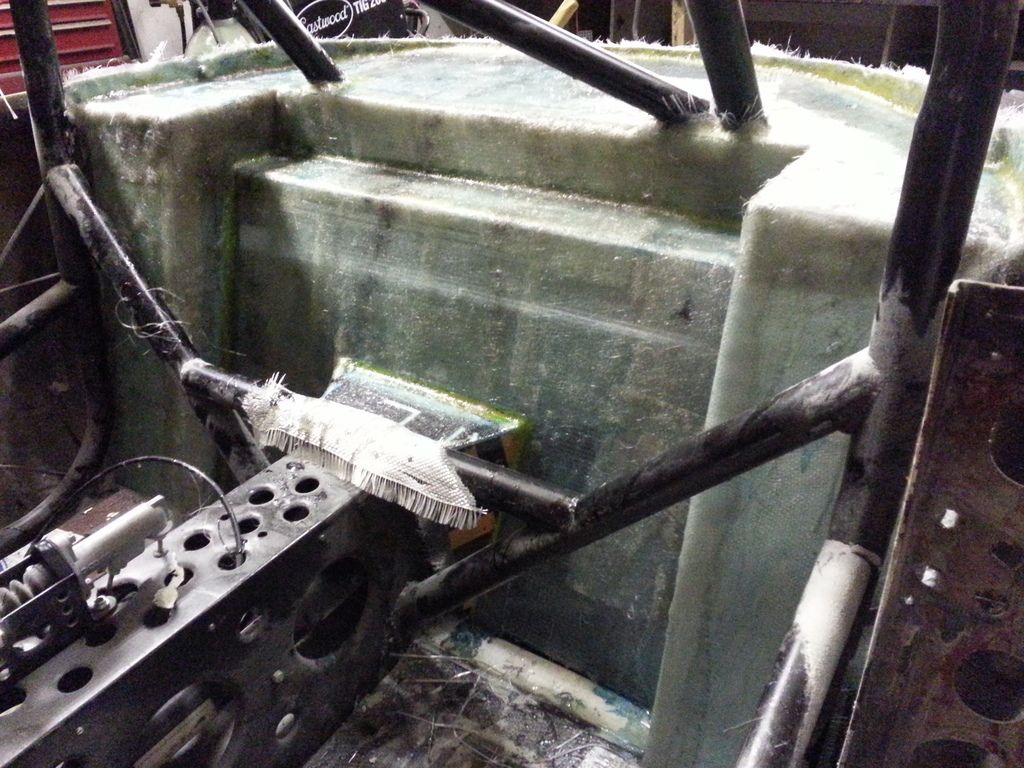
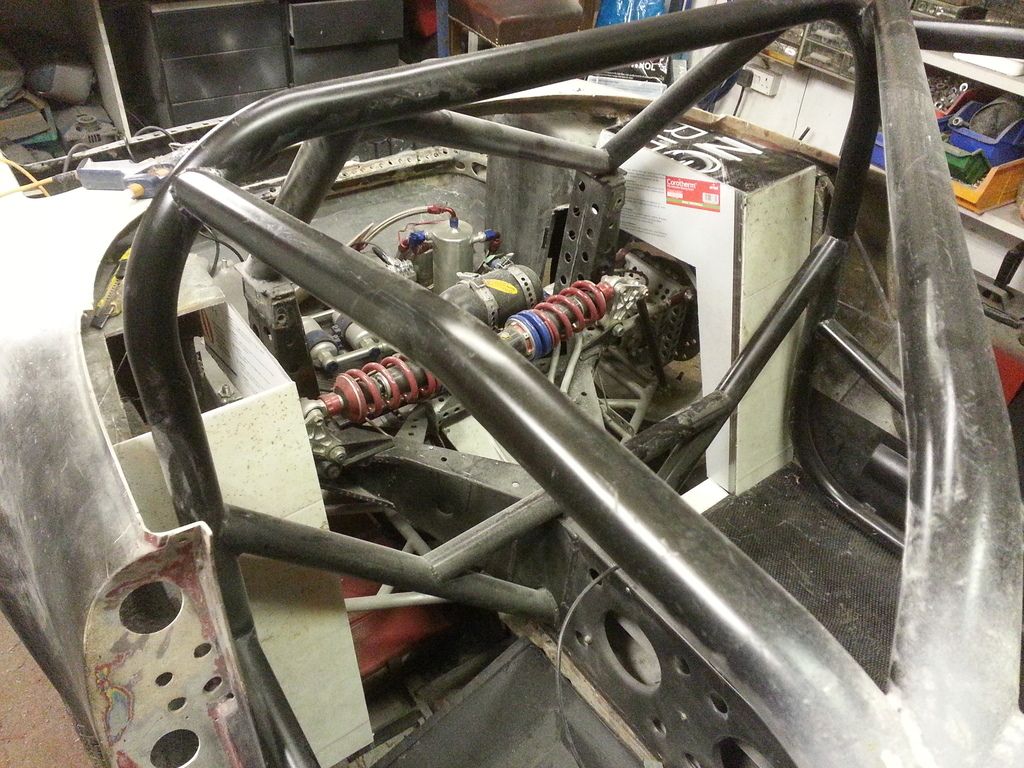
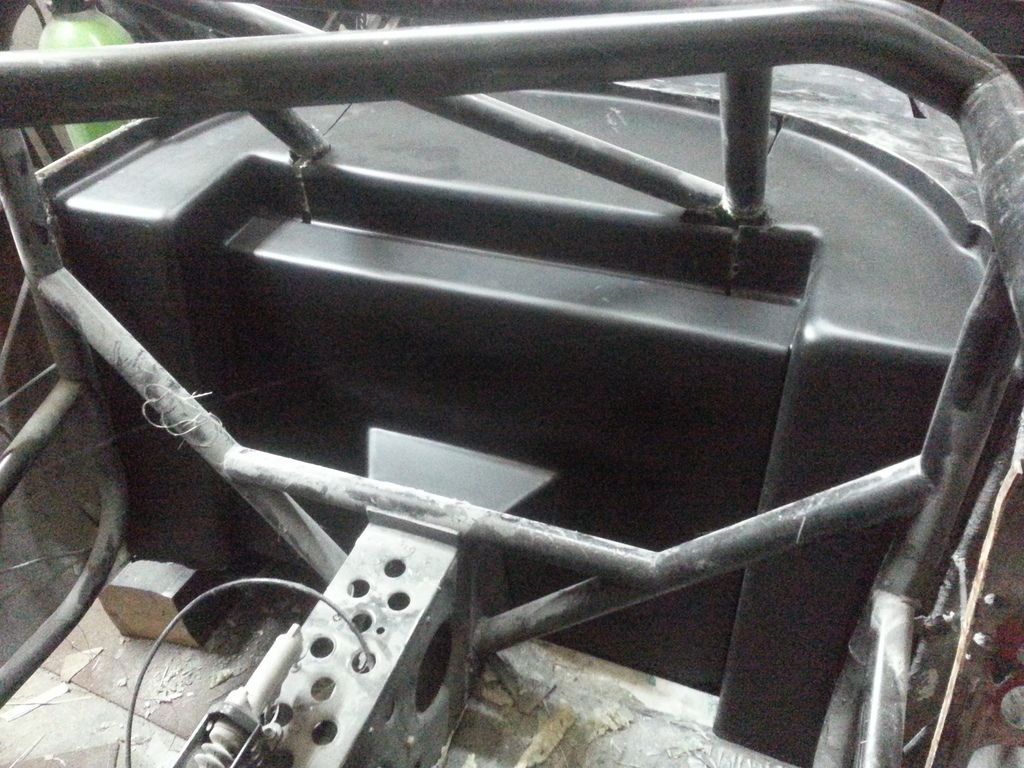
Whilst staring at the car I realised that there was a weak point in the cage. The rear suspension struts to which the roll cage is welded are not connected so there is no lower triangle. I will fix this with a tube as shown in the photo.
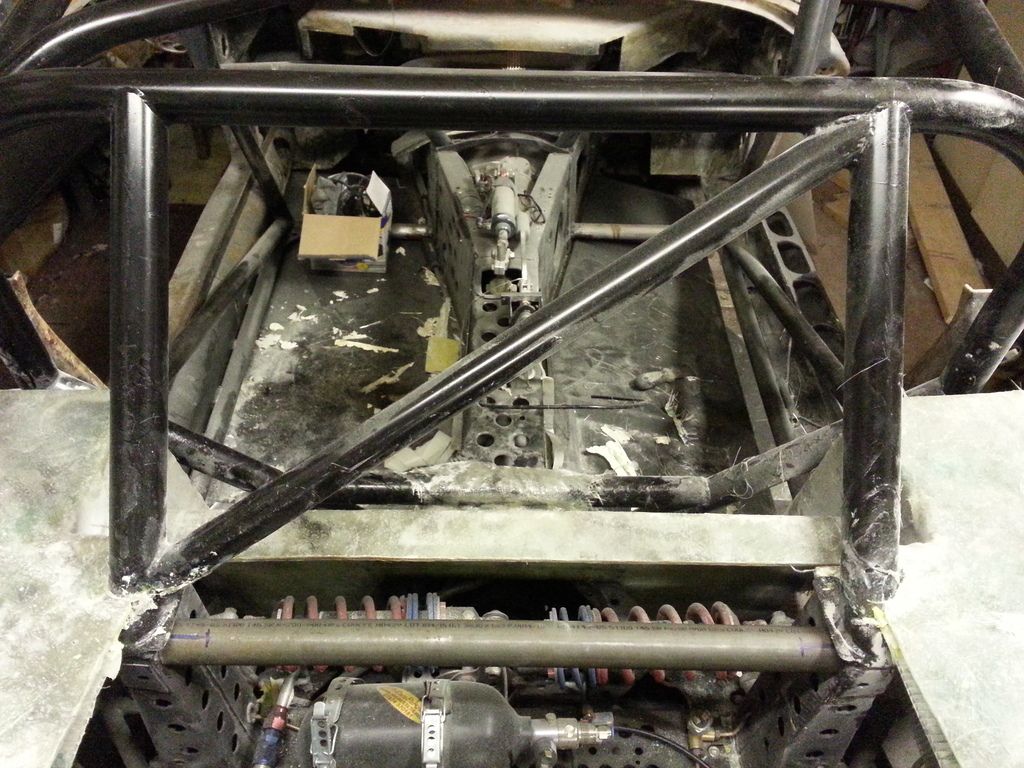


Whilst staring at the car I realised that there was a weak point in the cage. The rear suspension struts to which the roll cage is welded are not connected so there is no lower triangle. I will fix this with a tube as shown in the photo.

- stevebroad
- Fourth Gear

- Posts: 846
- Joined: 08 Mar 2004
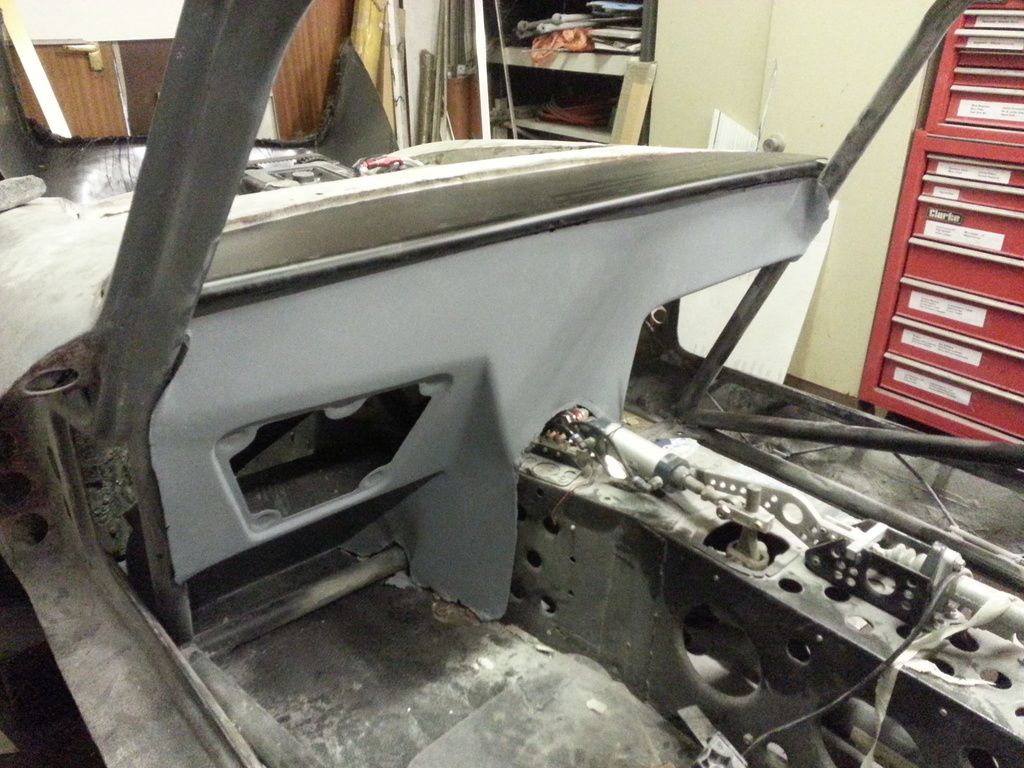
Trial fit of switch panel with a quick coat of paint to get a better idea of how it will finally look. A tad sparse, but the glove box lid will help (matches the switch panel).
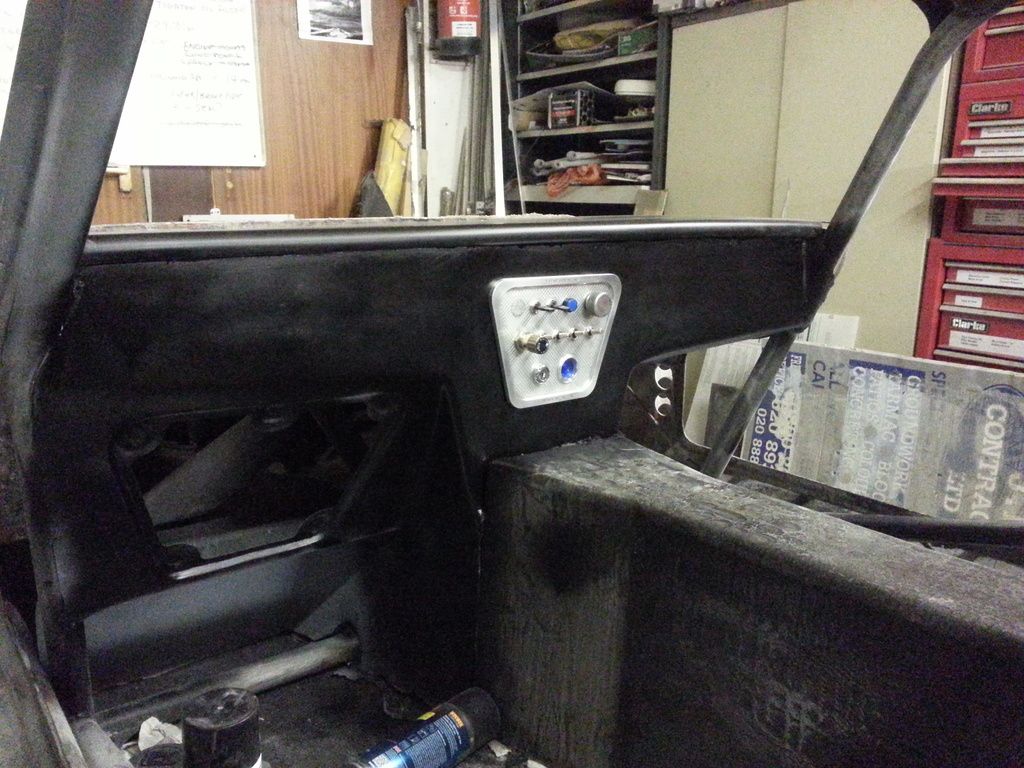
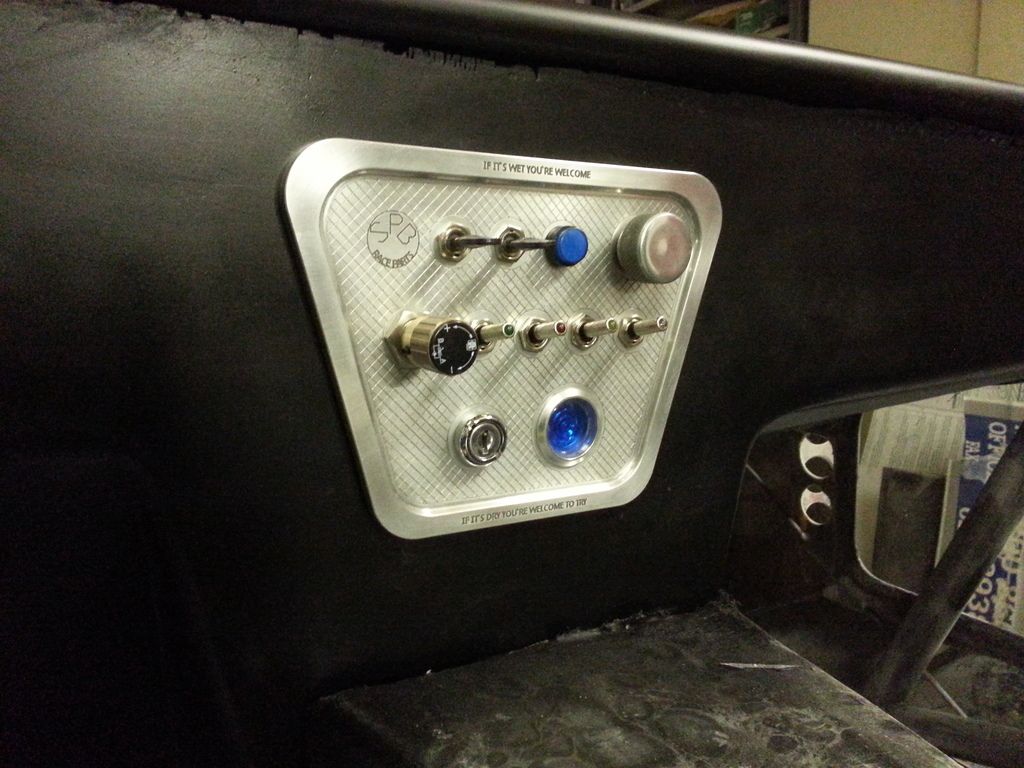
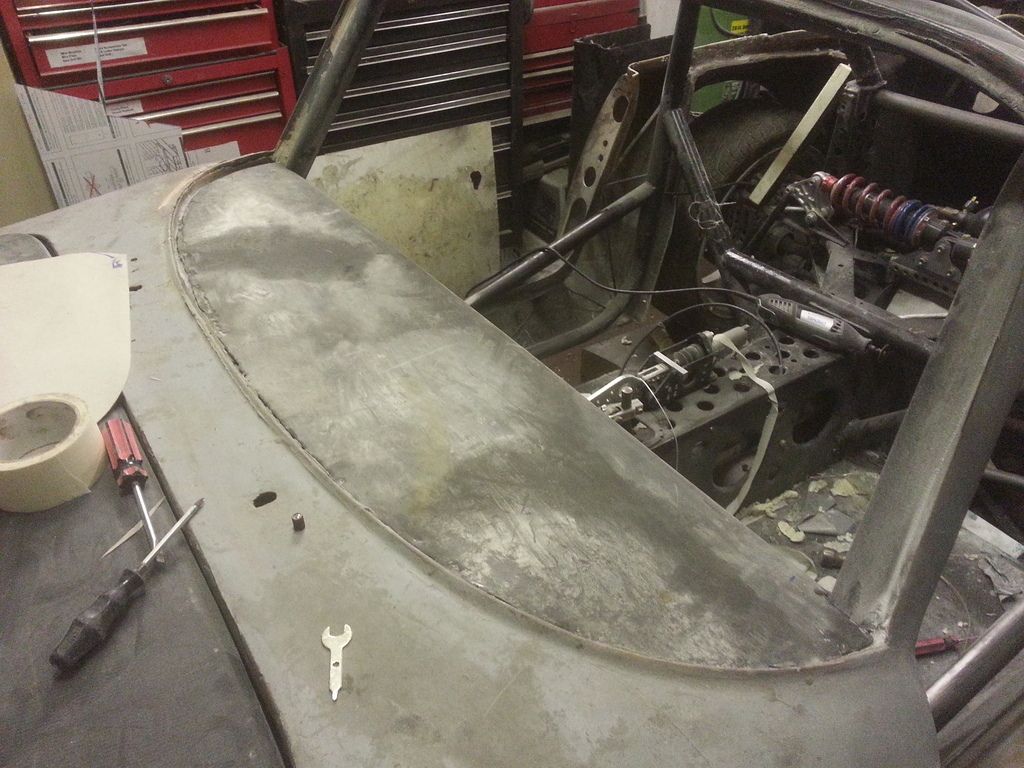
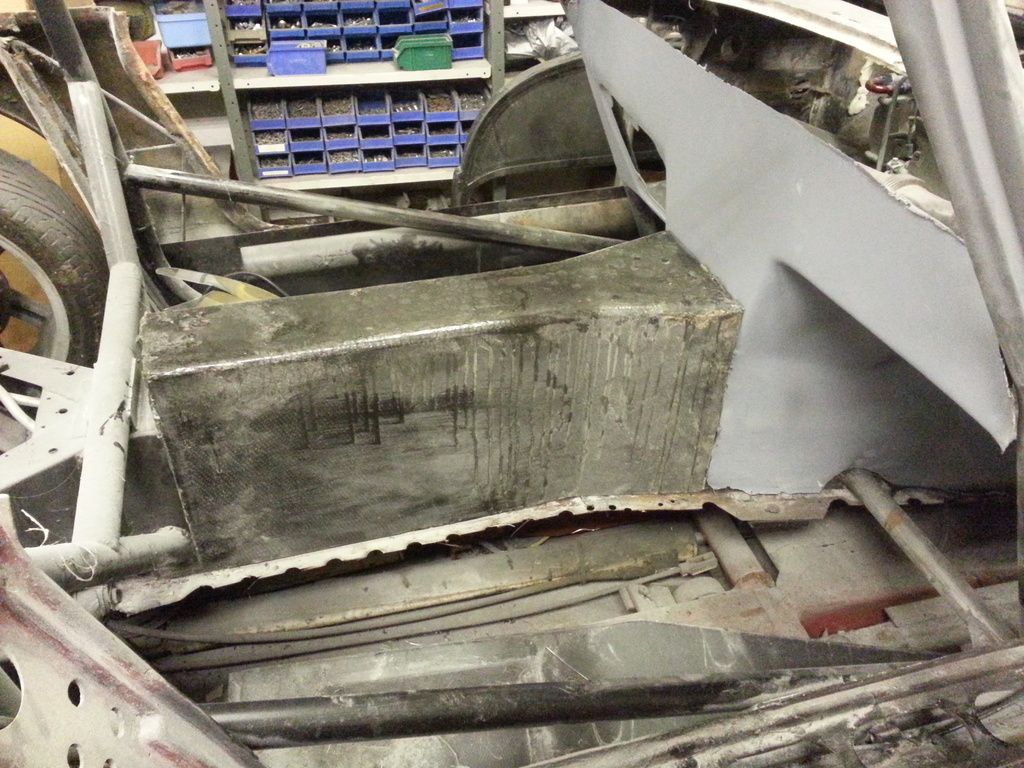
Not finished (more filling and sanding) but had to see if the first part of the rear panel complex fits. Fortunately it does. Three more sections to make.
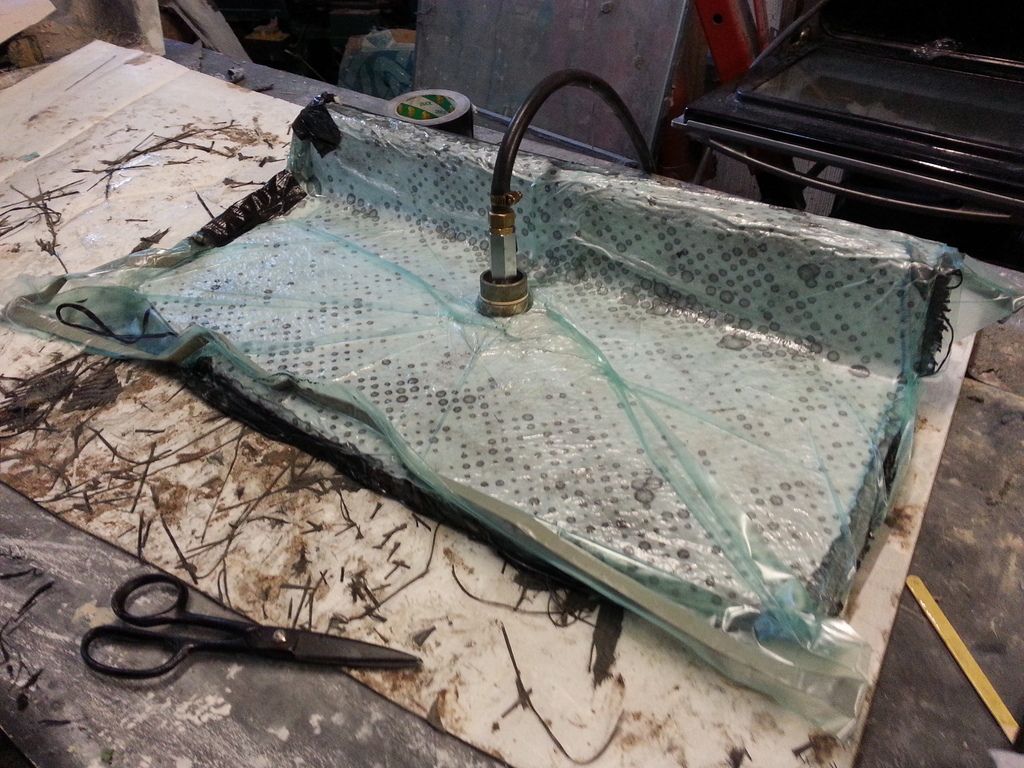
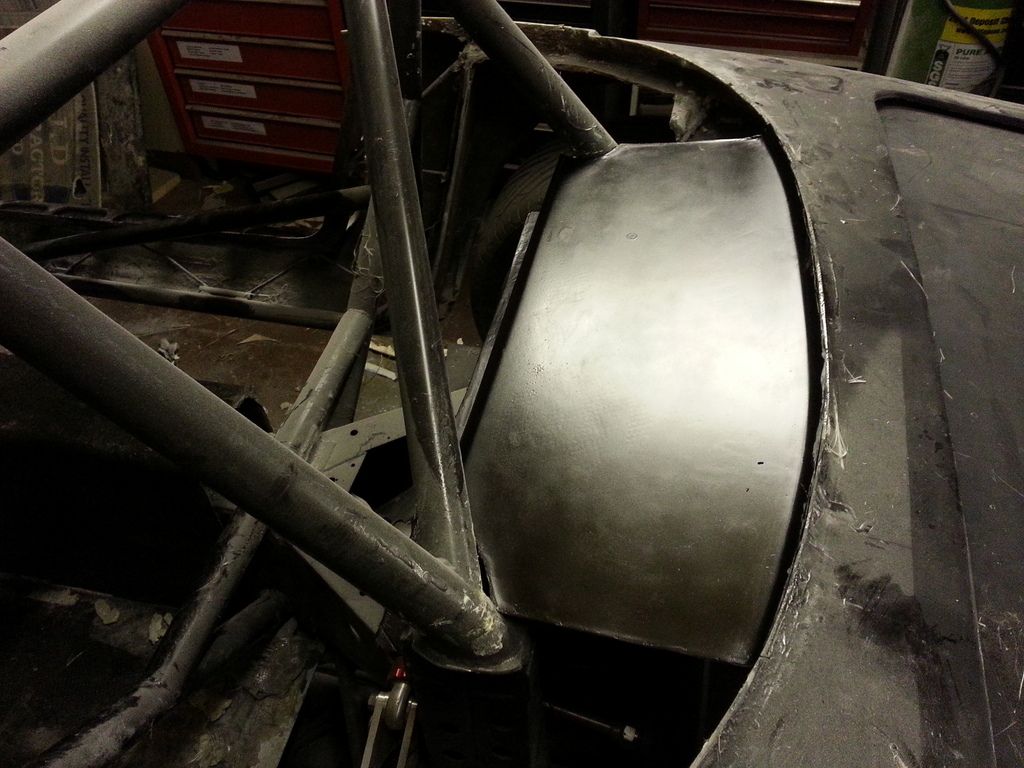
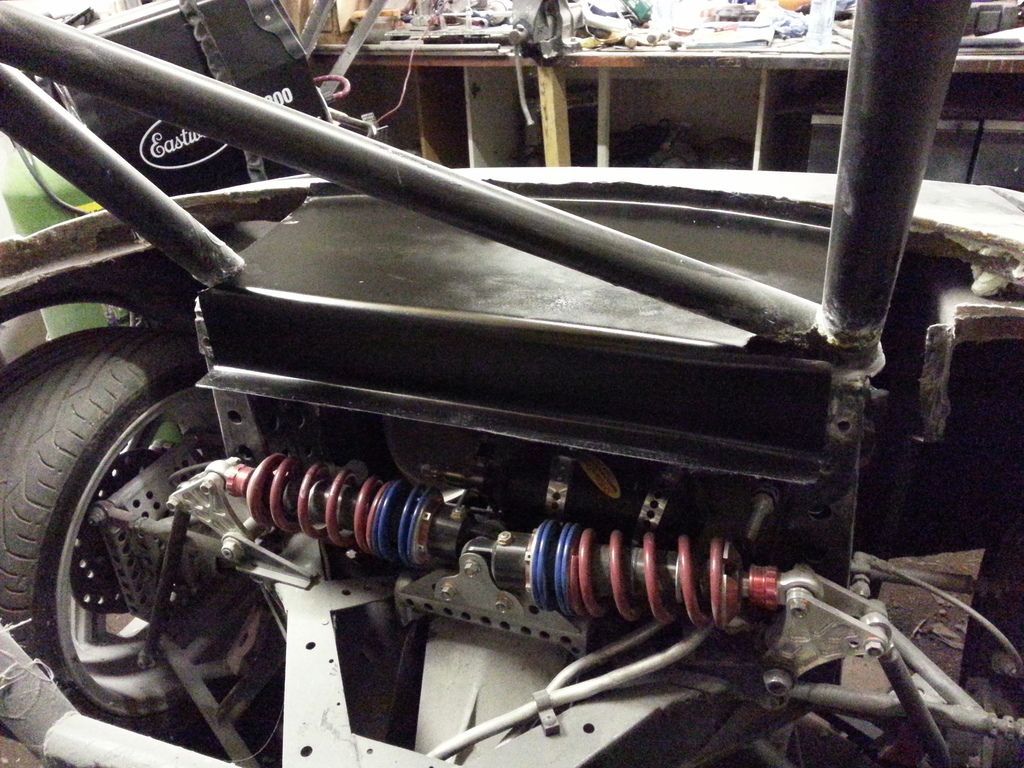


Not finished (more filling and sanding) but had to see if the first part of the rear panel complex fits. Fortunately it does. Three more sections to make.


- stevebroad
- Fourth Gear

- Posts: 846
- Joined: 08 Mar 2004
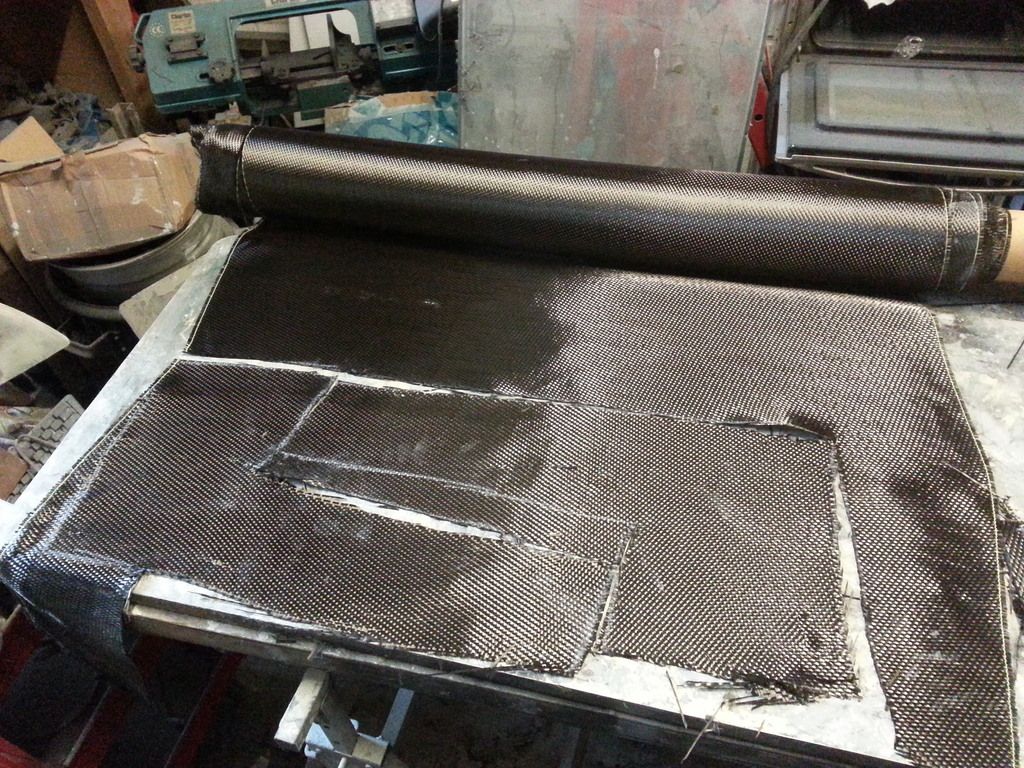
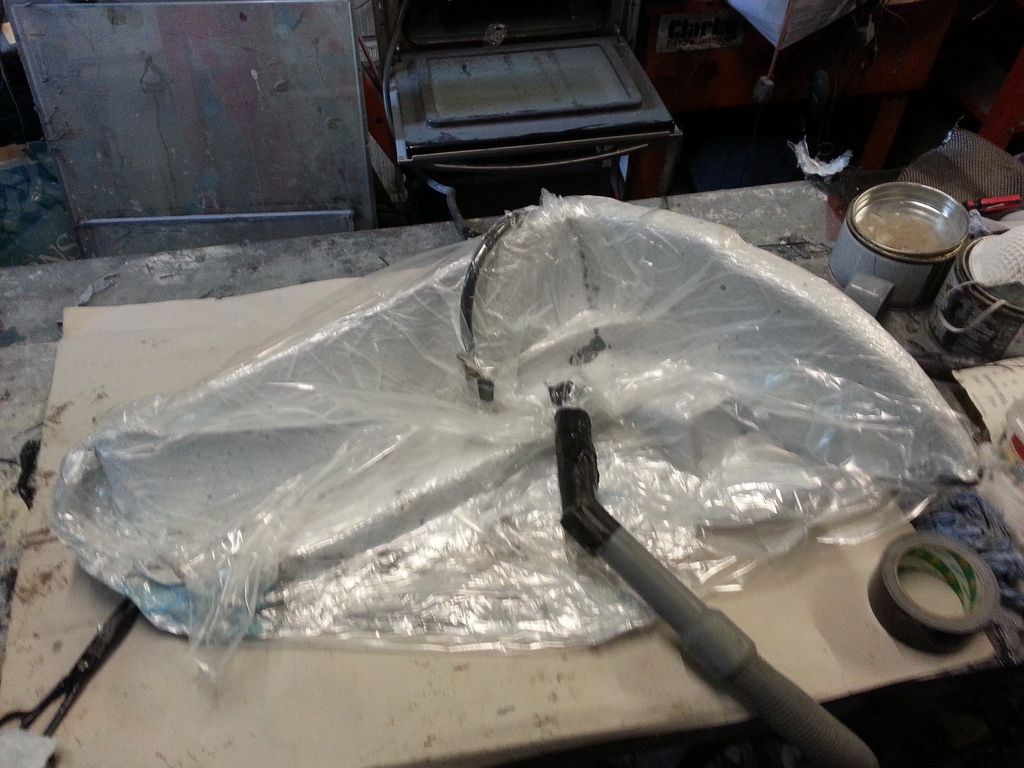
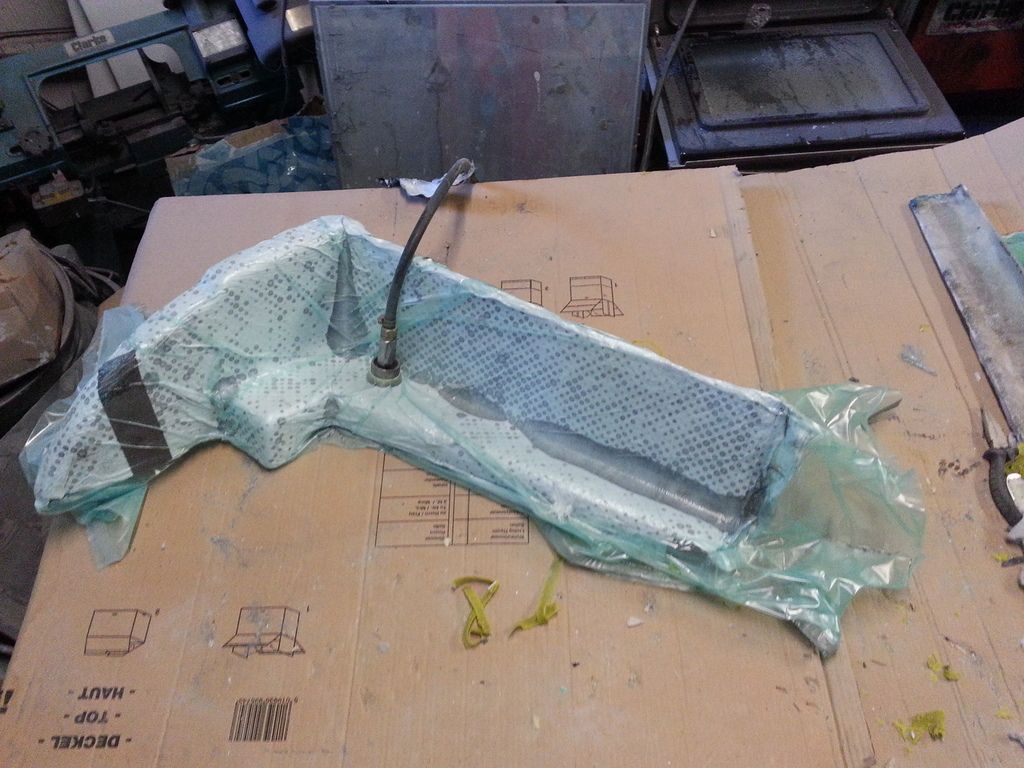
Made the sides of the rear panel today. Up until now I have been using the standard resin hardener, as this gives me 90 minutes pot life. However, it takes 30 hours to cure, slowing down part fabrication. As I have got better at laying up I have started to use the rapid hardener. This only has around 15 minutes pot life but cures in around 6 hours, meaning that multiple parts can be made in a day smile emoticon:-)
To that end I prepared to make the two side sections of the rear panel. To speed things up even more I used a preformed bag so that I only have to seal one end rather than making bags from a roll of bagging film.
Almost a disaster as I couldn't get a vacuum. The pump was pulling air but not enough to squeeze the carbon. Couldn't find any leaks so decided to put another bag around the existing one and attach my workshop vacuum. This worked as it added a little extra squeeze, allowing the main pump to do its job, just. The vacuum pump was also making funny noises so I though that it was on its way out. Great, it is only a couple of months old, so I was already working out what I was going to say to Easy Composites tomorrow.
I had enough of the proper film to make a bag for the second panel so this I did. Took my time making sure it was airtight and it worked a treat! I guess a combination of thin plastic (not designed to hold a vacuum so probably slightly porous) and not a perfect airtight seal caused the problems with the first panel. The pump stopped making funny noises so that's a relief.
Removed the first panel from the mould and it seems OK, but I will reserve judgement until I can compare it's weight with the second panel.


- stevebroad
- Fourth Gear

- Posts: 846
- Joined: 08 Mar 2004
Been in California for five weeks so not much done. Prior to going I dry fitted the rear internal panels and they seem to work, just need a little fettling.
Whilst away I bought roll cage foam, spark plugs and a window net. What I wasn't expecting, though, was on our visit to see Frank Profera (who you may have heard of )
)
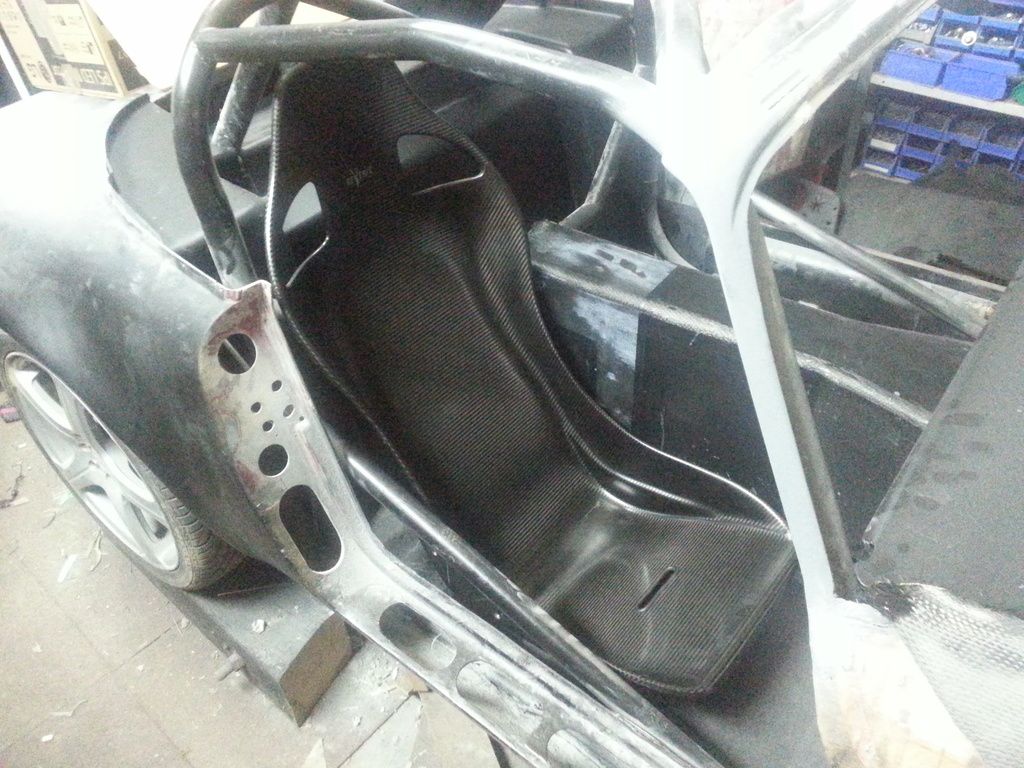
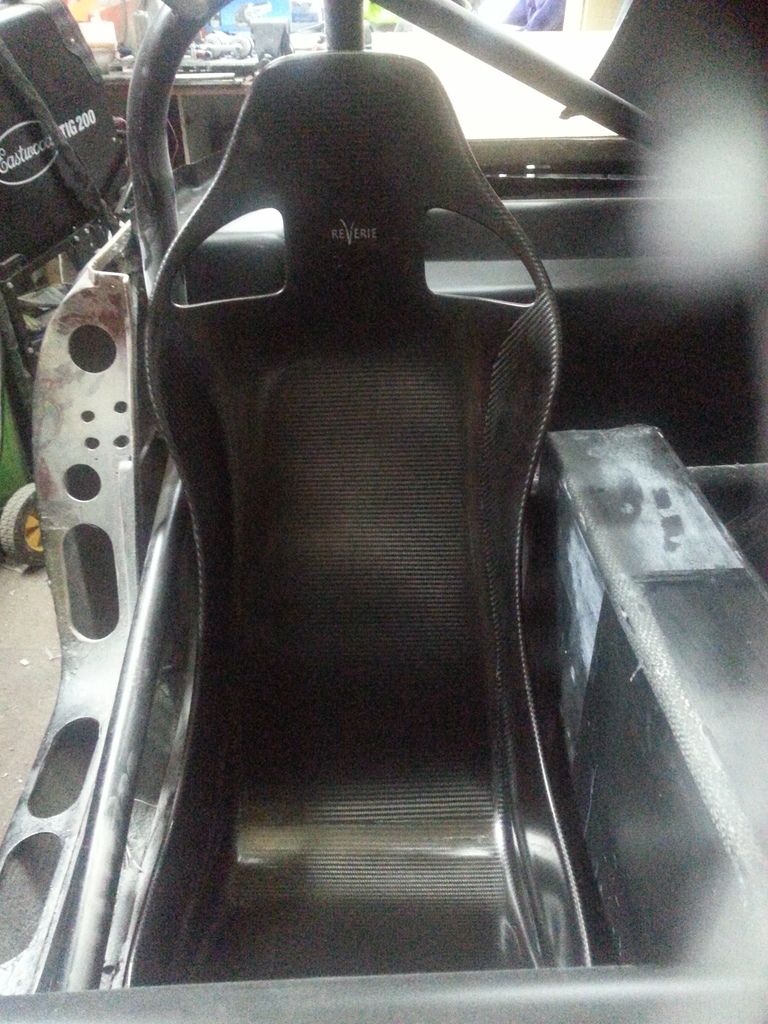
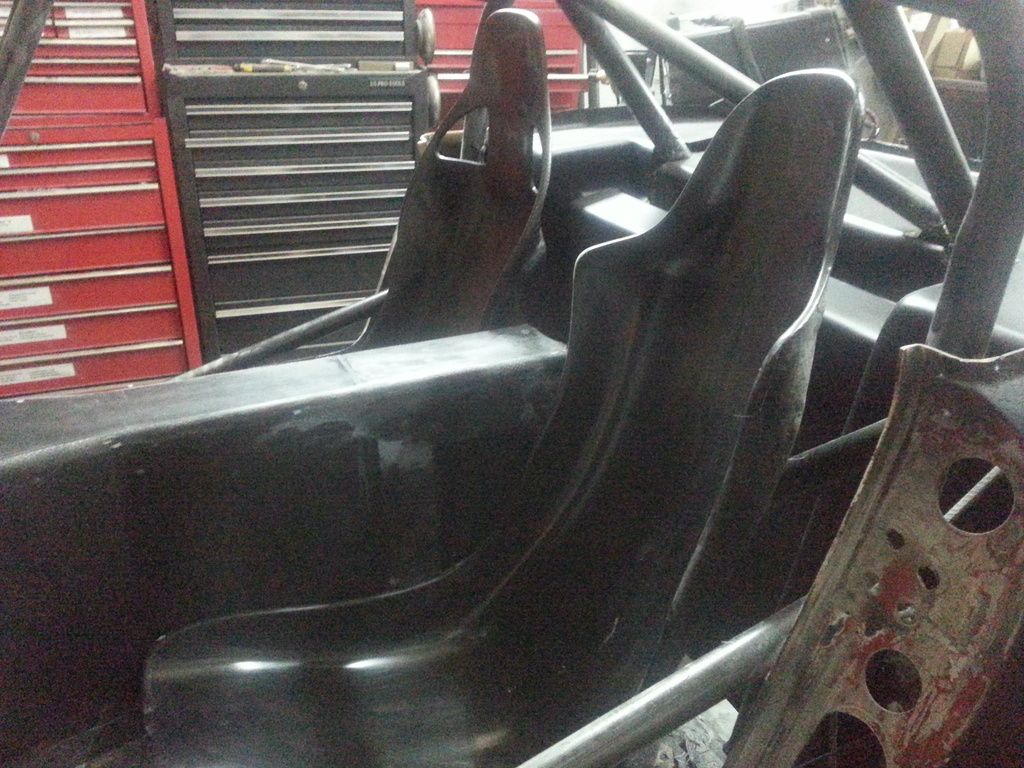
He offered me a damaged Reverie seat (small split in bottom caused by car slipping on lift and one of the arms puncturing the floor) Took me a few seconds to even see the damage. This saves me making another one. The one I have made is too flimsy for a race seat but, with a little stiffening and support, will be fine as the passenger seat. The Reverie weighs 2.4Kg and I can live with that
Got this through customs with no problems (told them what it was and they were happy that it had no real value!) and have test fitted it and it seems to work:

Whilst away I bought roll cage foam, spark plugs and a window net. What I wasn't expecting, though, was on our visit to see Frank Profera (who you may have heard of
He offered me a damaged Reverie seat (small split in bottom caused by car slipping on lift and one of the arms puncturing the floor) Took me a few seconds to even see the damage. This saves me making another one. The one I have made is too flimsy for a race seat but, with a little stiffening and support, will be fine as the passenger seat. The Reverie weighs 2.4Kg and I can live with that
Got this through customs with no problems (told them what it was and they were happy that it had no real value!) and have test fitted it and it seems to work:


- stevebroad
- Fourth Gear

- Posts: 846
- Joined: 08 Mar 2004
As there have been no comments since March, I guess there is little interest on this site for my extreme modifications (I admit that there is very little Elan left apart from chassis/some of the body/steering column/rack/wiper motor) and so I will refrain from posting any more updates.
Last edited by stevebroad on Wed Nov 16, 2016 2:45 pm, edited 1 time in total.
- stevebroad
- Fourth Gear

- Posts: 846
- Joined: 08 Mar 2004
Total Online:
Users browsing this forum: No registered users and 2 guests

