Cosworth YB Turbo Into Elan
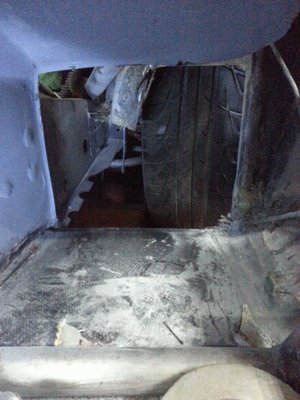
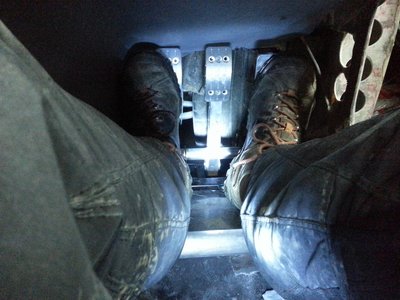
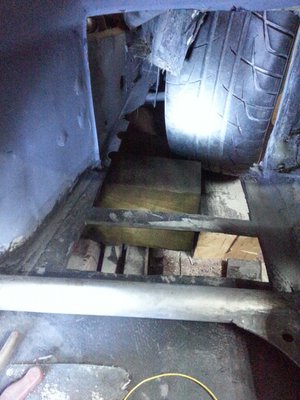
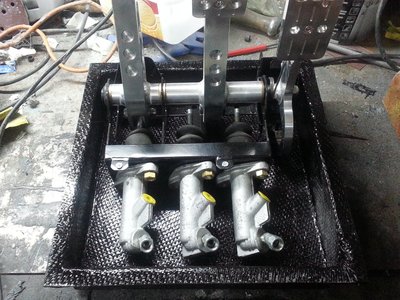
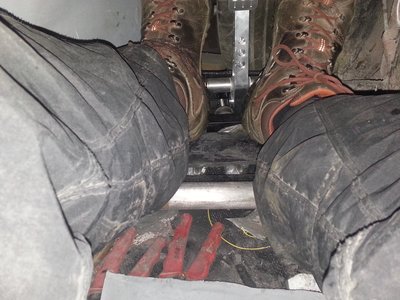
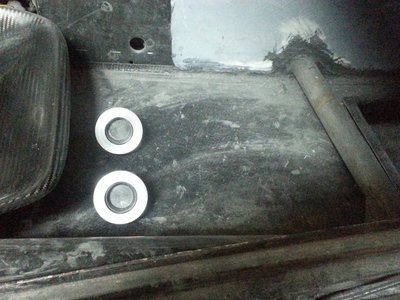
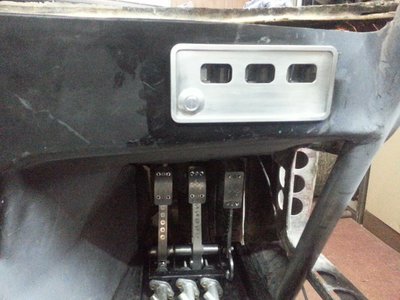
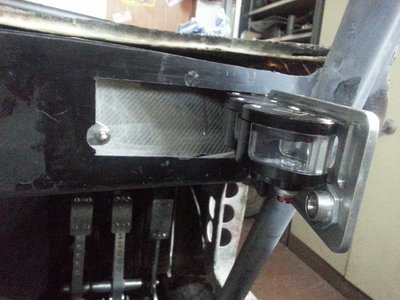
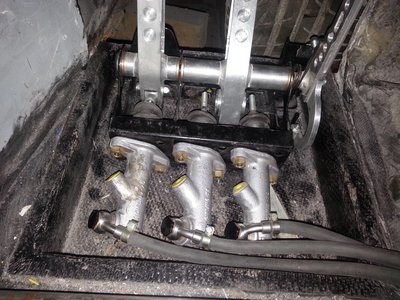
Got stuck in to making the the pedal box recess box, if that makes any sense? In order to lower the pedal box by 60mm I needed to cut a hole in my recently made and fitted carbon floor  and fit a box to take the pedal assembly.
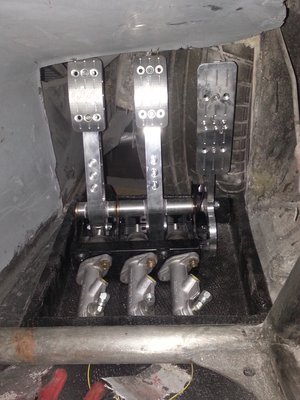
Hole(s) cut and a rough tryout indicates that the new box has given me enough room to operate the car.
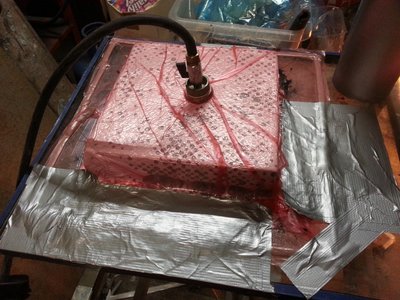
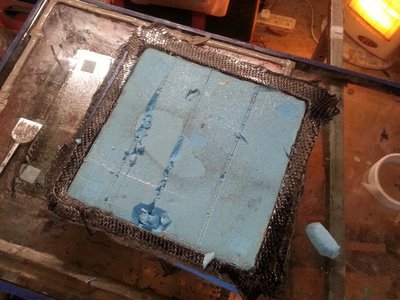
Next job was to make 280 x 280 x 60mm open topped box with a lip. Cut up a piece of 50mm thick styrofoam and added 2 layers of 5mm dense foam sheet. Stuck this to a glass base and added the vacuum bagging materials. All went well for a few minutes until I realised that no resin was coming though to the breather cloth. I then realised that I had used the wrong bloody release film. I used the type for prepreg which has no holes in it. The stuff for wet vacuum bagging is covered in small holes that let the excess resin flow into the breather cloth.
Stopped the vacuum pump and unpealed the vacuum bag from the double sided tape, changed the release film and it was at this point that it went pear shaped. I managed to get resin on the vacuum bag and this transferred to the double sided tape. This stopped the bag sticking to the tape so I couldn't get a vacuum.
If further proof was neded that gaffer tape can fix anything, here we are. Fortunately I have a couple of 15" wide rolls of the magic stuff and after a few minutes I had enough of a seal to create a decent vacuum. Only downside is that I will have to leave the pump running over night as the seal isn't perfect. I can't hear any leaks but there is at least one.
- stevebroad
- Fourth Gear

- Posts: 917
- Joined: 08 Mar 2004
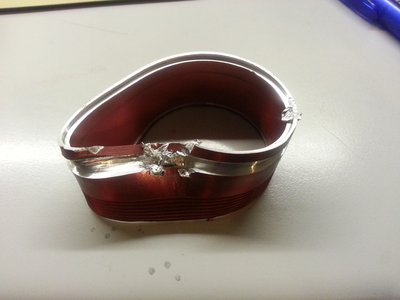
Things don't always go to plan. I was modifying the next two master cylinder reservoirs yesterday. First one went fine and so did the second one until I relaised that I had made it slightly too tall. So back on to the lathe it went. I had to hold it internally in order not to risk damage to the thread but this hadn't been a problem, I just had to be circumspect and gentle with my tool feed. This time, however, I must have got just a little bit too ambitious and twang! it flew out of the jaws and ended up like this. Oh, well, not the end of the world 
- stevebroad
- Fourth Gear

- Posts: 917
- Joined: 08 Mar 2004
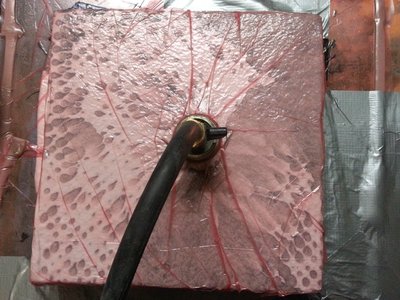
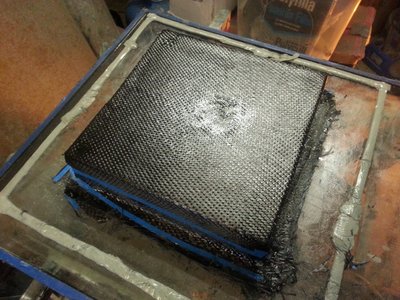
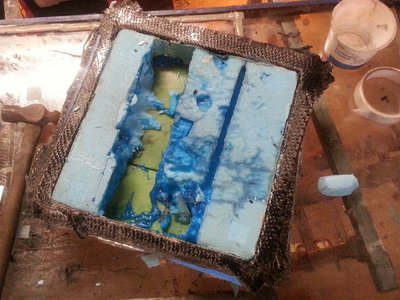
Unwrapped the pedal box lowering box, came out OK (the mark in the centre was caused by the vacuum fitting. I usually locate it away from the item but I thought that I had placed enough breather material under it to stop this. Oh well, it is under the car and it isn't a trailer queen).
Fits in the floor...just. However, it confirms my fears that I can't site the reserviors directly on to the master cylinders.
Rethink mode......... Ah, right, how about just in front of the seat? Leaves room for feet to get in and out and easy access to them. I will investigate this further.
I will raise the footwell roof a little bit over the clutch pedal.
- stevebroad
- Fourth Gear

- Posts: 917
- Joined: 08 Mar 2004
I have just realised that it has been a while since my last progress update, so apologies to both of my readers 
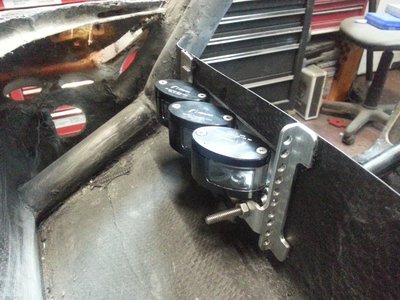
The Reservoir Saga......The options of mounting them to the master cylinders or in front of the seat turned out to be no good due to space restrictions and fluid flow back. I didn't want them in the hot engine bay so, after a bit of head scratching, I settled on locating them behind the dash. Access would be an issue so I have mounted them on a door
https://www.youtube.com/watch?v=2P6ds6s1yKY
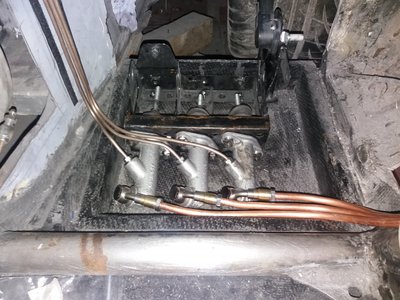
Tried using rubber pipe to connect reserviors to the cylinders but wasn't happy so went to 8mm copper. Had to make fittings to attach pipes to banjos. Master cyliinders now also attached to the rest of the system.
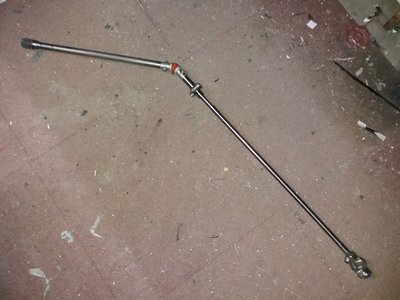
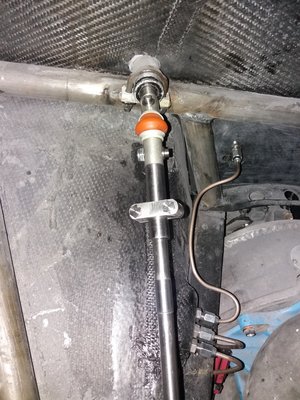
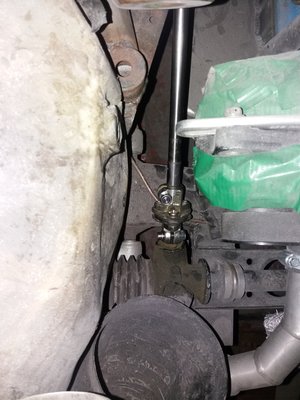
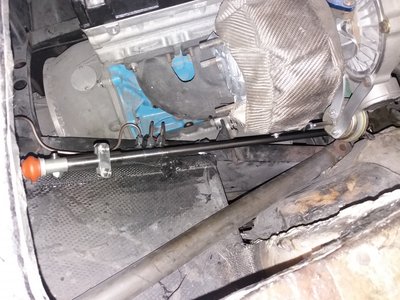
Steering column... This had to be modified as I had changed the steering wheel angle so had to fit a knuckle. Whilst thinking about this decided to replace whole column with a titanium version, apart from the splines which caused unexpected problems. When it came to weld on the splines we discovered that mere mortals can't weld steel to titanium as the welds crack.
Ooops, game stopper for a while. However, on discussing the problem with Permabond they recommended a glue that would do the job. But they won't be driving the car so I decided to sleeve and pin as well. As I have used tube rather than solid bar the weight has reduced from 1450gms to just under 700gms.
Last edited by stevebroad on Sat May 06, 2017 3:10 pm, edited 1 time in total.
- stevebroad
- Fourth Gear

- Posts: 917
- Joined: 08 Mar 2004
Nice work Steve
Cheers
Dave
Cheers
Dave
Dave Hughes
S2 26R
Elan DHC Sprint
Shapecraft Honda powered S1(in progress)
Turbocharged 26R clone (also in progress)
Evora 400 development car ex Lotus Factory
S2 26R
Elan DHC Sprint
Shapecraft Honda powered S1(in progress)
Turbocharged 26R clone (also in progress)
Evora 400 development car ex Lotus Factory
-

bigvalvehead - Third Gear

- Posts: 441
- Joined: 11 Sep 2003
bigvalvehead wrote:Nice work Steve
Cheers
Dave
Thanks Dave. Little by little
Steve
- stevebroad
- Fourth Gear

- Posts: 917
- Joined: 08 Mar 2004
A few more things done.
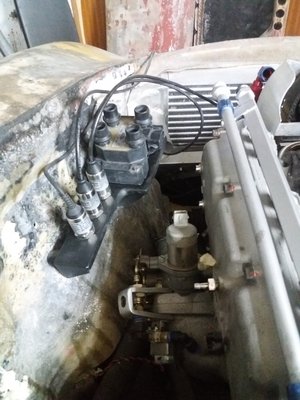
Coil pack, oil pressure, fuel pressure and 4 Bar MAP support bracket made.
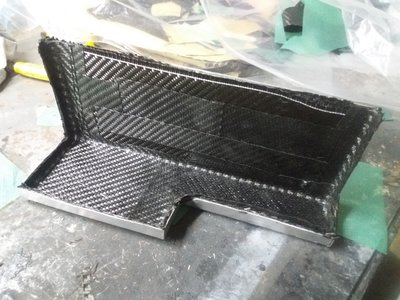
Made aluminium pattern which I laid the prepreg carbon into:
First fit. Painted black to hide carbon weave:
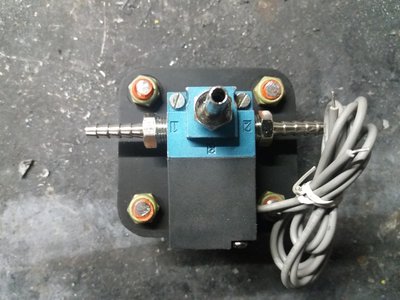
Also a boost controller bracket out of a piece of scrap carbon sheet:
Coil pack, oil pressure, fuel pressure and 4 Bar MAP support bracket made.
Made aluminium pattern which I laid the prepreg carbon into:
First fit. Painted black to hide carbon weave:
Also a boost controller bracket out of a piece of scrap carbon sheet:
- stevebroad
- Fourth Gear

- Posts: 917
- Joined: 08 Mar 2004
You had me at 4 Bar MAP 
50/2180 1969 Elan Plus 2
1990 Esprit Turbo SE
1986 Carrera 3.2
1982 Turbo Esprit - SOLD
1970 Europa S2 - SOLD
1990 Esprit Turbo SE
1986 Carrera 3.2
1982 Turbo Esprit - SOLD
1970 Europa S2 - SOLD
- roblotus79
- Second Gear

- Posts: 78
- Joined: 29 Aug 2013
roblotus79 wrote:You had me at 4 Bar MAP
Sorry, 4 bar absolute
- stevebroad
- Fourth Gear

- Posts: 917
- Joined: 08 Mar 2004
Measure that piece of string multiply by 4 and guesstimate when the car will be finished (if it ever is and by that I mean you'll probably be tweektng things forever)?
Cheers
Don't understand much of it but you sure are determined. Impressed!
Cheers
Don't understand much of it but you sure are determined. Impressed!
Last edited by elanfan1 on Wed May 31, 2017 11:36 pm, edited 1 time in total.
Steve
Silence is Golden; Duct Tape is Silver
Silence is Golden; Duct Tape is Silver
-

elanfan1 - Coveted Fifth Gear

- Posts: 2238
- Joined: 13 Jan 2004
Steve, I continue to be astounded with the fact that every single thing your doing in building this car requires a unique and "never been done before" approach. Even more amazing is that you always find solutions!
Keep up the great work you are doing, your an inspiration to all of us that just need motivation to restore our cars with a shop manual
Keep up the great work you are doing, your an inspiration to all of us that just need motivation to restore our cars with a shop manual
Glen
05 Elise - Back where I started
65 Elan S2 - 26/4055
72 Europa - 74/2358R
69 Elan S4 - 45/7941
64 Elan S1 - 26/0379
12 Colin 30 - Lotus Racing Kart
07 Exige S - Wicked Road/Track Car
07 Exige S - Fast Road/Track Car
06 Elise - Track pack
05 Elise - Back where I started
65 Elan S2 - 26/4055
72 Europa - 74/2358R
69 Elan S4 - 45/7941
64 Elan S1 - 26/0379
12 Colin 30 - Lotus Racing Kart
07 Exige S - Wicked Road/Track Car
07 Exige S - Fast Road/Track Car
06 Elise - Track pack
-

Certified Lotus - Coveted Fifth Gear

- Posts: 1233
- Joined: 04 Aug 2014
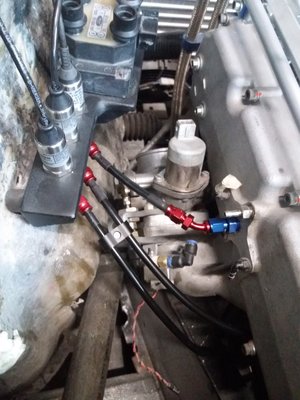
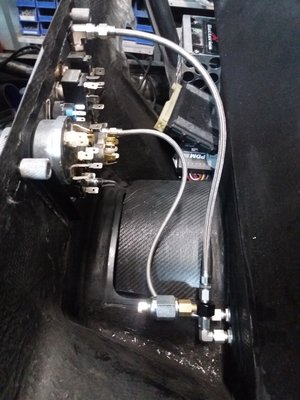
Starting on the engine plumbing; oil, fuel and boost pressure connections.
- stevebroad
- Fourth Gear

- Posts: 917
- Joined: 08 Mar 2004
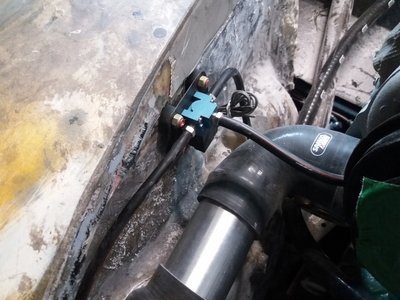
Little by little. Clutch pipes finally finished. Boost contoller tubes cut and first fit.
Last edited by stevebroad on Thu Jun 01, 2017 2:43 pm, edited 1 time in total.
- stevebroad
- Fourth Gear

- Posts: 917
- Joined: 08 Mar 2004
Total Online:
Users browsing this forum: No registered users and 9 guests

