Page 6 of 7

Re: Dundonian JPS

PostPosted: Sat Feb 17, 2018 10:22 am
by stuart
Hi Innes

Did you fit the corner pieces after the screen was fitted?
any chance of a picture of that area?

Had a new screen and surround fitted but they used the original corners!!

Stuart

Re: Dundonian JPS

PostPosted: Sat Feb 17, 2018 11:00 am
by innesw
Corner pieces fitted while fitting trim to windscreen but before windscreen being fitted to car.
Would be pretty tricky but maybe manageable otherwise, also having the corner pieces already on would help with lining up the whole piece as it's bonded to the car (centred in it's recess).

There is a picture of the corner piece on page 1 of this thread, not much more to show than that.
Any specifics you need?

Innes

Re: Dundonian JPS

PostPosted: Sat Feb 17, 2018 11:21 am
by stuart
Hi innes

Thanks for your quick reply, looks like I am too late.

regards
Stuart

Re: Dundonian JPS

PostPosted: Sat Feb 17, 2018 9:14 pm
by innesw
Removed driveshafts today, 1st one was easy took 15mins with my impact gun (both fail-safe pins previous fractured) however 2nd one was a PITA ! :twisted: Both fail-safe pins still there all bolts out both donuts persuaded into the best possible position to allow max driveshaft removal-ness and still not enough clearance!
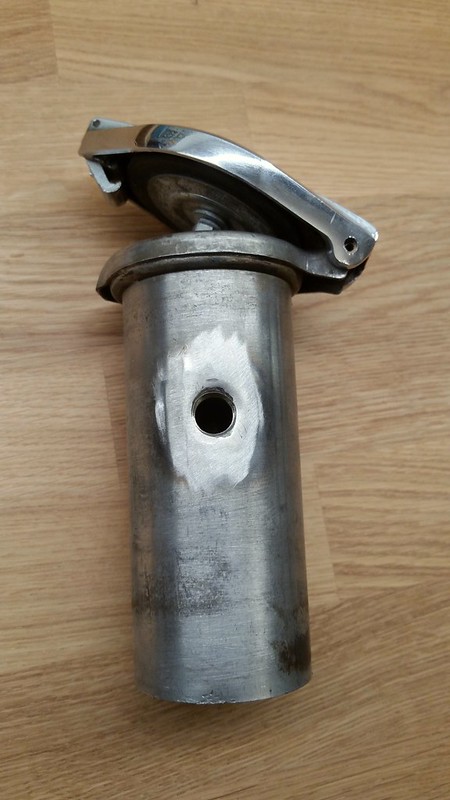
Didn't want to start taking out A-frame bolts so managed to carefully remove the diff fail-safe pin with a narrow hacksaw as it has to come off anyway for the new CV driveshafts.

Image

On a positive note the donuts I took off after 1500 miles and 4 years don't look a day older than when I put them on, not a single crack or tear in sight, no idea how old they are as they came with the car when I bought it but they were wrapped in that brown almost greasy paper.

Image

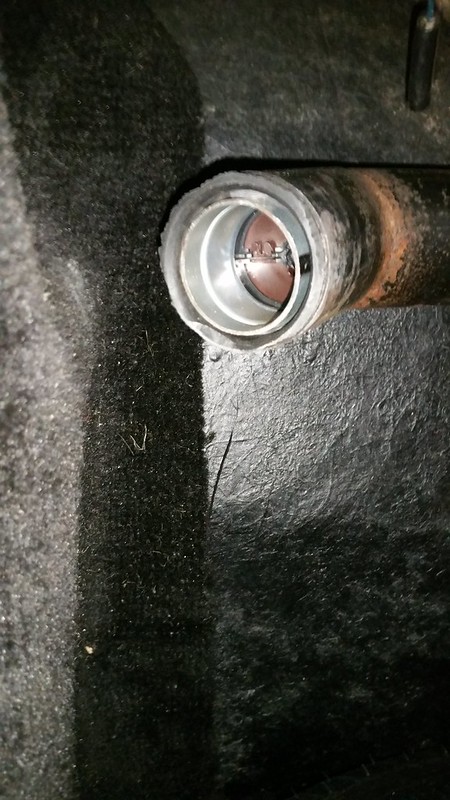
Managed to get the off side diff output shaft out with a little heat (never inspected these before) and very pleased that there is no wear or twisting of the splines so it will be going straight back in after I get the other one out and tidy up all 4 fail-safe pins (some of the previous broken pins are still rather proud, need to decide how much "lightness" to add...) :lol:

Innes

Re: Dundonian JPS

PostPosted: Sat Feb 17, 2018 9:47 pm
by JonB
You got them out with the diff in situ?

Re: Dundonian JPS

PostPosted: Sat Feb 17, 2018 9:51 pm
by innesw
JonB wrote:You got them out with the diff in situ?


Yup 8)

(Strong bloomin's circlips though, broke the tip of my circlip pliers on the second one :roll: )

Innes

Re: Dundonian JPS

PostPosted: Sat Feb 17, 2018 10:00 pm
by innesw
JonB wrote:I also want to do the Club breather mod, but not sure where to get the parts from (notably, the bit welded to the filler) or how best to do the welding. I'm not good at this.. please share what you find out. I have an MX-5 valve on order but again not sure how to make up an adapter to fit it to the tank pipe. I do not have any lathe here. If you find something I can buy to fit it, let me know.


For the bung I used this -

"Half socket size 1/4 BSP"

https://www.ebay.co.uk/itm/STAINLESS-STEEL-316-PIPE-FITTINGS-BSP-1-8-To-4-RATED-150lb/121485008323?hash=item1c49121dc3:m:mOcksCEmVX9TvgDhe1CbJQQ

for the MX-5 valve I used the car builder solutions parts as suggested in this thread -

http://www.lotuselan.net/forums/lotus-carbs-f40/fuel-spillage-from-filler-t31759.html

Hope that helps

Innes

Re: Dundonian JPS

PostPosted: Sat Nov 03, 2018 9:25 pm
by innesw
Fitted one way valve and mocket up breather hoses tonight.

Image

Image

Innes

Re: Dundonian JPS

PostPosted: Sat Nov 03, 2018 9:25 pm
by innesw
Image

Innes

Re: Dundonian JPS

PostPosted: Sun Nov 04, 2018 10:52 am
by JonB
That's pretty tidy Innes.

I could not get the MX-5 valve to fit inside the metal filler tube with the recommended reducers. Had to put it inside the elbow instead. Sub optimal, and I still have not tried to modify the breather system.

Re: Dundonian JPS

PostPosted: Sun Nov 04, 2018 11:30 am
by alan.barker
innesw wrote:Fitted one way valve and mocket up breather hoses tonight.

Image

Image

Innes

Nice job, well done every +2 needs those 2 mods. To save the paint on the nearside Wing and to stop feeling sick from Petrol fumes.
I have also fitted the "MX5" mod to my TVRs a 3000M and 3000S to stop Petrol going over the rear wing on corners. On the TVR Forum they have adopted this mod after i suggested it :mrgreen: :mrgreen:
Alan

Re: Dundonian JPS

PostPosted: Sun Nov 04, 2018 5:30 pm
by alanr
innesw wrote:Fitted one way valve and mocket up breather hoses tonight.

Image

Image

Innes


Hi,
I am looking to do the breather mod on my recently aquired +2 but I have a query about how to tackle the threaded bit on side of the filler pipe. I can't quite see on your pic but wondered what sort of boss have you fitted/welded to take the brass fitting for the hose?...Steel? Brass?, Aluminium?
I have concerns about welding in something made of steel due to it rusting in the future and causing grief.
Thanks,
Alan.

Re: Dundonian JPS

PostPosted: Sun Nov 04, 2018 8:15 pm
by innesw
If you see my post about it on this thread (page before) it's stainless, welded to the stainless filler neck.

Innes

innesw wrote:First of the new progress

Ordered up a 1/4 BSP stainless 316 fitting and bought a used filler neck (stainless? I believe).
Also ordered a 1/4 BSP to 10mm hose tail and some hose.

Drilled the filler neck and got my friend an apprentice TIG welder to weld it, I think we were both very pleased with the results.

Image

Image

Image

Lots more work to follow
Innes

Re: Dundonian JPS

PostPosted: Sun Nov 04, 2018 8:23 pm
by innesw
JonB wrote:That's pretty tidy Innes.

I could not get the MX-5 valve to fit inside the metal filler tube with the recommended reducers. Had to put it inside the elbow instead. Sub optimal, and I still have not tried to modify the breather system.


Same here Jon, I used the larger reducer, and put a petrol safe O-ring around the valve to hold it inside the large reducer, the thinner reducer just didn't fit.

Innes

Re: Dundonian JPS

PostPosted: Sun Nov 04, 2018 8:27 pm
by alanr
innesw wrote:If you see my post about it on this thread (page before) it's stainless, welded to the stainless filler neck.

Innes


Thanks for that...don't know why I missed it previously.
Very useful info!

Alan.