
Steering Gaiter Replacement
![]() Post by: Vanden Perre » Tue May 20, 2008 8:06 pm
Post by: Vanden Perre » Tue May 20, 2008 8:06 pm
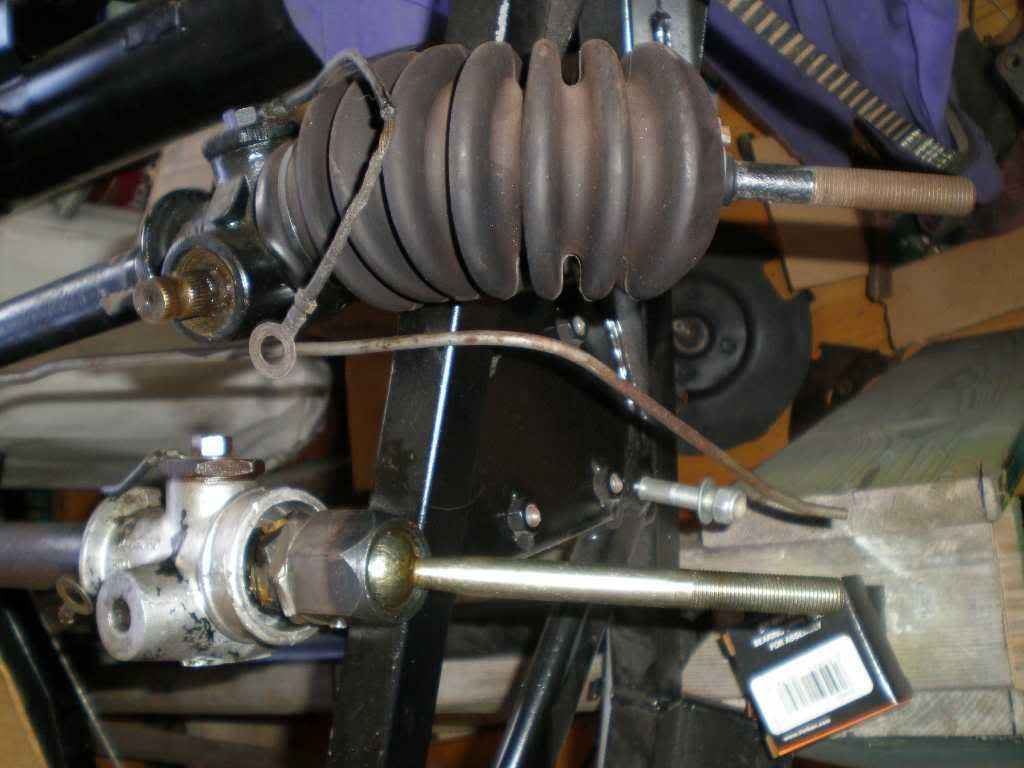
I have just noticed that the driver side steering gaiter of my S3 is torn and I would like to replace it.
Can someone advice me the easiest way to do it?
I was thinking (see picture in attachement).
1. Remove the nut fixing the ball joint assembly on the steering arm. (Marked 1 on the photo).
2. Pull the ball joint assembly out of the steering arm. (Along the arrow marked 2 on the photo). But is this possible?
3. Unlocked the locknut (marked 3 on the photo)
4. Unscrew the ball joint assembly and remove it.
5. Slide the gaiter along 5 (see photo again).
Any comment?
Olivier.
- Attachments
-
 Gaiter removal.doc
- (80 KiB) Downloaded 605 times
- Vanden Perre
- Second Gear

- Posts: 145
- Joined: 15 Sep 2003
![]() Post by: types26/36 » Tue May 20, 2008 8:29 pm
Post by: types26/36 » Tue May 20, 2008 8:29 pm
Just a couple of points, loosen the locknut befor disconnecting the ball joint as it will be held tightly.
The ball joint is a taper fit in the steering arm, you may need a tool to break it free from the taper.
COUNT THE NUMBER OF TURNS when taking off the track rod end (ball joint) or you will upset your wheel alignment (tow in) and refit the same.
64 S2 Roadster
72 Sprint FHC
-

types26/36 - Coveted Fifth Gear

- Posts: 3876
- Joined: 11 Sep 2003
![]() Post by: Vanden Perre » Wed May 21, 2008 4:58 am
Post by: Vanden Perre » Wed May 21, 2008 4:58 am
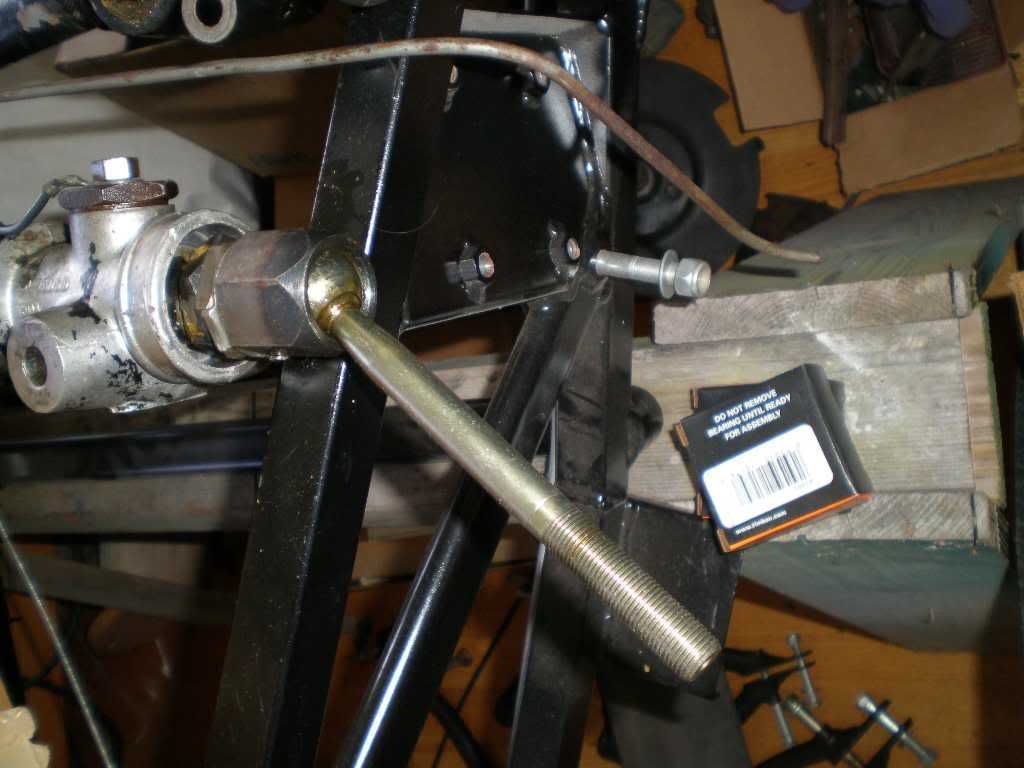
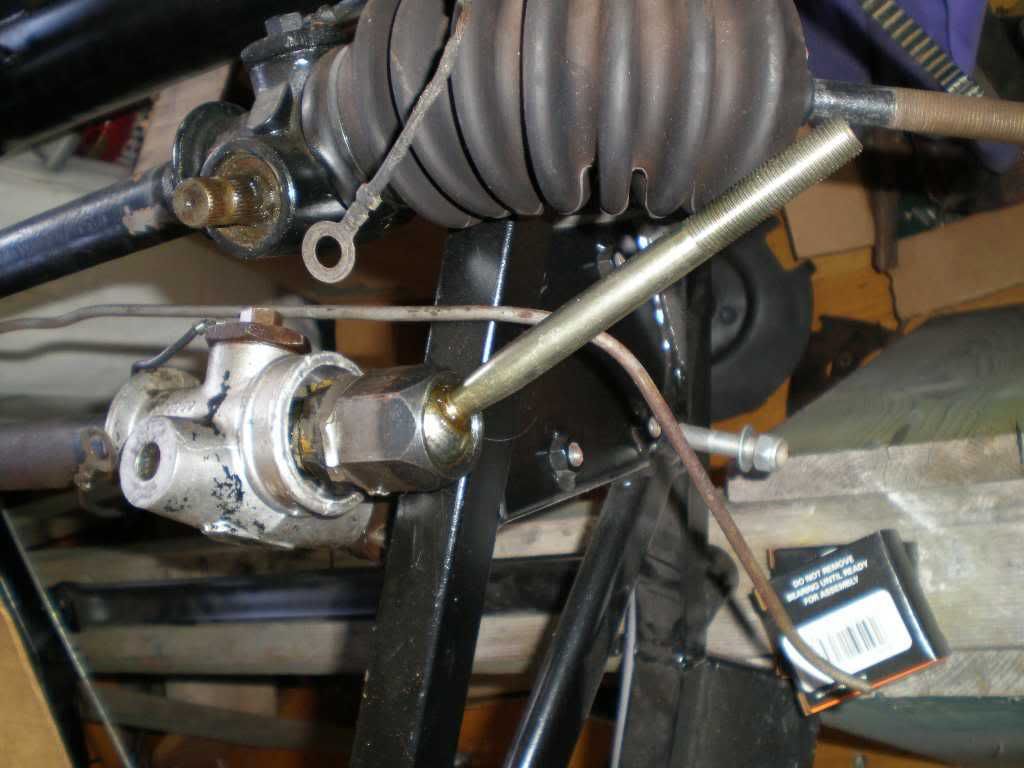
Thanks for your answer. You are right n.5 is missing from the photo.
Now I don't really understand what you mean with "The ball joint is a taper fit in the steering arm, you may need a tool to break it free from the taper." What kind of tool are you speaking about?
Olivier
- Vanden Perre
- Second Gear
- Posts: 145
- Joined: 15 Sep 2003
![]() Post by: john.p.clegg » Wed May 21, 2008 5:30 am
Post by: john.p.clegg » Wed May 21, 2008 5:30 am
John
-

john.p.clegg - Coveted Fifth Gear
- Posts: 5745
- Joined: 21 Sep 2003

![]() Post by: types26/36 » Wed May 21, 2008 5:51 am
Post by: types26/36 » Wed May 21, 2008 5:51 am
It can be quite difficult to remove without the use of a tool to "break" the fit.
Here are a couple of typical tools and a pic of a taper on a track rod end.
- Attachments
-
- rtc5869.jpg (5.77 KiB) Viewed 2476 times
-
- klann0162-1.jpg (9.53 KiB) Viewed 2473 times
-
-
 Viewed 1490 times")
 Viewed 1511 times")
64 S2 Roadster
72 Sprint FHC
-
types26/36 - Coveted Fifth Gear
- Posts: 3876
- Joined: 11 Sep 2003
![]() Post by: garyeanderson » Wed May 21, 2008 9:50 am
Post by: garyeanderson » Wed May 21, 2008 9:50 am
Gary
-

garyeanderson - Coveted Fifth Gear
- Posts: 3391
- Joined: 12 Sep 2003

![]() Post by: rgh0 » Wed May 21, 2008 10:04 am
Post by: rgh0 » Wed May 21, 2008 10:04 am
I agree you dont need to remove the ball joint from the steering arm. You just loosen the clamp on the outer end of the gaiter and you can then unscrew the tie rod from the outer ball joint as it can rotate once the gaiter clamp is eleased, remove the gaiter, fit a new one and reconnect to outer ball joint by screwing back in the same number of turns to maintain wheel alignment.
cheers
Rohan
-

rgh0 - Coveted Fifth Gear
- Posts: 8831
- Joined: 22 Sep 2003

![]() Post by: Vanden Perre » Wed May 21, 2008 3:23 pm
Post by: Vanden Perre » Wed May 21, 2008 3:23 pm
Rohan and Gary thanks also to you. But not sure it will work. If you do not remove the ball joint assembly from the steering arm how can you unscrew the tie rod? By doing so you will increase the length of the total assembly (from one ball joint to the other through the rack and both tie rods) and if the ball joint assembly are fixed on the steering arm I do not see how you can do it.
Anyway, I now go downstairs in the garage and have a look.
Olivier
- Vanden Perre
- Second Gear
- Posts: 145
- Joined: 15 Sep 2003
![]() Post by: andyhodg » Wed May 21, 2008 3:45 pm
Post by: andyhodg » Wed May 21, 2008 3:45 pm
As you unscrew the track rod from a ball joint that is fixed to the steering arm you simply cause the tracking to go well out of adjustment. At the extreme the left hand wheel will point left and the right hand wheel will point right. As the other have said, it is important that you count the exact number of turns when removing so that your tracking is still correct when it is all re-assembled.
Good luck
Andy
-

andyhodg - Third Gear

- Posts: 350
- Joined: 11 Oct 2005

![]() Post by: garyeanderson » Wed May 21, 2008 4:47 pm
Post by: garyeanderson » Wed May 21, 2008 4:47 pm
Gary
-
garyeanderson - Coveted Fifth Gear
- Posts: 3391
- Joined: 12 Sep 2003
![]() Post by: types26/36 » Wed May 21, 2008 4:48 pm
Post by: types26/36 » Wed May 21, 2008 4:48 pm
- Attachments
-
 Viewed 1526 times")
64 S2 Roadster
72 Sprint FHC
-
types26/36 - Coveted Fifth Gear
- Posts: 3876
- Joined: 11 Sep 2003
![]() Post by: Vanden Perre » Wed May 21, 2008 4:59 pm
Post by: Vanden Perre » Wed May 21, 2008 4:59 pm
Now that I am back from the garage, I realise you are right.
The only problem I have is to unscrew the tie rod. It's round (after all it's a rod!) and there is no way you can hold it with a spanner. I hope time and a lot of WD40 will allow me to unscrew it with two fingers.
Now comes another question. Here is what I found inside the torn gaiter. See picture. Very liquid and light brown grease.
Is it a normal aspect and color?
What would you recommend to use when putting back the new gaiter? Just normal grease from the supermarket or anything special?
Thanks
- Attachments
-
 Viewed 1519 times")
- Vanden Perre
- Second Gear
- Posts: 145
- Joined: 15 Sep 2003
![]() Post by: CBUEB1771 » Wed May 21, 2008 8:26 pm
Post by: CBUEB1771 » Wed May 21, 2008 8:26 pm
Vanden Perre wrote:Now comes another question. Here is what I found inside the torn gaiter. See picture. Very liquid and light brown grease.
Is it a normal aspect and color?
The light brown color suggests to me that water has been entering the rack and causing corrosion. I would wipe all of the grease off and inspect for rust and pitting. You might want to slip the boot off of the other end of the rack to inspect the grease there. You don't need to remove the other boot completely, simply release the clamp securing it to the rack body and pull the boot away. I have used molybdenum disulfide greases with good results. Remove the small hex plug opposite the point where the pinion engages the rack and install a grease fitting. The hex plug is shown in the diagram posted by Brian (seen between items 1 and 3). Run the rack to full lock on one side, then to center and finally to full lock in the opposite direction and add a few squirts of grease at each of these three rack positions.
Elan +2S (1971)
Elite S2 (1962)
-

CBUEB1771 - Coveted Fifth Gear
- Posts: 1684
- Joined: 09 Nov 2006

![]() Post by: types26/36 » Wed May 21, 2008 8:54 pm
Post by: types26/36 » Wed May 21, 2008 8:54 pm
64 S2 Roadster
72 Sprint FHC
-
types26/36 - Coveted Fifth Gear
- Posts: 3876
- Joined: 11 Sep 2003
![]() Post by: rgh0 » Thu May 22, 2008 5:12 am
Post by: rgh0 » Thu May 22, 2008 5:12 am
I personally would pull the rack, dismatle it clean, it up properly and regrease. However that is a lot of work and requires a total rack dismantle and rebuild which is not a trivial exercise
You could probably get away with removing the other gaiter at the pinion end remove as much of the old contaminated grease as possble by wiping it off and cleaning up with solvent the bits of the rack that stick out when you crank the steering from one extreme to the other. Once you have done that pump new grease in through the nipple that should be on top of the rack where the streeing shaft goes in and also add more grease to either end of the rack to ensure the ball joints and the bearing at the non pinion end of the rack is well lubricated.
I use a normal lithium based EP chassis grease but you could also use a Moly Disulphide based grease - not really needed as loads in the rack bearings and gear are generally low but does not hurt.
regards
Rohan
-
rgh0 - Coveted Fifth Gear
- Posts: 8831
- Joined: 22 Sep 2003
Total Online:
Users browsing this forum: cliveyboy and 14 guests