Radiator go in/out separate from engine?
15 posts
• Page 1 of 1
The only car I know of that you don't have to replace the radiator separate of the engine is the air cooled VW and Porsche.
-

Fred Talmadge - Third Gear

- Posts: 245
- Joined: 24 Sep 2003
The radiator is one of the first things to come out in an engine out job, and one of the last to go in.
Having recently pulled and put my engine back in, here is the order I followed (and put it back in reverse). I removed and reinstalled engine and gearbox as a complete unit.
0 - Disconnect battery
1 - Drain radiator, sump, and gearbox, remove front swaybar while under car
2 - Remove airbox
3 - Remove vacuum tube from intake manifold
4 - Remove exhaust system from rear to downpipe
5 - Drain clutch hydraulics and remove slave cylinder
6 - Remove coil
7 - Disconnect coolant hoses from radiator, engine, heater, heater valve, and thermostat housing
8 - Remove radiator
9 - Remove water temp bulb from engine, tie off temp bulp coil safely out of the way to prevent damage
10 - Disconnect heater cable from water heater valve
11 - Disconnect fuel pipe from carbs
12 - Remove distributor cap and cables from spark plugs, note rotor position on distributor (with engine at TDC), remove distributor and blank hole with rag
13 - Remove starter
14 - Remove alternator
15 - Remove reverse light switch from top of gearbox (blind)
16 - Remove gearshift lever and turret inside car
17 - Support engine at sump with floorjack (use a board to spread load)
18 - Disconnect gearbox support from chassis (I had to remove support from the gearbox later as I couldn't get to the bolts while in position)
19 - Remove LH motor mount
20 - Remove exhaust manifold
21 - Replace LH motor mount (finger tight)
22 - Push crane into place and secure straps, take engine and gearbox under slight pressure
23 - Remove LH and RH motor mounts
Henry
69 Elan S4
65 Seven S2
69 Elan S4
65 Seven S2
- SENC
- Coveted Fifth Gear

- Posts: 1018
- Joined: 30 Dec 2015
Some variations:
I leave the distributor in place but remove the cap.
I remove the clutch slave cylinder with the hose attached and tape it up out of the way. Saves bleeding on installation. Also, it is easier to do a good bleed holding the slave cylinder higher than the master cylinder.
I find it much easier to separate the engine from the gearbox and pull just the motor.
Eric
64 S 1
-

ecamiel - Second Gear

- Posts: 171
- Joined: 02 Oct 2003
It was 20 plus years ago when I pulled that engine out but I'm pretty sure I removed the radiator first to give max room up front for the engine pull with gearbox in place. Make the radiator the last item to go back in after all of the engine bay work is done.
- arcangel
- First Gear

- Posts: 24
- Joined: 01 Nov 2004
@SENC and others, Do the engine mounts go on after the engine is in roughly the right place or do I not them before the entrance on the lift?
In other words - do I install the engine mounts onto the block prior to slotting the engine back into the open engine bay?
In other words - do I install the engine mounts onto the block prior to slotting the engine back into the open engine bay?
SoCal
1969 Elan DHC
1969 Elan DHC
- tdskip
- Third Gear

- Posts: 428
- Joined: 13 Sep 2012
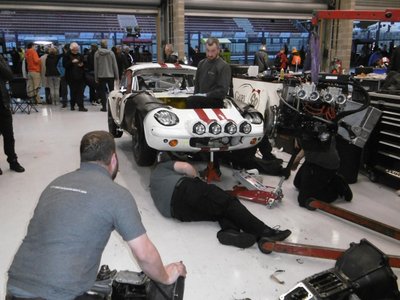
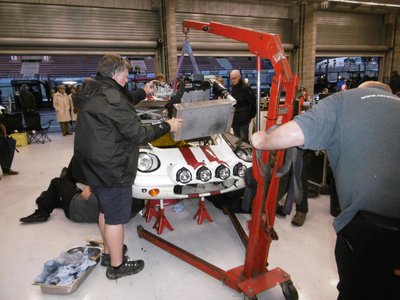
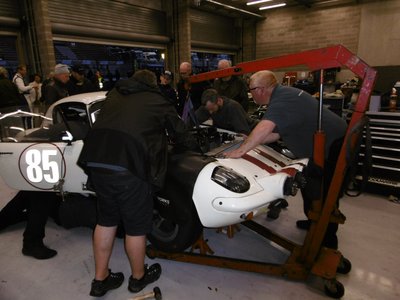
I was amused by the question from California and will add the following sequence from the Spa 6 hour meeting for your amusement...[with thanks to Raceworks...who changed a clutch in less than an hour...in the middle of the race]:
1965 Lotus Elan S2 26/4022 (originally Dutchess Lotus East, PA and NJ Area, USA)
- Frogelan
- Fourth Gear

- Posts: 564
- Joined: 03 Jul 2017
15 posts
• Page 1 of 1
Total Online:
Users browsing this forum: No registered users and 16 guests


