Page 5 of 7

Re: New Engine Build

PostPosted: Sat Oct 28, 2017 11:03 pm
by billwill
2cams70 wrote:Yes those holes are through holes. I imagine quite a few twin cams leak due to people neglecting to put sealer on these threads.


I'd be more worried about putting some locking goo on the chain-guide securing screws as they have no locknuts and the thought of the chainguide coming free inside a running engine give me the collywobbles.

Re: New Engine Build

PostPosted: Sun Oct 29, 2017 11:25 pm
by 2cams70
For sealer I used the Loctite 222 low strength grade threadlocker. I've found the 242/243 (blue) medium grade Loctite way too strong for small screws.

Those screws should still be OK without threadlocker provided they are torqued correctly. Lotus designed them to operate that way. It is possible to torque one of the screws adequately using a small 0-24Nm torque wrench. It is difficult to torque the other screw however due to lack of clearance between it and the part of the casting associated with the water pump. I just torqued one of the screws noting the turns required from a "snug fit" to reach the correct torque value and turned the other screw not accessible with a torque wrench by the same amount.

Re: New Engine Build

PostPosted: Mon Nov 13, 2017 11:46 am
by rgh0
Sorry to be slow in completing the posts on my engine build. Time started getting tight for completion so I needed to focus on the doing and not the posting. I completed and installed the engine 3 days before the Sandown Historic meeting last weekend and all went well even if it was more rushed than I liked towards the end.

I will go back and pick up the story with photos of the last stages of the build in the coming days.

cheers
Rohan

Re: New Engine Build

PostPosted: Mon Nov 13, 2017 6:58 pm
by Davidb
While Rohan is away working thought I would relate what I did for a crankshaft for my TC. I talked to Rohan about using a Datsun crank-there are lots of them in this area-but concluded that the machining costs would make that choice uneconomic. Then a friend offered me a damaged ex-Formula Atlantic crankshaft that had sat under his bench for thirty or more years. It had 'spun a bearing' and the bearing shell was still welded to #4 rod bearing along with a groove.

At my friends suggestion I sent the crankshaft to Marine Crankshafts in California. Despite their name they make racing crankshafts for all engines and especially Twin Cams and BDAs, so they have the drawings etc.

They promised three weeks turnaround but it took three months, however, the end result was very impressive! After crack testing the damaged journal was submerged arc welded and then all the journals were ground ten thou under due to wear and the nose of the crank modified to T/C spec. The crank was then re-nitrided and checked for cracks and straightness. It looks like new-the cost was $650! This for a fully counterbalanced, long stroke,narrow journal, EN40 steel crank. Submerged arc welding of crankshafts is an accepted, safe practice.

It might be worth asking around old race shops/old Formula Atlantic racers but don't expect a free crank-I think I got the only one!

Re: New Engine Build

PostPosted: Sun Nov 26, 2017 2:18 am
by rgh0
Finally I have a chance to finish this thread so picking up where i left off.....


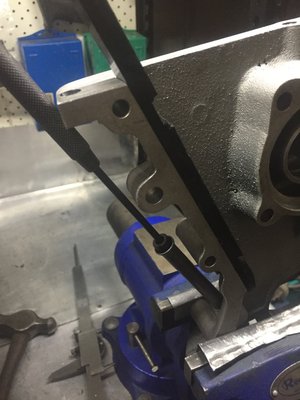
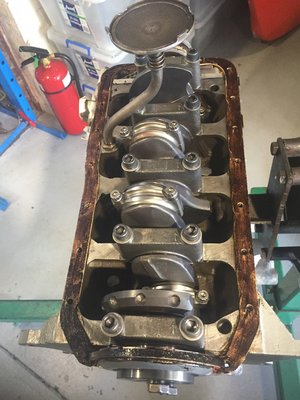
With the crank, pistons and rods and jack shaft in place, the new front cover assembly was finished with the dip stick tube driven into place using a socket head bolt in the top. The water pump assemble and the timing chain tension side pad fitted

img_3090.jpg and


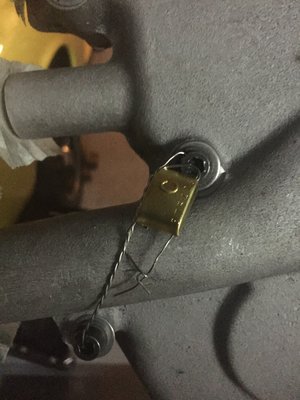
The front cover was fitted and them bore and stroke was measured and bolts securing the front cover sealed by the category eligibility officer.

img_3142.jpg and


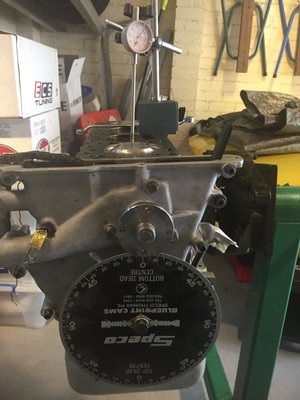
Timing disk is set on the crank for accurate measurement of crank position when timing cams and the TDC mark on the crank pulley also checked

img_3143.jpg and


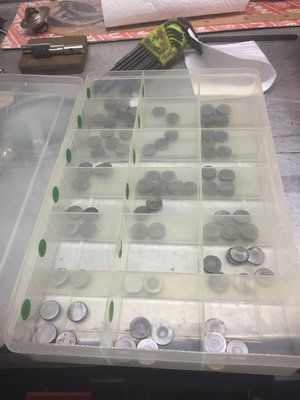
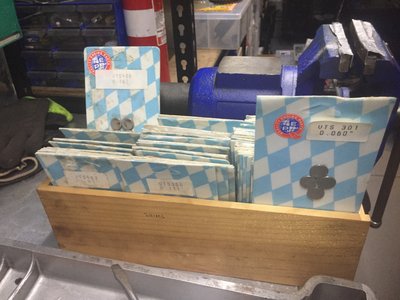
Cams were shimmed before the head was installed but they tend to close up a thou or two when the head is bolted down. I try to allow for this by setting them at the top end of the target range off the head but I found that about half needed adjustment to get into the middle of the range once the head was bolted down. It helps to have a good stock of shims especially when accurate machining of the head results in needing 4 shims on the inlet that are all the same thickness !

img_3156.jpg and


img_3157.jpg and


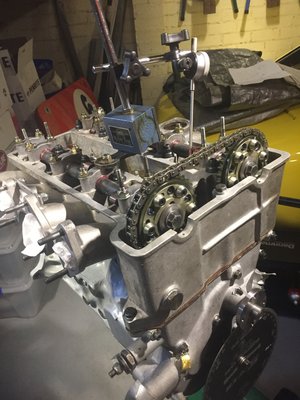
I decided to give adjustable cam sprockets a go with this engine. Previously I had used offset dowels and standard sprockets. The adjustable sprockets made it easier and quicker. Dial gauge with an extension is needed to reach down past the cam lobe to measure the bucket MOP

img_3152.jpg and


I dont fit the sump until the head is done to minimise any problems if I drop anything down the timing chain cover while fitting the cams. I use Loctite No 3 aviation gasket sealer on all the cork and paper gaskets in the engine.

img_3160.jpg and


cheers
Rohan

Re: New Engine Build

PostPosted: Sun Nov 26, 2017 2:24 am
by rgh0
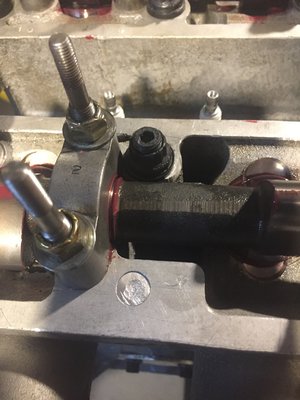
After I had assembled the head on the block I realised I had missed one item...... When the McCoy modified Stromberg head is machined for the new Weber inlet manifold casting The drain hole in the top of the head that used to go down to the oil drain chamber below is left open once the drain chamber is machined off. This needs to be plugged. Despite looking at the head for 6 months I had missed doing this :oops: . I machined up a fitting aluminium plug and drove it into the hole to seal it.


img_3153.jpg and


cheers
Rohan

Re: New Engine Build

PostPosted: Sun Nov 26, 2017 3:02 am
by rgh0
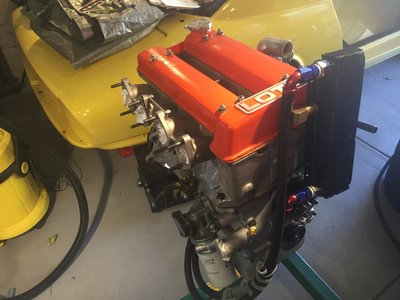
The engine now has oil pump and cooler and right hand engine mount fitted. A new fly wheel spigot bearing is fitted in the crank and the flywheel and clutch fitted and its ready to go back into the car. I pump about a litre of oil into the engine at this stage via the oil pressure tapping to make sure the pump and engine passages are full. This way I get pressure quickly when I turn the engine over on the starter once its fitted

img_3163.jpg and


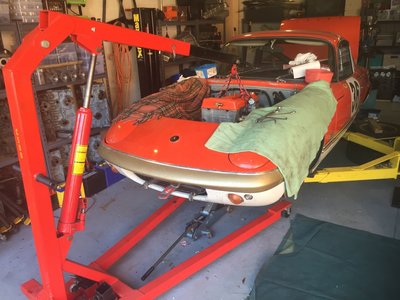
I always fit the engine to the gear box in the car as I find this much easier than removing the engine and gear box as one piece. You need to jack the gear box front up to the maximum the chassis allows and fit the engine at a matching angle. Take care to keep the shaft of the gearbox parallel with the crank by measuring the gap between engine and bell housing and keeping it the same all the way around as it closes up. Usually with a bit of jiggling the two slip together with no problem and couple of long bolts helps pull it together smoothly but don't put to much load on the bolts as this indicates something is jammed and you may break off something.

img_3169.jpg and


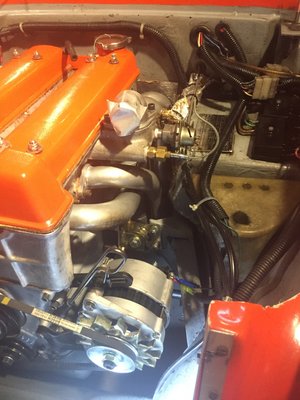
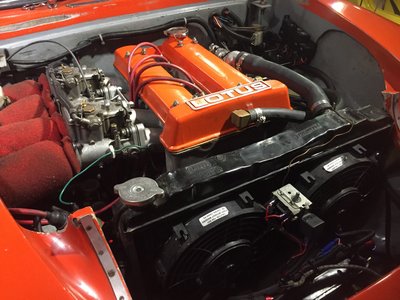
I finish fitting everything on the engine once its in place working from back to front and bottom to top. The exhaust manifold is a pain to fit and needs to be loosely in position before the exhaust engine mount is fitted to the block .The engine is then lifted to make access to the manifold bolts easy and its then dropped down to finally bolt up the LH engine mount to the chassis

img_3171.jpg and


img_3187.jpg and


img_3189.jpg and


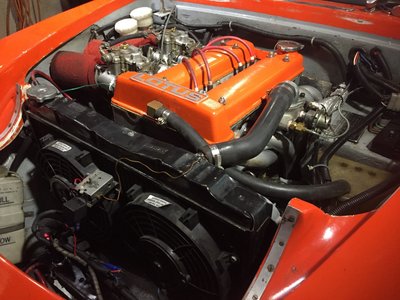
The engine was cranked with plugs out and oil pressure came up after a couple of seconds
The plugs were replaced and the engine was test run and started on the first turn of the key :D
The pistons, rings and block were reused from a previous race engine and all in good condition so i did not need to run in and bed the rings. 20 minutes at a high idle speed while I checked for leaks and timed the engine and checked the carb balance and then a 20 minute test drive and the car was ready to go racing the next weekend !

cheers
Rohan

Re: New Engine Build

PostPosted: Sun Nov 26, 2017 3:20 am
by seniorchristo
So very interesting and informative! Thank You Rohan! :)

Re: New Engine Build

PostPosted: Sun Nov 26, 2017 3:23 am
by rgh0
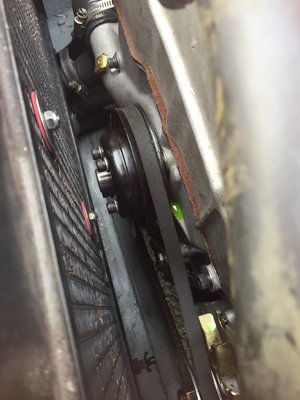
The day after the test run I noticed a small drop of coolant on the ground under the car. A check of the engine found a small casting weep just above the pulley bearing :evil:

img_3198.jpg and


This was the first time i had built an engine with a new casting as i have always had spare used front covers before.... next time i do this I will pressure test the front cover assembly off the engine before i fit it. I added some radiator stop leak to the coolant and this stopped the leak temporarily. However i will need to pull the engine sooner rather than later to replace the front cover. The supplier gave me a refund on the cover I had bought but the time and labor is a much bigger issue than the cover cost.


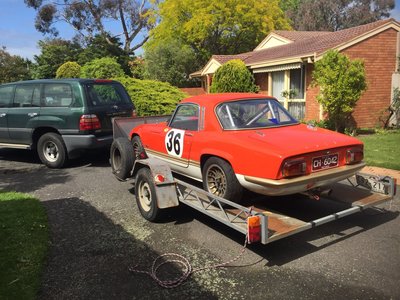
Car was loaded onto the trailer and off to the Sandown Historic meeting

img_3191.jpg and


The car ran well with no engine issues all weekend. When racing I run with the oil level about 5 mm below the full marked on the dip stick otherwise the engine blows a lot of oil out the breather until it gets to this level. This is due I believe to the oil moving to the front of the engine under heavy braking and the timing chain lifting lots of oil to the top of the cam cover where the breather is located.

cheers
Rohan

Re: New Engine Build

PostPosted: Mon Nov 27, 2017 8:57 pm
by seniorchristo
Hi Rohan
Do you use Loctite aviation #3 on both sides of all paper and cork gaskets? What do you use on metal to metal (front and rear timing case covers)?
Thanks
Chris :)

Re: New Engine Build

PostPosted: Wed Nov 29, 2017 2:17 pm
by Bigbaldybloke
Just a comment on fitting the exhaust manifold, I have removed the studs and used UNC cap head screws instead, it allows more wiggle room to get the manifold in place when the engine is bolted in. I know someone will comment about stripping the threads in the head, but I've not had any problem in many years and you don't remove them that frequently.

Re: New Engine Build

PostPosted: Wed Nov 29, 2017 4:42 pm
by alan.barker
Bigbaldybloke wrote:Just a comment on fitting the exhaust manifold, I have removed the studs and used UNC cap head screws instead, it allows more wiggle room to get the manifold in place when the engine is bolted in. I know someone will comment about stripping the threads in the head, but I've not had any problem in many years and you don't remove them that frequently.

Like you say someone will comment.
If you don't remove that often why change from studs :?
I fit the studs once the engine is in place + support manifold with one hand.
I put copperslip grease on the threads that i screw into the head with my fingers, no problem.
Then spring washers and brass nuts.
I hate to take the chance of damaged threads in head which is head off to repair :wink:
In the end it's a personal choice
Alan

Re: New Engine Build

PostPosted: Wed Nov 29, 2017 6:53 pm
by Foxie
Bigbaldybloke wrote:Just a comment on fitting the exhaust manifold, I have removed the studs and used UNC cap head screws instead, it allows more wiggle room to get the manifold in place when the engine is bolted in. I know someone will comment about stripping the threads in the head, but I've not had any problem in many years and you don't remove them that frequently.


Using cap screws instead of the rear 3 studs is the only way I can fit/remove the Tony Thompson exhaust manifold with the engine in place.

The threads won't be stripped if you use the recommended torque of 6.6 ftlbs for 5/16" UNC steel bolts in aluminium.

It's the gorillas that strip threads :)

Re: New Engine Build

PostPosted: Fri Dec 01, 2017 12:05 pm
by Certified Lotus
Nice work Rohan! Disappointing about the front cover having a leak, it?s frustrating to pull the engine ?once more? because of a manufacturing issue. Greatly appreciate the detail you provided regarding your build. I have book marked this for future reference.

Re: New Engine Build

PostPosted: Fri Dec 01, 2017 10:12 pm
by rgh0
seniorchristo wrote:Hi Rohan
Do you use Loctite aviation #3 on both sides of all paper and cork gaskets? What do you use on metal to metal (front and rear timing case covers)?
Thanks
Chris :)

Yes i use the aviation No. 3 on both sides of the paper and cork gaskets except for the cam cover. For the cam cover i use it to stick the cork gasket to the head and i put a smear of grease on the top surface so the cam cover can be removed without disturbing the gasket.

I use Loctite 518 anerobic gasket former on the metal to metal join of the front cover to back plate. I dont use the paper gasket for the oil pump to block join as I found at high revs the oil pumps would crack due to vibration and slight flexing of the pump flanges over the paper gasket. I now use Loctiite 518 to seal the pump to the block

I use Loctitie high temperature silicone ( red or copper coloured) to seal the join in the cork gasket sections for the sump and on the semi circular part of the half moon sections each end of the cams. I also use it on the exhaust port gaskets. i use it very sparingly to avoid any excess being squeezed into the engine internals

cheers
Rohan