Elan Bumper chrome strip replacement - Part 2 of 2
5 posts
• Page 1 of 1
…continued, now we’ve had our cup of tea.
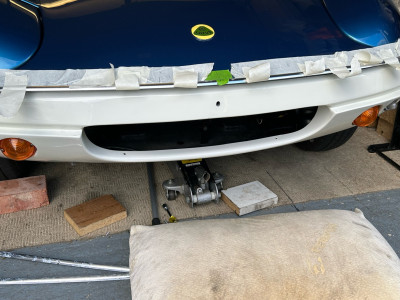
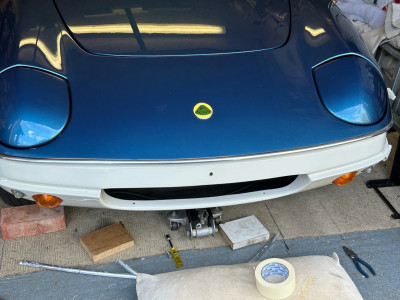
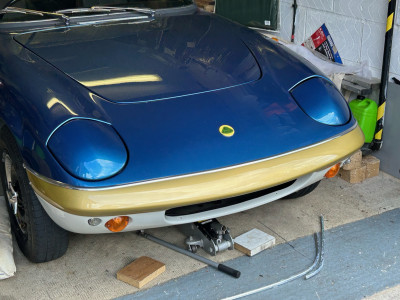
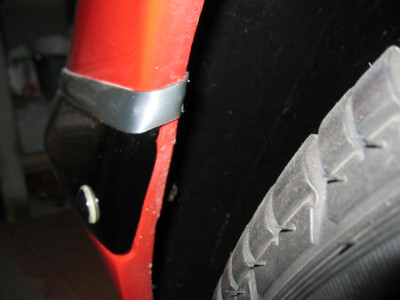
Step 8: Given there was already some clean holes to accept replacement rivets, and I was sceptical about how cleanly I could get the masking tape off once body filler had been applied I decided to take the path of least resistance and re rivet it. So bumper back off (Wheels off and on…) but leaving the strip attached via masking tape.
(Pic 11)
(Pic 12)
This worked better than expected !
Step 9: Time to reattach the bumper and re screw the sides in. (Wheels off and on…) Now the strip was in place I realised why the central bumper bolt was original only 1 or 2 threads in. The central bobbin was not being presented at a vertical angle when the bumper was offered back up. This meant the bumper was a little too low, by 2 mm or so. It was probably only about 5 to 10 degrees off, but it meant the bolt was trying to cross thread into the bobbin. It took many, many tries with side bolts in / out, etc before it finally aligned and I could screw the bolt home. Bumper resting on shoulder, being pushed up against the body and strip, with hands working blindly behind the grill. Almost a classic Lotus position. Anyway it was in ! And I could finally, finally, finish with side bolts. Or so I thought. No interim pictures at this stage.
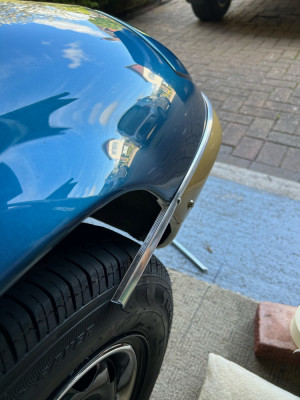
Step 10: Side screws. Marked based on the original screw location. Simple to drill a pilot hole and then a 3mm drill for the hole into the strip. Note I had practiced drilling holes into the old strip to check it wasn’t likely to shatter. Drill just underneath the horizontal blade portion of the strip. It was at this point that I noticed the rear of the bumper on the passenger side was not as far back as it had previously been and needed some adjustment. Off with the wheel, undo the side bolt…
(Pic 13)
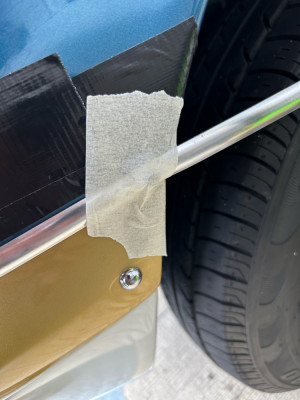
Step 11: Trimming the excess. I used a Stanley knife with a new blade. I was concerned about this a little as I didn’t want it to leave a discolour mark or burr. I taped the wheel arch paint in case the knife slipped. But took it gently and it seemed ok. And yes the knife did slip, and it has left a tiny cut in the bumper paint (through the gaffer tape) which should polish out. Not really noticeable.
(Pic 14)
Other notes:
I had practiced heating the old strip to see how pliable it would get, but it didn’t teach me much as it broke as soon as I tried to flex it.
Took about an hour to get to Step 7 but then 2 to 3 hours in total after it had cooled. Took about 40 minutes just to get the bumper bolt lined back up.
I was aware of other strips that are now available from eBay which look like they could be attached simpler, but I’m pleased how it turned out and the car looks better, I’m sure.
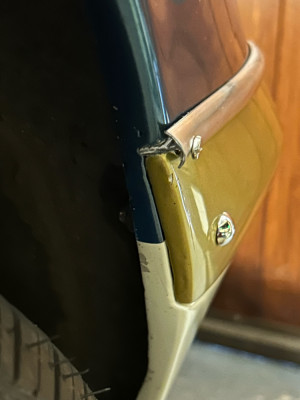
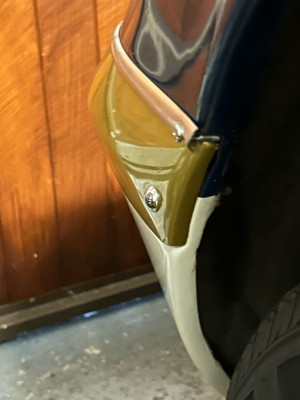
I’m also aware that there are other techniques or ideas that people use, all I can say is that this is what worked for me. Here’s some finished article pictures:
Richard.
Richard
'72 Sprint
'72 Sprint
- richardcox_lotus
- Coveted Fifth Gear

- Posts: 1359
- Joined: 11 Jul 2004
Good write-up Richard.
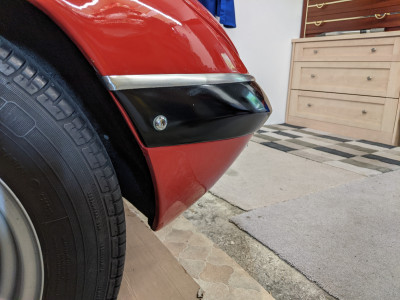
As you say there are several ways to approach this job - here's an alternative way to finish the ends.....
As you say there are several ways to approach this job - here's an alternative way to finish the ends.....
Roger
S4 DHC
S4 DHC
- oldelanman
- Coveted Fifth Gear

- Posts: 1969
- Joined: 02 Jan 2008
For other people tackling this job, I did mine similar to Rogers above. I prefer that appearance.
I found that just behind the end of the strip there was an area of very thick fibreglass where I could fit a self tapping screw. The screw is fitted so that it is not fully home and the strip is under light tension.
Also I removed the web from the back of the strip where it turns the corner into the wheel arch.
I did not need any filler but I suppose it depends on what gaps you are coping with. Maybe I was lucky.
It is a tricky job and needs a lot of care.
Best of luck
Eric in Burnley
1967 S3SE DHC
- ericbushby
- Coveted Fifth Gear

- Posts: 1363
- Joined: 13 Jun 2011
Friendly advice:
On forums like this, project messages are best kept all in one topic, to save the reader from hunting for the earlier portions. The search function on this forum is not one of the best.
On forums like this, project messages are best kept all in one topic, to save the reader from hunting for the earlier portions. The search function on this forum is not one of the best.
Bill Williams
36/6725 S3 Coupe OGU108E Yellow over Black.
36/6725 S3 Coupe OGU108E Yellow over Black.
- billwill
- Coveted Fifth Gear

- Posts: 5062
- Joined: 19 Apr 2008
billwill wrote:Friendly advice:
On forums like this, project messages are best kept all in one topic, to save the reader from hunting for the earlier portions. The search function on this forum is not one of the best.
That’s what I tried Bill, but I hit a maximum of 10 attachments
Richard
'72 Sprint
'72 Sprint
- richardcox_lotus
- Coveted Fifth Gear

- Posts: 1359
- Joined: 11 Jul 2004
5 posts
• Page 1 of 1
Total Online:
Users browsing this forum: Donels and 26 guests

