Fall/Winter/Spring Projects for 0248k
I bought my Elan in 2014. Since then it's been a rolling restoration, focused mainly on reliability and driveability. Things like cv joints, an alternator, setting the tune to non-Federal specs for carbs and distributor advance, etc. Plus a Voigt 5-speed since in Tulsa, OK I have to drive some boring straight roads to get to the curvy Elan roads.
With the above, and more (see the link in my sig), we've been able to drive the car to the last two LOGS, so it has definitely been proven that it came make long trips reliably.
Now it's time to address the cosmetic issues (fixing cracks and de-warping the doors), plus a few more maintenance tasks (rear strut inserts), plus converting to Webbers (just because), and fixing anything else I come across along the way.
I've posted some of the above in various places. But I got some feedback that these should be in one thread, so here it is. Here's the content so far:
1) I covered fixing a crack in the nose in this thread: viewtopic.php?f=36&t=51822
2) that also included posts on "de-warping" the doors:
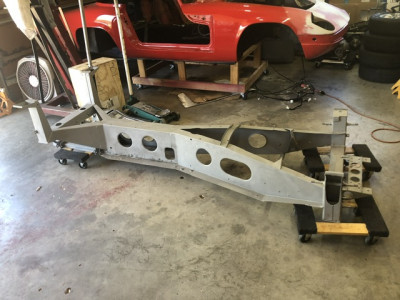
3) here are the posts about pulling the body and stripping the chassis: viewtopic.php?f=50&t=43054&p=382802#p382802
A comment on lifting the body. I used an engine hoist. I made a 4-pt bridle out of dacron line. The rear lift pts were the outside seat belt mount points, and the fwd pts were the outside seat clamps. What I learned was that I didn't have the bridle far enough fwd to match the body center of gravity. As a result, the rear lifted first. My quick fix was to put a screw eye in a ceiling joist, and run a line from it to the front of the car, using the headlight vacuum mount pt as the attachment pt, and used that line to level at the car. So it wasn't pretty, but it worked. I'll want something more stable when I put the body back on the chassis, maybe just call in some more hands.
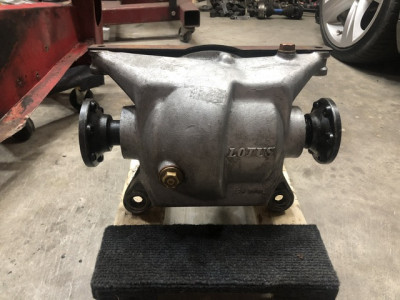
Getting the diff out of the chassis was the biggest challenge in the chassis strip. In order to get it out the left side, I had to trim some material off the lower right mount lug, and a bit off the upper left mount lug. Not enough to matter, but there just wasn't any way it was coming out without doing that. I know it obviously went in as-is 52 years ago, but I presume the chassis changed shape a bit along the way.
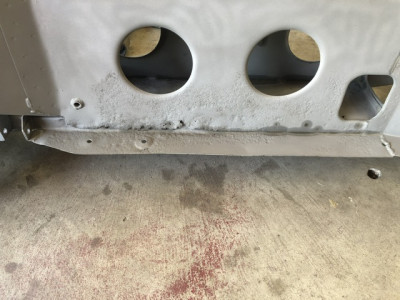
So now it's off to the blaster. These places also do powder coating, and are trying to talk me into it. I was thinking epoxy prime with paint over, but I'm starting to rethink that. Powder coating would be quick - they could do it all, it wouldn't be expensive - about the same cost as the materials to prime/paint, and they claim that it would be more durable and simple to touch up as necessary. But what color? Try to match the red oxide, or just go with black. Any thoughts?
Why Webbers? Because: 1) they look cool, 2) that's what ACBC intended, obviously, he just switched to Strombergs to save expense, not because they're better, 3) I can get rid of the bonnet bump, again, as ACBC intended the car to look, 4) to get a bit smoother idle, quicker response, and cooler intake sound. So I found a head for $1k, sent it off to PHP Racengines for a rebuild, and just got it back. So more coming on that.
So, more to come for anyone who's interested.


