Page 16 of 50

Re: Cosworth Into Baby Elan

PostPosted: Thu Nov 19, 2015 2:42 pm
by stevebroad
Managed to vacuum bag the dash today:

Image

2 hours later.....

Image

Re: Cosworth Into Baby Elan

PostPosted: Fri Nov 20, 2015 10:46 pm
by stevebroad
The dash is out of the mould, but not without a fight. The glove box caused a fair bit of grief and I had to cut the centre out so I could attack it from behind. There is quite a bit of post mould repairs to be done, but I was expecting that.

As it stands it weighs 1.265Kg. By the time I have finished tarting it up and added a couple of stiffening ribs it will be nearer 2Kg.

Image

Re: Cosworth Into Baby Elan

PostPosted: Tue Nov 24, 2015 5:13 pm
by The Veg
*!!!HOLY WOW!!!*

I'm new here and found this thread today. Thank goodness I'm on holiday, as I've been unable to put it aside since the first post! Just read the whole thing, and I'm at a loss for adequate words! Steve, your work is really impressive and I cannot wait to read the further developments! Keep up the good work!

Re: Cosworth Into Baby Elan

PostPosted: Tue Nov 24, 2015 9:20 pm
by stevebroad
Thanks. It has taken a tad longer than expected, like 10 years longer. It has evolved over that time so this has been a good thing, I think. It will be nice to actually drive it, hopefully next year.

Re: Cosworth Into Baby Elan

PostPosted: Thu Nov 26, 2015 7:40 pm
by stevebroad
First attempt at making the 'glove box' door was an abject failure (although I wasn't totally surprised). I tried to be clever when I should have stuck to my mantra of KISS. Oh well, on to the simpler second attempt. I will also use 3 rather than 2 layers of CF.

Image

Image

Image

Image

Here I am trying out a method of making the window surround in CF.If it works I will be able to make the surround fit the A pillar and roof snuggly. I will know tomorrow when I turn the vacuum pump off. Photo also shows the mould ready for my second attempt at the glove box door.

Image

Re: Cosworth Into Baby Elan

PostPosted: Mon Nov 30, 2015 10:05 pm
by stevebroad
Second attempt is a lot better than the first.

Having trimmed, cut finger hole and applied a resin flow coat to fill in the numerous pin holes, it's looking pretty good unpainted. I am tempted to keep this as the only unpainted piece of CF on the car :-)

The 'marks' are reflections of the bolt trays on the wall behind.

Image

Re: Cosworth Into Baby Elan

PostPosted: Thu Dec 03, 2015 11:51 pm
by stevebroad
It's as good as it's going to get:

Image

Opened up the 'glove box' and continued to rub down the CF dash. Once it is reasonable I will fit it and complete the sanding insitu.

Image

Re: Cosworth Into Baby Elan

PostPosted: Fri Jan 22, 2016 9:11 pm
by stevebroad
Carbon fibre wider wheel tubs, floor and fire wall made and dry fitted.

Image

Image

Re: Cosworth Into Baby Elan

PostPosted: Sun Feb 07, 2016 11:53 am
by stevebroad
Tubs now fitted. Geez the boot is now rock solid. Just needs a little tidying up and painting to hide the material :-)

Image

CF angle still curing (this is part of the proposed carbon floors - to attach the central cover to).

Image

Did a dry fit of fuel system to make sure everything will still fit after tub widening. The nitrous system isn't being installed initially but provision has been made to do so if we run out of puff at the top end. The fuel line is big enough to cope so I only have to install a nitrous line. If I do fit nitrous the small tank will probably be used in order to save weight :-)

Image

Re: Cosworth Into Baby Elan

PostPosted: Sun Feb 07, 2016 12:31 pm
by lotustastic
Steve,

Wow, this work is top notch. I think it's safe to say that it will be a true Giant Killer and destroy anything in its path on the track or the dragstrip. :lol: Can't wait to see the finished masterpiece. :mrgreen:
Dave

Re: Cosworth Into Baby Elan

PostPosted: Sun Feb 07, 2016 10:44 pm
by stevebroad
Thanks Dave, nor can I :-) Hopefully, this year is the year.

Re: Cosworth Into Baby Elan

PostPosted: Mon Feb 29, 2016 12:02 am
by stevebroad
Since my last post I have been making new carbon fibre floors. They turned out OK, not great just OK. A little fettling and a couple of coats of matte black will disguise the worst bits :-)

Saved just over 5kg over the original fibreglass floors. I am now able to mount the pedal box directly to the floor rather than via a CF honeycomb sheet, saving a further 1/2kg :-)

Passenger floor. 5mm of dense foam sandwiched between 4 layers of CF:

Image

Driver floor. Ditto plus a couple of extra layers of CF in the pedal box area. The recessed area allows the seat to be lowered by around 35mm giving me a little more headroom.

Image

Re: Cosworth YB Turbo Into Elan

PostPosted: Mon Mar 07, 2016 9:25 pm
by stevebroad
Bit of a hiatus on car work this last week. Conservatory and garage work took precedence :)

However, I managed to escape today. After a fair bit of faffing about with the grinder I managed to shoehorn the passenger floor in. It wouldn't go in the way I had planned as the bottom wishbone bracket on the chassis was in the way. It had to go in from the side which meant cutting off more of the steel lip. However, the upside of this is that I removed 200gms

Image

It's not glued in yet, but still supports my 85Kg plus clothes with virtually no flex:

Image

Even a point load :) I'm pretty chuffed with that, as it means that as the driver's floor is even stronger it will easily cope with the pedal box.

Image

Re: Cosworth YB Turbo Into Elan

PostPosted: Fri Mar 11, 2016 3:14 pm
by stevebroad
The original floor support attached to the chassis is wider than now required so I have trimmed it. A little tidying up required but 700gms have been removed :-)

Image

Image

I rediscovered a rear wing I bought many years ago, before I knew anything about wing profiles and downforce principles. Suffice to say that this wing won't be finding its way on to the Elan :-)

Image

Image

Re: Cosworth YB Turbo Into Elan

PostPosted: Thu Mar 24, 2016 12:22 am
by stevebroad
Not a lot happened this last week or so as life has got in the way. Converting garage into two flats for kids and revamping the conservatory after new roof fitted.

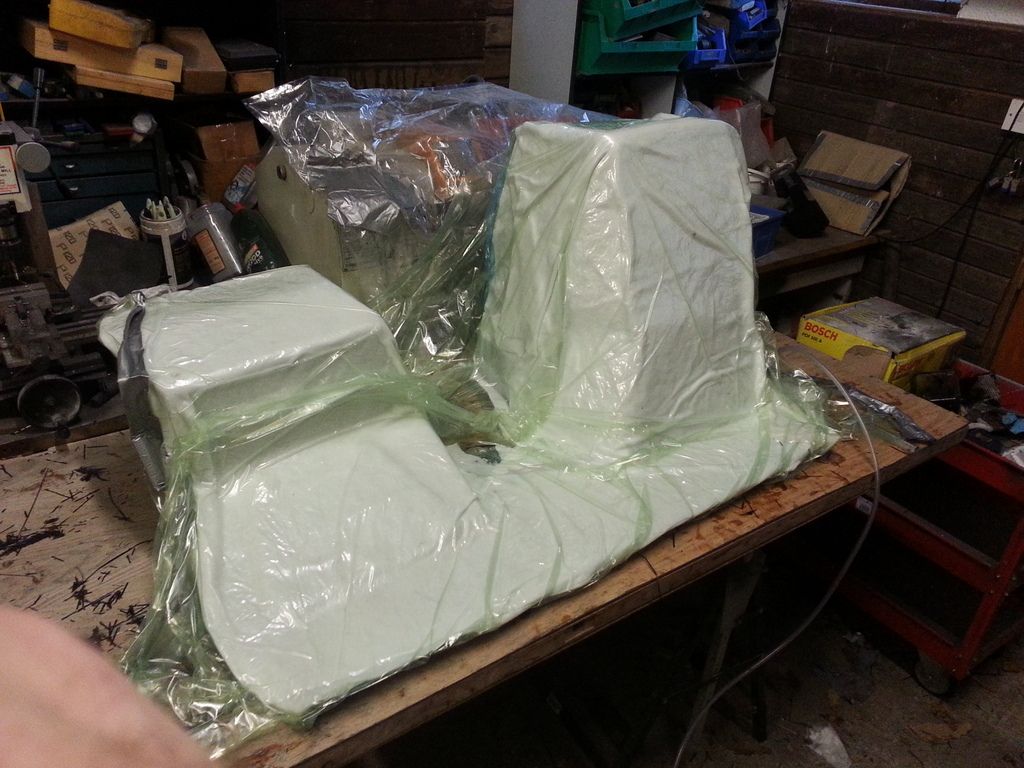
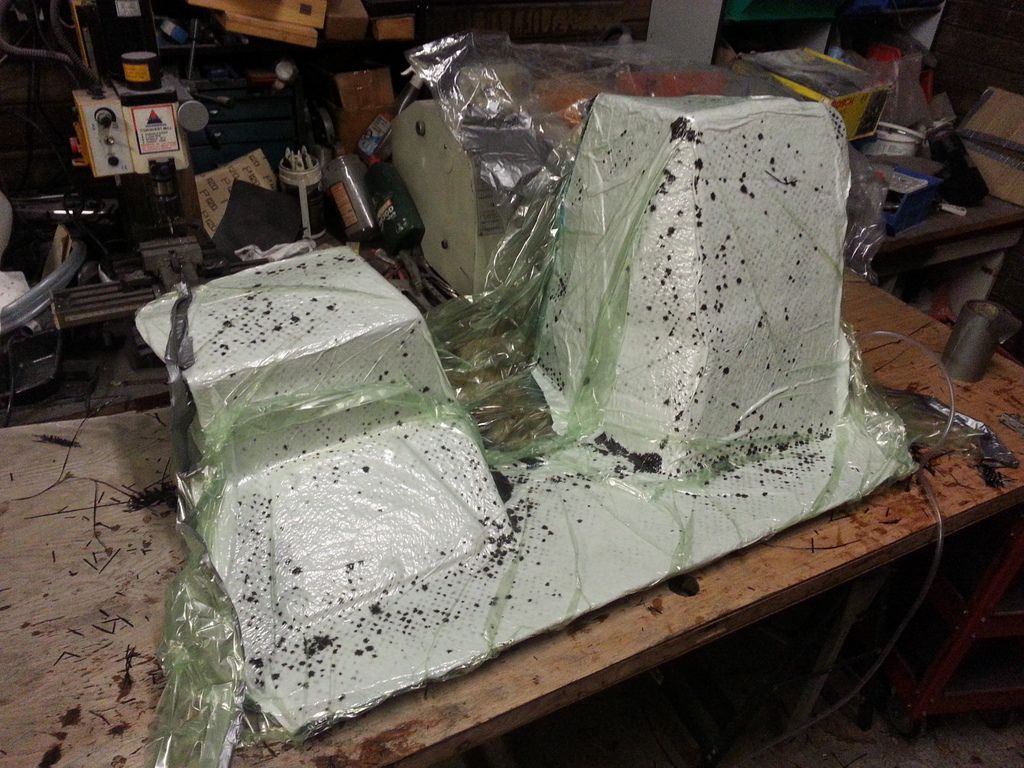
Anyway, I have now started on my third attempt to make my seat. This time I will use 4 layers of carbon and 5mm thick dense foam filling. Mould has been prepared so, hopefully, I will lay up and vacuum tomorrow.

Image

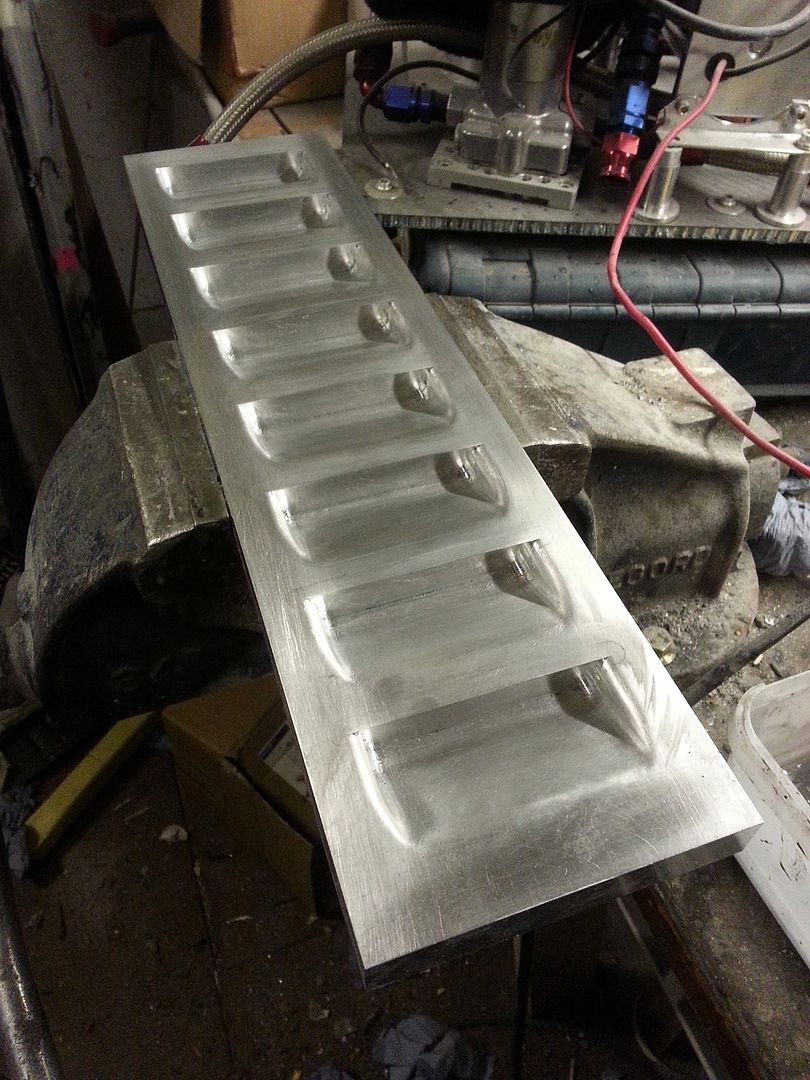
Finished the mould for the wing vents. Couldn't find any that had the opening I wanted, they are either 6mm or huge. I wanted around 14mm so decided to make my own, then I will get what I want rather than having to compromise.

Image

All I am now missing is the top layer of prepreg carbon. This isn't cheap so I have been putting it off until I am ready for it.