Re: 1972 Sprint Garage find.
Thought i'd add a few pictures of what i'm upto with the Elan 
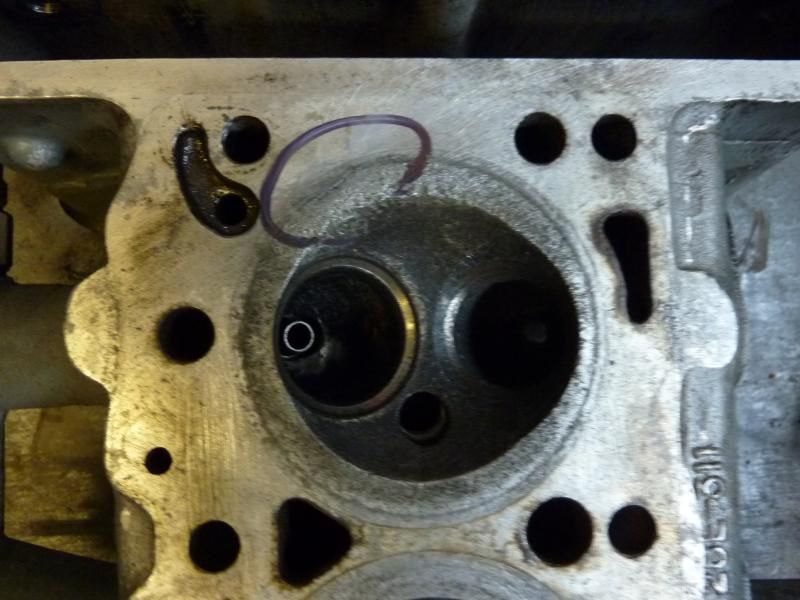
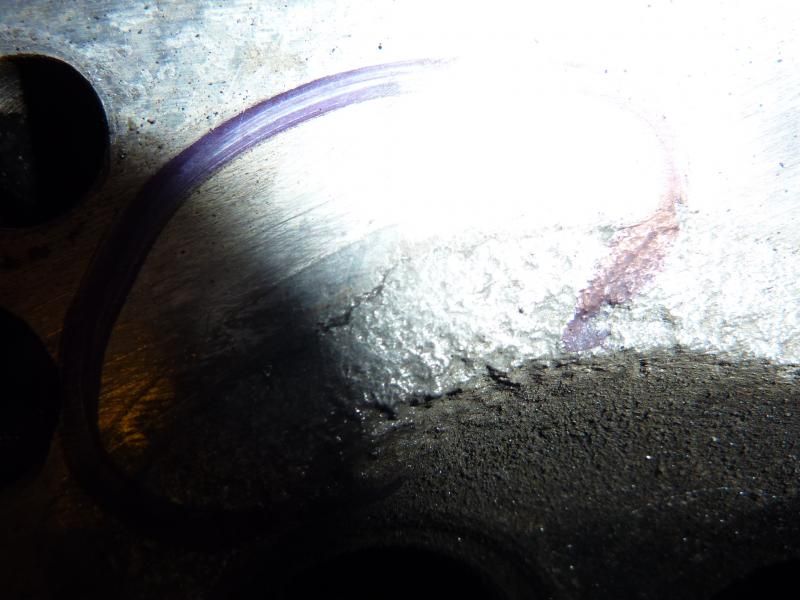
Had a bit of a dodgy start when i found this........ (the marker circle shows where the crack is )
)
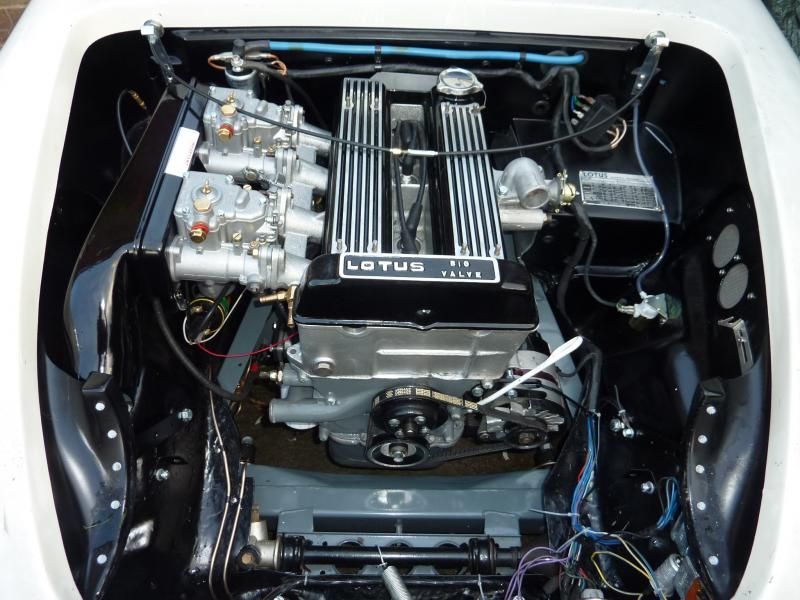
But after sending it off to get welded up (epic job as the valve seats had to come out and be re-cut etc) it looks like this now (sorry i was to excited when i got the head back and forgot to take a Picture of the repair)
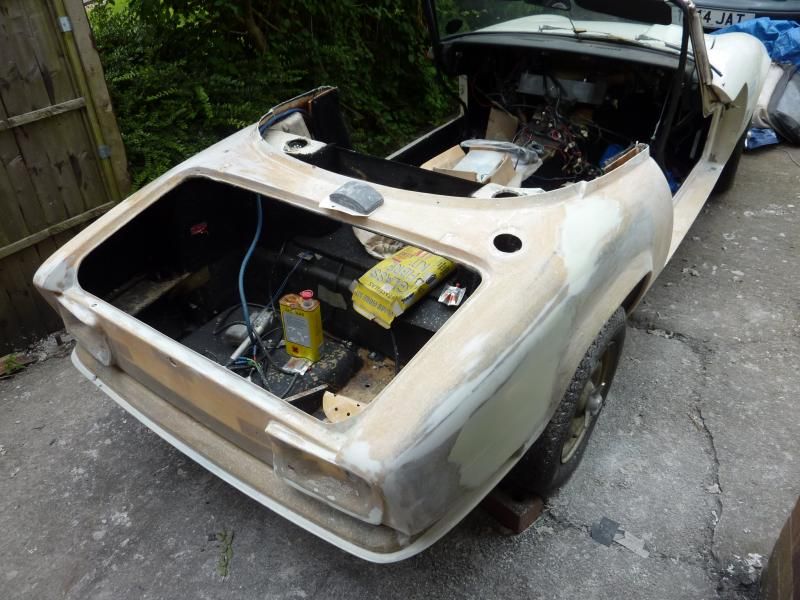
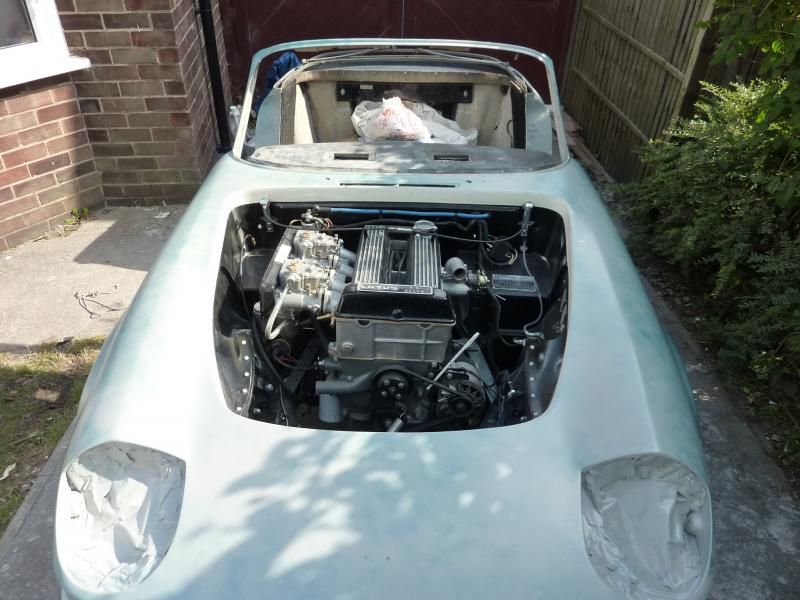
So Moving on, while we where having nice weather i thought i'd crack on with the body work, the original plan was to blow in the damaged bits and buff the original paint but after having a proper look at it i decided to do a proper repaint (the Original paint wasn't stuck and was coming off in big sections)
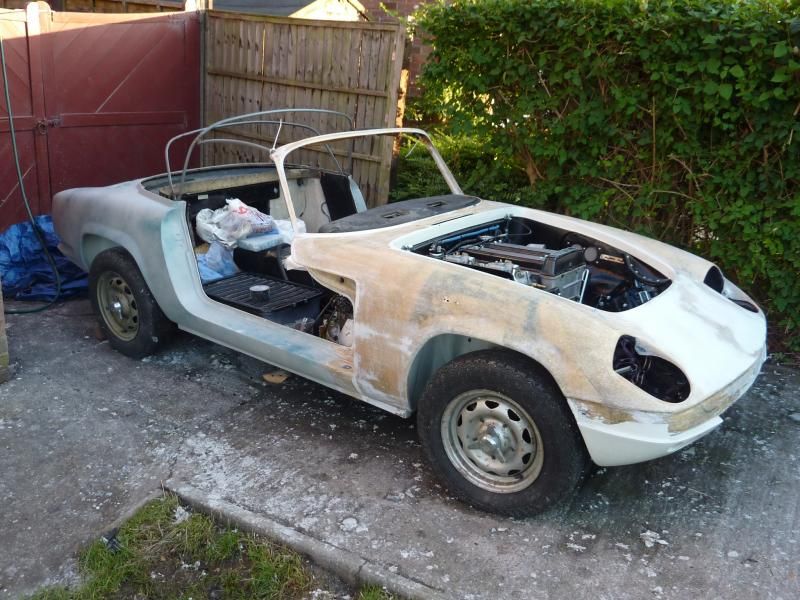
So..... Paint stripping part 1 (forgot to take a pic when stripping it but this is after i fixed the crazing and did the filler on the back)
Part 2. Seal GRP with Epoxy primer and move onto stripping the front
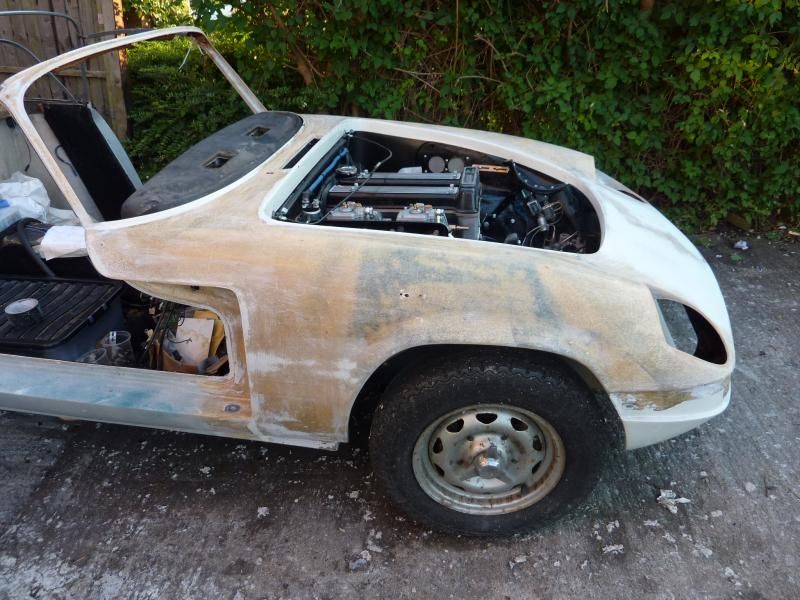
Part 3. Massive amounts of de wobbling, levelling original GRP seams and repairing the dirty big crack in the front + all its flex cracks. Then Epoxy prime
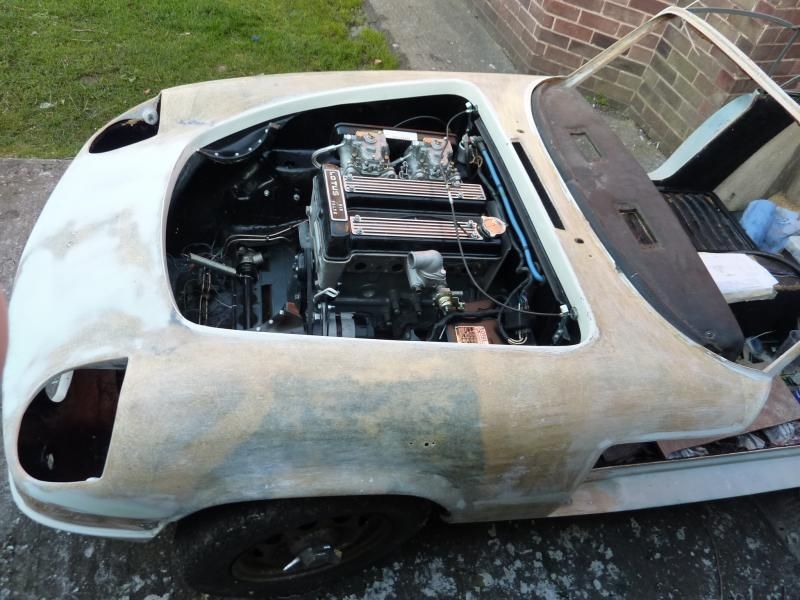
Part 4. Block the Epoxy with 240's then 320's, Stopper all the pin holes up then re-prime with 2k High build.
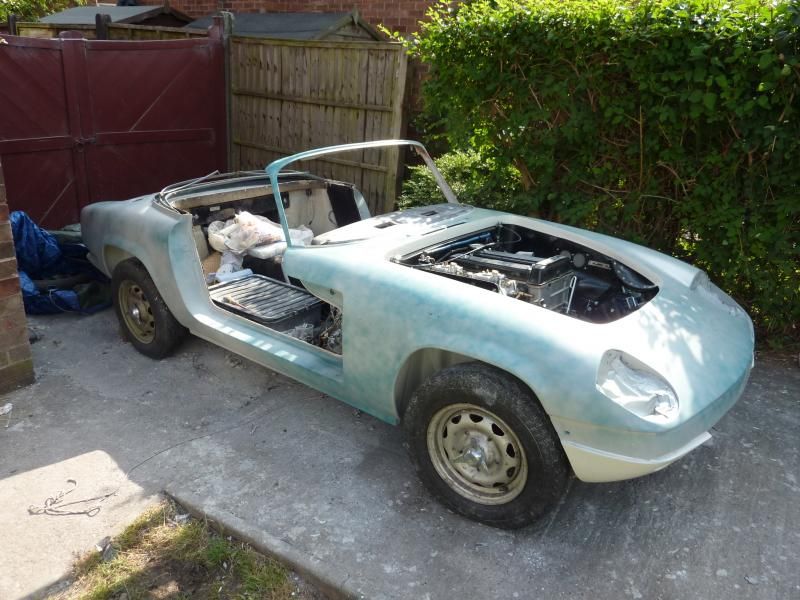
part 5. Flat down High build with 800's Wet/Dry............this was day 1 (half done), i usually make a point of using the same coloured Primer under the top coat and twice i asked for White but was given Grey don't know who is the bigger fool, them for not knowing what colour it is or me for not checking the second time before getting it masked and ready..........O well it's on now.

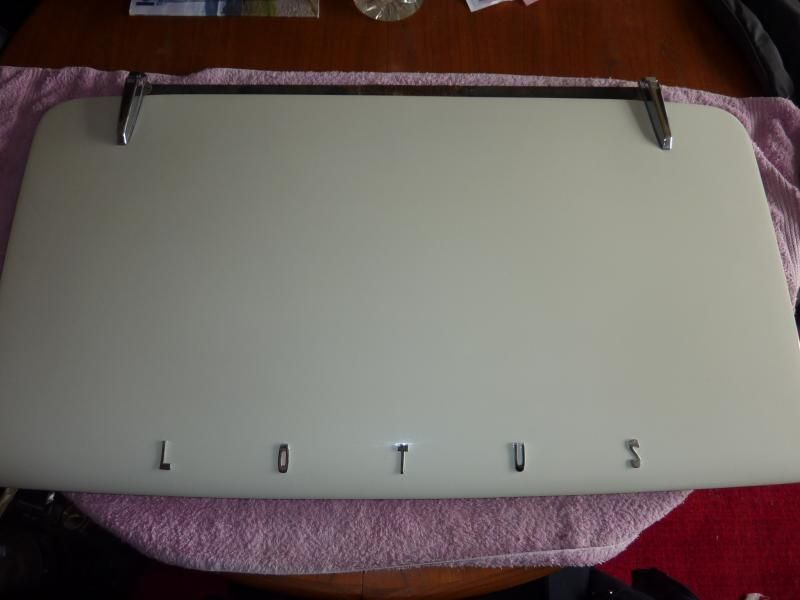
Part 6. Was finish Flatting and clean....But!!! just finished flatting it out side and it started to rain quite hard so i didn't get a picture before the cover went on But you get the idea............ That said the Door's,Bonnet,Boot and pods are painted now so its coming along.
Had a bit of a dodgy start when i found this........ (the marker circle shows where the crack is


But after sending it off to get welded up (epic job as the valve seats had to come out and be re-cut etc) it looks like this now

So Moving on, while we where having nice weather i thought i'd crack on with the body work, the original plan was to blow in the damaged bits and buff the original paint but after having a proper look at it i decided to do a proper repaint (the Original paint wasn't stuck and was coming off in big sections)
So..... Paint stripping part 1 (forgot to take a pic when stripping it but this is after i fixed the crazing and did the filler on the back)

Part 2. Seal GRP with Epoxy primer and move onto stripping the front

Part 3. Massive amounts of de wobbling, levelling original GRP seams and repairing the dirty big crack in the front + all its flex cracks. Then Epoxy prime


Part 4. Block the Epoxy with 240's then 320's, Stopper all the pin holes up then re-prime with 2k High build.

part 5. Flat down High build with 800's Wet/Dry............this was day 1 (half done), i usually make a point of using the same coloured Primer under the top coat and twice i asked for White but was given Grey

Part 6. Was finish Flatting and clean....But!!! just finished flatting it out side and it started to rain quite hard so i didn't get a picture before the cover went on


